
How to Do a Silk Press at Home for Smooth, Shiny Hair
Get a sleek, reflective finish that lasts with these easy steps.
Creating salon-qualitynatural hairstyles at home used to involve complicated processes that required time, patience, and even the occasional extra hand from family or a friend. That’s no longer the case—with the right products and tools, you can easily DIY salon-worthy styles (like a sleek silk press) from the comfort of your home.
A silk press, as the name suggests, is a smooth, straight style that boasts the same high-shine finish as the luxurious material from which it gets its name. But perfecting your silk press hairstyle involves a bit more than simply straightening your hair with a flat iron. If you’re wondering how to do a silk press at home, keep reading. Ahead, we’ll explain how to silk press natural hair sans the salon visit and share tips on how to keep your strands sleek and frizz-free.


A silk press is a simple prep-and-heat routine for textured hair that leaves a smooth, reflective finish and stays flexible for styling. It gently straightens natural hair without a chemical relaxer by using a blow-dryer and flat iron to polish the cuticle for high shine. The method updates the classic press-and-curl, skipping ‘90s hot combs and heavy grease so hair feels lighter and moves more freely.
Getting a salon-level silk press comes down to steady, controlled heat that smooths the cuticle for movement, body, and a glossy look while helping limit heat stress. The approach is popular for natural coily and textured hair, and it also works well for thick or verycurly types that tend to frizz or re‑curl with flat ironing alone.
Flat ironing is another term used to describe straightening the hair, though it’s a bit different than a silk press. Flat ironing simply involves straightening the hair with a flat iron (or hair straightener) and is typically ideal for those with finer, straight, or wavy strands. Those with coily, kinky, or curly hair, meanwhile, typically need an additional heating step to achieve a smooth, pin-straight silk press hairstyle.
Though a flat iron is integral to both straightening techniques, a silk press will call for other tools and dedicated silk press products—as well as proper prep and care steps—to achieve the desired end result.
Doing a silk press at home is simpler than it looks, and you stay in charge from start to finish. Here are a few perks of a DIY hair silk press:
We want you to nail the silk press hair process, so we’re going into detail about the proper silk press method below. Keep reading as we walk you through the steps on how to silk press your hair like a pro.
It may seem like a good idea to forgo shampooing to help protect strands from the heat used for a silk press, but doing so can actually cause more harm than good. When heat is applied to dirty hair, oil, sweat, and product buildup can coat your strands and leave the hair feeling dry and brittle. Instead, begin with a clean foundation and then add hydrating products to help keep your hair feeling moisturized.
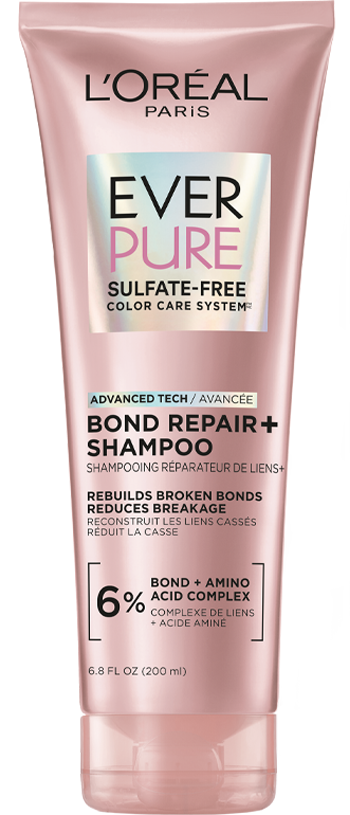
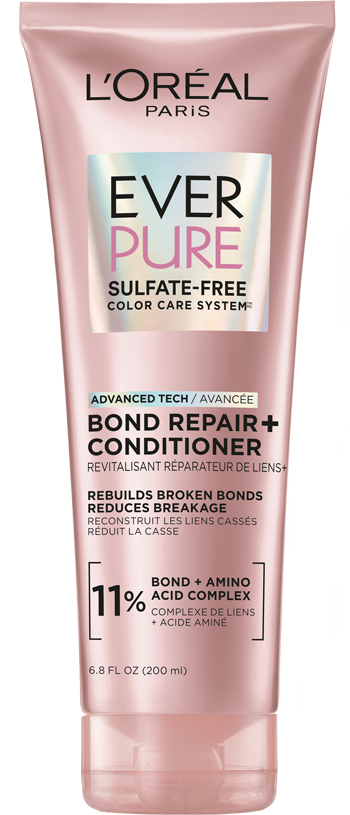
You can kick things off with the L’Oréal Paris EverPure Sulfate-Free Bond Repair Shampoo and the L’Oréal Paris EverPure Sulfate-Free Bond Repair Conditioner with Citric Acid to help reinforce weak bonds and leave a smooth base.
For extra glassy shine, smooth on the L’Oréal Paris EverPure Sulfate-Free Glossing 5-Min Lamination Hair Mask to condition and help seal the cuticle for a reflective finish.

A light leave‑in sets you up for slip, easy detangling, and flexible movement through heat styling. Work it through damp hair in sections, then detangle with a wide‑tooth comb from ends to roots to keep stress low. Try the L’Oréal Paris Elvive Hyaluron + Plump Moisture Plump Serum, which contains 2% hyaluronic acid to help plump and deeply hydrate the hair.

Per the American Academy of Dermatology (AAD), one of the best ways to curb heat damage is to limit your use of hot tools to once a week or less—and when you do heat style your hair, always use a heat protectant. Since this silk press hairstyle requires the use of heat styling tools, you’ll want to be sure to protect your strands with an effective heat protectant to help limit damage. We recommend the L’Oréal Paris EverPure Sulfate-Free Moisture 21-in-1 Leave-In Conditioner, which hydrates, smooths, boosts shine, and helps shield strands from temperatures up to 450 degrees Fahrenheit. Be sure to work it evenly throughout your hair to ensure each strand is well-protected.
Depending on how much hair you have, you’ll want to create multiple sections before reaching for your hot tools. Dividing your hair into dedicated sections allows for efficient heat transfer and prevents moisture buildup and humidity at the roots (which is the kiss of death for a sleek silk press).
Start by creating four or more even sections and securing each part with a hair clip or satin scrunchie—something that won’t be painful to remove or leave a visible indent on your tresses.
You can use a hair dryer of your choosing for a silk press, just make sure it has a concentrator nozzle. This blow dryer attachment will look like a narrow flat piece with an opening at the end that funnels heat to a specific area. Dry your hair section by section using the blow dryer and attachment combo. Use a dedicated hair dryer brush to guide the hair and comb it as you go, making sure to work from the roots to the ends.
After applying heat, blast your strands with air using your dryer’s cold setting. If your dryer doesn’t have a cold setting, allow time between blow-drying and flat-ironing to let hair cool. This step in the technique will help seal the cuticle of the hair shaft and lock in your blowout, preventing unwanted frizziness in the process. (Remember, hot air helps manipulate hair while cold air helps stabilize it for a silk press). Repeat the drying/cooling process on each section of your hair until your mane is fully dry. When you're done, your natural curls or waves should be relaxed, if not smoothed out altogether. Don’t worry if there’s any lingering puffiness—that’ll be targeted in the next step.
Just as you prepared your hair for blow-drying, you’ll need to do the same before you flat iron during the silk press process. Divide your hair into multiple small sections to help streamline your silk press. This allows for a more manageable process and helps ensure the heat from your flat iron distributes evenly throughout your hair.
As an additional prep step, you can add another layer of heat protectant. Try a spray-on heat protectant to avoid getting your hair overly damp. We recommend the L’Oréal Paris Elvive Dream Lengths Heat Slayer Leave-In—it protects against temperatures up to 450 degrees Fahrenheit and tames frizz for a sleek, smooth finish.

Glide the flat iron slowly from roots to ends on one‑inch sections, adjusting the temperature to suit your texture and density. Steady, controlled passes beat multiple quick sweeps and help limit heat exposure. Continue section by section until the silk press looks smooth, reflective, and uniform.
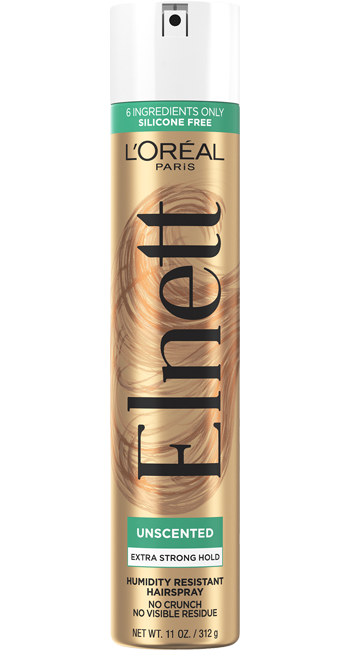
Finish with a fine, brushable mist to lock flyaways while keeping movement. Lightly spray L’Oréal Paris Elnett Satin Extra Strong Hold, Light Hairspray Unscented over lengths, then smooth with your hands or a soft brush. This final step can help your silk press resist humidity shifts without stiffness.
One of the easiest ways to keep your silk press hairstyle intact is to pin-curl your hair at night to maintain a bouncy mane. To do this, grab a one-inch section of hair and roll it over itself from the ends upward until you reach your roots. Secure the loop with a bobby pin and repeat until you have a mane full of pin curls.
You can also wrap your hair. Part your hair as you normally wear it, then use a paddle brush to brush your hair clockwise around your head, securing any loose pieces with a bobby pin if needed. Done correctly, it should look similar to a beehive.
Whichever method you choose, you’ll want to cover your hair with a silk or satin scarf before going to bed. This can help limit friction that can lead to frizz and tangles and disrupt your silk press.
While it may be tempting to apply more heat to your hair after doing your silk press to keep it sleek and shiny, avoid the temptation. Using too much heat—or using heat too frequently—can leave you with dry, brittle strands and make you more vulnerable to breakage.
When you have a silk press, you’ll want to avoid subjecting your hair to water of any kind—including steam, humidity, or sweat. Moisture can cause your smooth strands to revert back to their natural texture before you’re ready. Always check the weather before you leave to prepare for any rain that could ruin all your hard work.
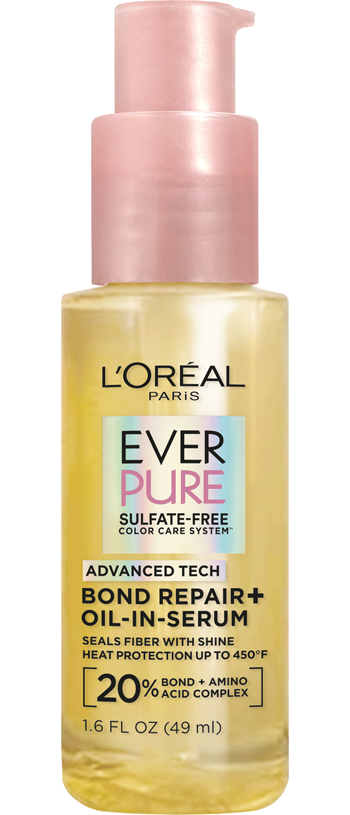
Avoid applying additional products to your silk press hairstyle if possible. The goal is to keep your hair shiny and bouncy, and excess product can give your hair a weighed-down look and feel. If your ends look or feel especially dry, you can use a lightweight hair oil, like the L’Oréal Paris EverPure Bond Repair Hair Oil-in-Serum, to help maintain that sleek look—just use a light hand and keep it to the ends only.
A few low‑effort habits help a silk press at home look fresh longer. Be flexible with quick touch‑ups so you can smooth small bends without piling on heat. Consistent sectioning, patient pacing, and light‑handed finishing go a long way.
Next Up: How To Do Box Braids at Home in 6 Simple Steps
Photo courtesy of L’Oréal Paris
This site is intended for US consumers. Cookies and related technology are used for advertising. To learn more, or opt-out, visit AdChoices and our privacy policy.
Your Privacy Choices


