How To Straighten Hair Safely When You Have Curls
The right technique makes all the difference.
DISCOVER OUR NEW ARRIVALS. SHOP NOW

If you have naturally curly hair, you likely know how challenging it can be to get smooth, straight strands without causing damage. Learning how to straighten hair properly requires more than just a flat iron—it takes the right tools, products, and technique, especially for tighter curls or coils.
Investing in a quality flat iron or hair straightening comb can certainly make the process easier, but it’s only part of the equation. Equally important is proper prep—especially since hot tools can damage your mane if used improperly. Ahead, we’ll explain how to straighten curly hair safely and effectively, plus share details on some of our favorite products for maintaining a sleek, frizz-free style.
When you’re naturally curly, straight hair isn’t something that comes easily—achieving a pin-straight style requires a little bit of elbow grease (not to mention plenty of patience). Below, we’re detailing our top tips for taming texture, at least temporarily.
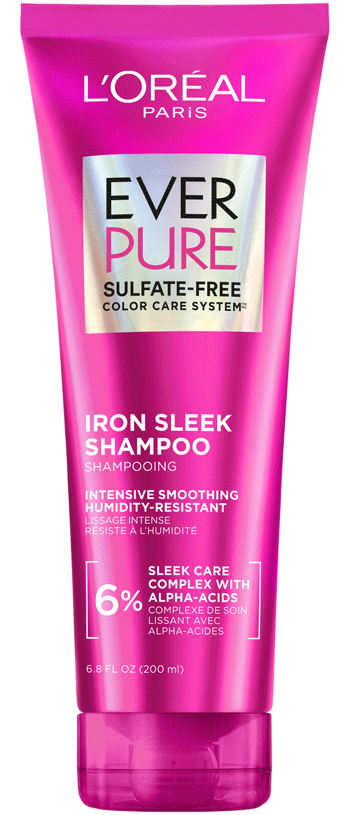
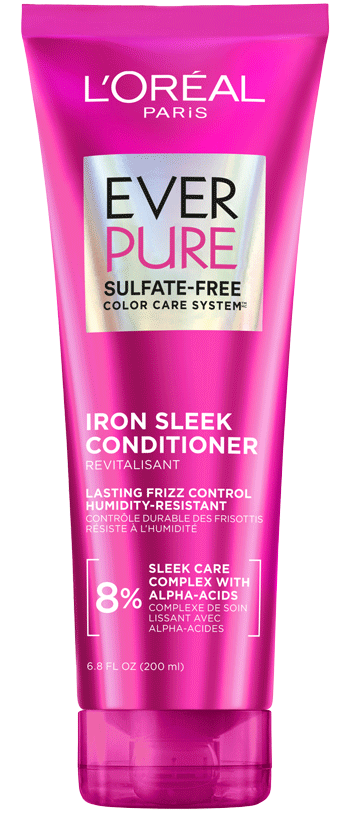
Before breaking out your hot tools, set the stage for sleek strands by lathering up with a frizz-fighting shampoo, such as the L’Oréal Paris EverPure Sulfate-Free Iron Sleek Smoothing Shampoo. The sulfate- and silicone-free formula gently cleanses coarse, frizz-prone hair while boosting shine and helping to smooth unruly strands. After rinsing, apply a generous amount of the coordinating L’Oréal Paris EverPure Sulfate-Free Iron Sleek Smoothing Conditioner to your mane to help lock in moisture and shield your strands against humidity. For the best results, we recommend letting the conditioner sit for one to two minutes before rinsing.

Before straightening curly hair, always start with a thorough detangling. Having smooth, tangle-free strands makes it easier to straighten hair without risking damage or breakage. Apply your favorite detangler (we love the L’Oréal Paris EverPure Sulfate-Free Moisture 21-in-1 Leave-In Conditioner), then use a wide-tooth comb to gently work through your hair from the ends upward toward the roots, section by section, until your hair is completely tangle-free.
Before using any hot tools, apply a heat protectant to shield your strands from high temperatures. This essential step helps prevent breakage, frizz, and moisture loss, keeping your hair smooth and healthy while you straighten it. The aforementioned leave-in conditioner is a great pick, as it shields against temperatures up to 450 degrees Fahrenheit while helping to smooth, soften, and hydrate your hair. If you’re especially frizz-prone, try layering it with the L’Oréal Paris Elvive Dream Lengths Frizz Killer Serum Leave-In for an extra sleek finish.
Editor’s tip: Keep in mind that when it comes to styling aids, less is more. Applying too much product before straightening your strands can make your hair look limp or greasy and make it more difficult to manage.


There’s a reason stylists lift your hair while blow-drying at the salon—it’s not just for show. Pulling hair upward at the roots with a round brush helps create natural volume and smooths the strands as you go. Focus on drying your roots first with this upward motion, then finish the rest of your hair by blow-drying downward to encourage sleek, straight strands that fall toward your shoulders.
We can’t stress this enough: use a medium or warm heat setting on your blow-dryer to minimize the amount of direct heat on your hair. High heat may speed up styling, but it also increases the risk of damage, breakage, and dryness over time. For best results, begin blow-drying once your hair is damp but not soaking wet—this reduces the amount of heat your strands need to reach a smooth finish. Hold the dryer a few inches away from your head and move it continuously rather than keeping it in one spot to avoid concentrated heat, which can damage your hair. This approach helps protect your curls while still giving you sleek, straight results.
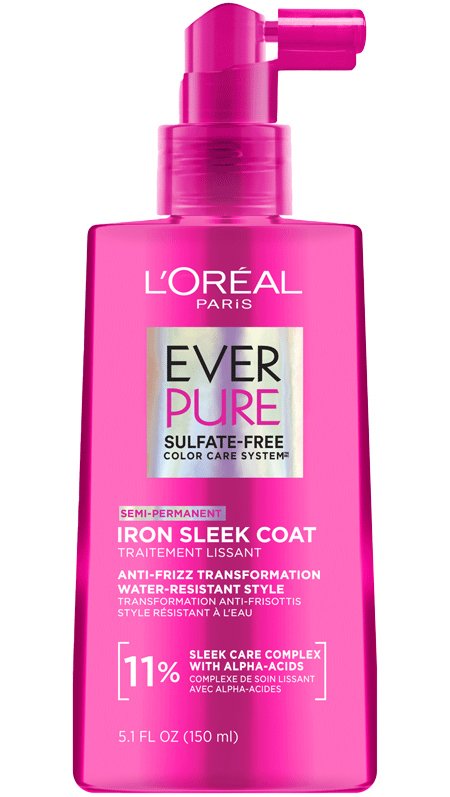
Expert tip: If your hair is highly textured and you want additional help holding your straightened style, prep your mane with the L’Oréal Paris EverPure Sulfate-Free Iron Sleek Coat before drying. It coats the hair fibers to lock out frizz, keeping your hair smooth and sleek for up to five days.

One of the biggest mistakes when straightening natural hair is using a flat iron without adjustable heat settings. Everyone’s curls are different, so a temperature that works for someone else might be too high—or too low—for your hair.
The best hair straighteners for curly hair offer multiple heat settings, allowing you to choose the ideal temperature for your texture. Aim to pass the straightener through each section only once or twice to minimize heat damage and keep your strands healthy and smooth.
If one or two passes with your flat iron aren’t giving you fully straight strands, try the chase method. This technique involves running a rattail comb and your curly hair straightener through each section simultaneously. The comb lifts and separates every strand, helping the heat distribute more evenly so you can achieve smooth, straight hair in a single pass while minimizing damage.
If your hair isn’t getting as straight as you’d like, even with the right technique, it could be due to the size of the sections you’re working with. Trying to straighten large chunks at once might seem like a time-saver, but it often leads to uneven results and slows you down.
Instead, divide your hair into smaller, one-inch sections, using claw clips to hold the rest out of the way. Working in smaller sections allows each strand to be fully straightened more efficiently and may even let you style at a lower, gentler temperature, reducing heat damage.
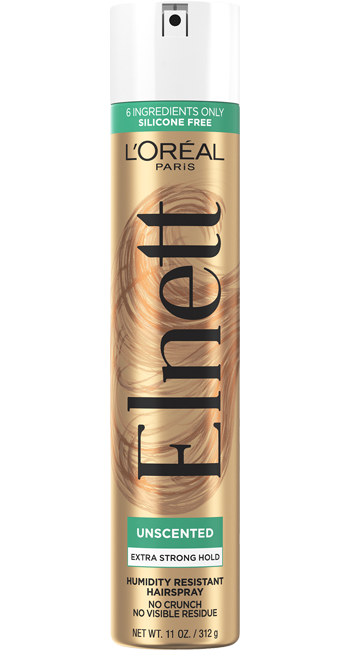
After blow-drying and flat-ironing, it can be tempting to pile on styling products to keep your hair in place and add shine. But when it comes to finishing products, less is more. Use a light mist of the L’Oréal Paris Elnett Extra Strong Hold Hairspray to lock in your style, and if your ends tend to get frizzy, apply a small amount of hair oil—just enough to smooth and tame flyaways without weighing down your strands.

We love a chic updo as much as anyone, but putting your hair up right after straightening can create unwanted bumps. Leave your hair down until it’s completely cool to help it set smoothly. If you need to keep it out of your face, opt for a low ponytail with a silk hair tie—these elegant options are gentle on your strands and less likely to leave dents than traditional hair elastics.
After all that hard work, you probably want your straight hair to last—and adjusting your nighttime routine can help ensure it does. How you sleep on your hair can either preserve your style or undo it. Before bed, wrap your hair in a silk scarf or bonnet to protect your strands from tangling and friction. If you don’t have one, a silk pillowcase is a great alternative, since traditional cotton can be rough and disrupt your sleek, straight style.
Many people wonder if it’s possible to straighten curly hair without damage, and the answer is: with the right approach, you can minimize harm—but repeated heat styling will always carry some risk. While heat styling tools like flat irons and blow-dryers can be safer than harsh chemical straighteners, it’s important to understand that “safe straightening” doesn’t mean completely damage-free—it means reducing the risk of breakage, dryness, and frizz by using moderate temperatures, working in small sections, and limiting exposure.
For truly healthy hair, try to avoid heat styling every day and give your curls regular breaks to recover and retain moisture (protective styles can be great for minimizing damage). You may also want to consider adding a reparative hair mask, such as the L’Oréal Paris Elvive Total Repair 5 Damage-Erasing Mask, into your regular routine to help keep your hair strong and resilient.


Next Up: How To Do a Silk Press at Home For Smooth, Shiny Hair
Photo courtesy of L’Oréal Paris
This site is intended for US consumers. Cookies and related technology are used for advertising. To learn more, or opt-out, visit AdChoices and our privacy policy.
Your Privacy Choices


