How To Get a Salon-Quality Blowout Hairstyle at Home
Turns out faking a salon blowout is pretty easy.
Nothing feels more glamorous than a bouncy, voluminous blowout hairstyle. And while hitting the salon for a little self-care is always enjoyable, you don’t have to pay a pro to achieve the look. At-home blowouts are surprisingly straightforward—all you need is a little practice, a few volumizing hair products, and the proper technique.
Here, we’ll teach you how to do a blowout at home and offer recommendations on the best products to use for full, luscious-looking strands. Read on and get ready to learn how to score a silky, salon-worthy style from the comfort of your home.
Before explaining how to blow out hair at home, we thought it’d be helpful to review what a blowout is.
Simply put, a blowout is a bouncy, voluminous hairstyle created using just a blow dryer and a hairbrush. The goal is to achieve smooth, shiny, and manageable strands without relying on additional hot tools like a flat iron or curling wand. Unlike a basic blow-dry—which is simply the act of drying your hair—a blowout uses a more intentional technique to add body, movement, and long-lasting volume that can hold for days.
Nailing an at-home blowout hairstyle is surprisingly simple, so long as you have the right products on hand. Here’s how to get the bombshell look in six simple steps.
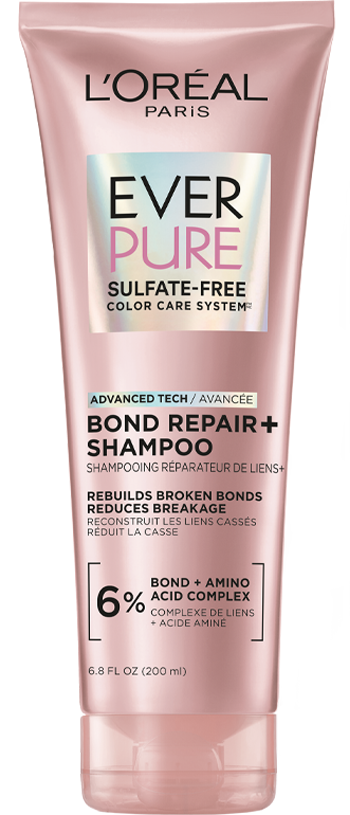
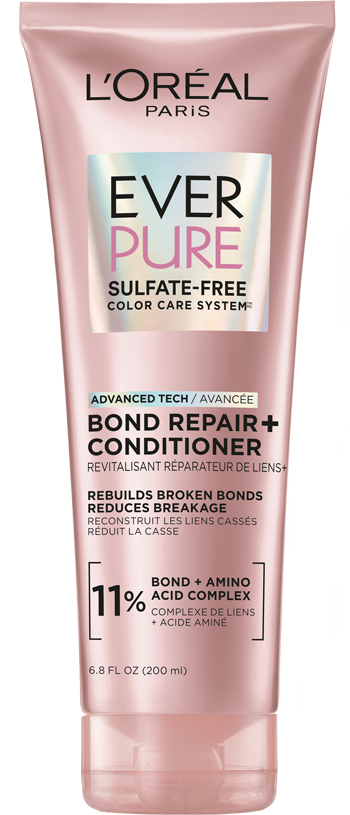
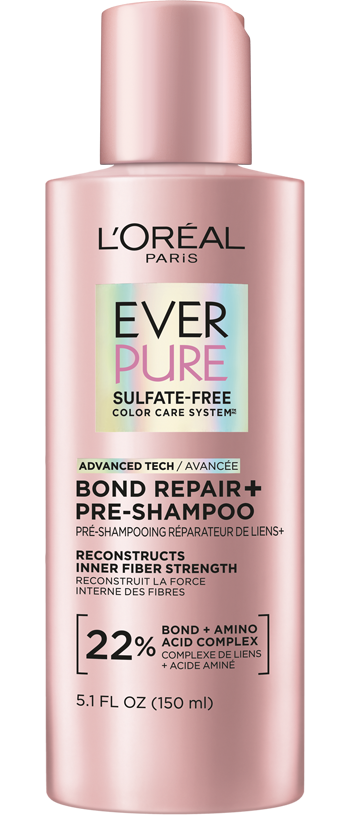
Blowout hair styling starts in the shower—the way you prep your hair can make a huge difference in how your finished style looks. Start by lathering up in the shower with a shampoo and conditioner system designed for your hair type and texture. If your hair is colored, be sure to use a system designed specifically for color-treated hair. We’re big fans of the L’Oréal Paris EverPure Sulfate-Free Bond Repair+ Shampoo and the coordinating L’Oréal Paris EverPure Sulfate-Free Bond Repair+ Conditioner. Together, the citric acid-infused duo gently cleanses, hydrates, and helps strengthen damaged hair from the inside out to support more resilient strands. For extra repair, pre-treat your hair with the L’Oréal Paris EverPure Bond Repair+ Pre-Shampoo Treatment, which helps reinforce hair’s structure to protect against future damage.
Editor’s tip: If you have fine, flat hair, opt for a volumizing shampoo and conditioner instead—when it comes to blowout hairstyles, the more voluminous, the better.

After exiting the shower, squeeze your strands to remove any excess moisture, then apply a detangling leave-in, such as the L’Oréal Paris EverPure Sulfate-Free Moisture 21-in-1 Leave-In Conditioner. Use a wide-toothed comb and begin loosening any knots or tangles, starting at the ends of your hair and working your way up. Take your time: Hair is more fragile when it’s wet, and harsh tugging or pulling could contribute to breakage.

Next, apply a heat protectant to help shield your hair from unnecessary damage. The aforementioned leave-in conditioner doubles as a heat protectant, but for another option, try the L’Oréal Paris Advanced Hairstyle BOOST IT Volume Inject Mousse, which shields against heat damage and helps lock in volume (a must for blowout hairstyles) for up to 24 hours.
Once your strands are prepped, flip your head over and give your hair a good blow dry, using your fingers to tousle your strands as you go. You don’t need a brush or any tools for this step—just be sure to turn your blow dryer off once your hair is about 80% dry.
Editor’s tip: To limit heat damage, set your blow dryer to medium instead of using the highest heat setting.


Here’s where the actual blowout really begins. Start by parting your hair horizontally into two sections as if you were about to create a half-up hairstyle. Secure the top half at the crown of your head with a clip, then divide the bottom part into two equal sections like pigtails. Your parting doesn’t have to be ultra-precise—the goal is simply to keep the sections that you’re not working on out of your way.
Next, grab your brush—aside from your blow dryer, it’s the only tool you need for a great blowout. If you’re after volume and bounce, opt for a round brush (the larger the barrel, the looser and softer the curl). For a smoother, straighter finish, reach for a paddle brush instead.
Working with one section (or pigtail) at a time, brush from roots to ends while following closely with your blow dryer. Use the concentrator attachment to direct the airflow exactly where you want it, and move slowly—precision is key to getting that polished, long-lasting finish.
If you’re using a round brush, start by pulling the hair straight as you dry, then, a few inches from the ends, rotate the brush inward to create a soft curl. Hold the dryer over the section for a few seconds to set the shape, and repeat if needed until fully dry. For a straighter look, simply glide your paddle brush down the length of your hair, following with the dryer as you go. Continue section by section until your entire head is dry.
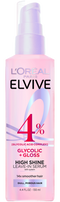
Once you’re satisfied with your blowout hairstyle, mist your mane with the L’Oréal Paris Elvive Glycolic + Gloss High-Shine Leave-In Serum (pictured below) to amplify shine for a glossy, salon-quality finish. Then, spritz your hair with a lightweight hairspray, such as the L’Oréal Paris Elnett Satin Extra Strong Hold Hair Spray, to lock your look in place without any stiff or sticky residue.


It’s easy to assume that blowouts—since they rely on heat—are automatically bad for your hair. In reality, it comes down to your hair’s overall health and how often you’re styling it. Frequent blowouts, especially those done at very high temperatures, can lead to damage over time.
To help minimize the risk when doing a blowout at home, always start with a heat protectant (the L’Oréal Paris EverPure Bond Repair+ Hair Oil-in-Serum is a great option for damaged strands) and use the lowest effective heat setting on your dryer. And if you’re concerned about maintaining your hair’s health, consider saving blowouts for special occasions and opting for heat-free styles the rest of the time.
This site is intended for US consumers. Cookies and related technology are used for advertising. To learn more, or opt-out, visit AdChoices and our privacy policy.
Your Privacy Choices