How To Bleach Your Hair at Home and Keep Your Blonde Bright
What to know before becoming your own colorist.
DISCOVER OUR NEW ARRIVALS. SHOP NOW

Whether you’re toying with going blonde or are ready to swap your espresso mane for a trendypastel pink, yourtransformation will likely require a round (or two) of bleach—and knowing how to bleach hair definitely makes the process safer and smoother.
You may think visiting a colorist is the only way to achieve the shade pinned to your vision board, but that’s far from the only option nowadays. Innovations in bleaching products make it possible to get salon‑worthy results at home while caring for your hair. Knowing how to bleach your hair at home the proper way, though, can make all the difference.
Ahead, our step‑by‑step guidewill teach you how to bleach your hair using our best hair bleach kits. We’ll also provide recommendations on which aftercare products you should keep on hand to maintain your lightened hair bright and healthy‑looking. Keep scrolling for the low‑down on your future high‑lift.
You might be wondering what is the proper way to bleach your hair. Before committing to a new hue, it’s essential to consider how bleach can affect your strands. Consider these factors before slipping on your bleaching gloves and getting to work.
Hair bleach—whether applied in the salon or at home—always risks damaging your hair. According to the Cleveland Clinic, the chemicals involved in the bleaching process can strip the protective fibers and oils from the hair. Bleaching opens the cuticle and dissolves the underlying pigment, which can leave hair feeling rough, increase porosity, and reduce strength. Common signs of over‑processing include persistent dryness, straw‑like texture, and excess breakage. Consider your hair history, too: virgin hair generally lifts more evenly than previously colored or relaxed hair, which may require slower, staged lightening.
Understanding how to bleach hair at home properly, picking the right products, and curating a reparative hair‑care routine can all help lessen the negative effects. A gentle, staged approach is key to how to bleach hair without damage. And, if you’re researching how to bleach dark hair, plan for incremental lifts and ample recovery between sessions. With that said, if your hair is already showing severe signs of damage, you may want to table your hair color dreams until your locks can better withstand a round of bleach.
Bleaching your hair can be a time‑consuming process, so patience is key. Achieving your desired hue could take multiple sessions, depending on how dark your starting color is. For example, going fromdark brown to a verypale blonde typically requires around three lifts and generous rest periods to protect your hair; this is the smartest path when you're learning how to bleach hair without damage. If you want to make such a drastic change, you may want to let a professional colorist handle the transformation. Lightening your hair by that many levels often takes a lot of work and skill to get it just right.
It’s best not to dye your hair or undergo any kind of straightening or perming treatment for at least two weeks before bleaching your hair at home. The American Academy of Dermatology (AAD) recommends only one chemical process at a time (color, relaxer, or perm) to help prevent excess damage.
A week before bleaching, it’s also a good idea to limit your hot tool usage. If you do need to use heat, follow AAD’s recommended guidelines of turning them to their lowest setting (and never skipping the heat protectant, of course). Minimizing your hair’s exposure to stressors can help ensure your strands are strong enough to come out of the bleaching process with minimal damage. If you’ve relaxed or permed recently, consult a pro before attempting any lightening at home.
Bleaching clean and unwashed hair yields the same color results, but many stylists recommend the latter for those with sensitive skin. Applying bleach to unwashed hair allows your scalp’s natural oils to build up over a few days. This natural lubrication may act as a protective barrier between your scalp and the bleach, reducing potential irritation. When you’re about two or three days out from the day you’re going to bleach your hair at home, skip the washes and let your scalp oils do their thing. If your scalp feels irritated or you have abrasions, start with clean hair and consider postponing bleaching until things calm down, or consult a professional.
Once you have your inspo photos on deck and a clear space to work in, gather up all your products. This is what you’ll need:
Now that you’re more aware of what your hair transformation will require, you can dive into the actual process of bleaching your hair. Allot yourself more time than you think you’ll need to complete the entire routine so you don’t feel rushed. Here’s our full how-to.
If possible, bleach your hair in a well‑lit and well‑ventilated area. To avoid staining, cover exposed surfaces with old towels or newspapers. It’s also a good idea to wear an old shirt that’s no longer in your wardrobe rotation. Or, drape a towel over your shoulders to protect your clothing. Keep paper towels nearby for spills and set a timer to track processing time precisely. If you're learning how to bleach your hair at home, a good prep is key to preventing messes and helping you stay on time.
Opting for a hair bleach kit can simplify the bleaching process, especially if you’re a novice. Kits usually include the exact formula you need, so there’s less room for error than when DIYing your lightener. Kits also typically provide you with the necessary tools, like a plastic bowl, an application brush, and latex gloves—but read the box carefully to make sure. Speaking of which, follow the label included since instructions can vary among products.

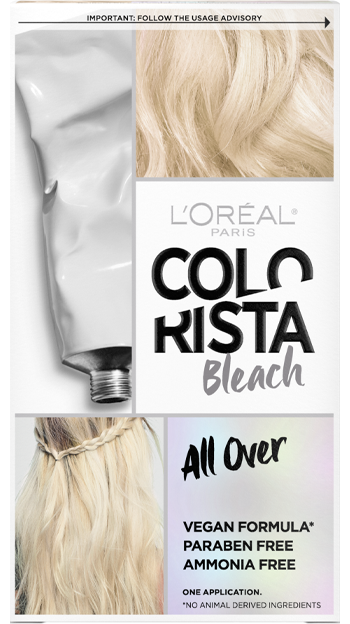
If you’re bleaching brown hair that’s on the darker side, consider using theL’Oréal Paris Féria Hyper Platinum Advanced Lightening System Bleach. This kit, which is available in five shades, allows you to lighten your hair up to eight levels in a single application. It also includes a purple conditioner to help keep brassy undertones at bay. Anyone with dark blonde, light brown, and medium brown hair can opt for the L’Oréal Paris Colorista Hair Bleach & Lightener At Home Kit. It’s specifically designed to give you a gorgeous all‑over bleached, ombré, or highlighted look.
Developer guide:
20 vol is typically best for fine hair or subtle lift; 30 vol suits darker bases in good condition; 40 vol processes fastest and carries higher risk, so reserve it for when you have more experience or consult a pro. These volumes are key when you're learning how to bleach your hair safely.


Follow the instructions from your chosen hair bleach and combine the pre‑portioned lightener and developer in a bowl. Remember always to wear gloves when handling these formulas. Do a strand test first, mix only what you’ll apply immediately, and stick to the recommended ratio—adding extra developer won’t make it gentler and can weaken results. This careful mixing is core to how to bleach hair effectively.
Use your hair clips to divide your dry, unwashed hair into four manageable sections. Brush your bleach mixture evenly over each section of hair, starting about one inch down from your roots. This placement is key since your roots tend to process more quickly from your body heat. Once you evenly saturate every section of hair with bleach, sweep it onto your roots last.
For dark hair:
If your hair is very dark or sensitized, opt for a lower volume developer and plan on multiple sessions rather than pushing processing time. This is especially helpful if you're wondering how to bleach dark hair evenly.
Knowing how long to leave bleach in your hair is important, as overprocessing can result in extensive damage. However, processing time isn’t one‑size‑fits‑all: some formulas may work faster (or slower) than others. Be sure to reference your kit’s instruction label for specific directions and set a timer so you know when your window is up. Check progress every 5–10 minutes and look for an even pale yellow—like the inside of a banana—if you’re aiming for cool blonde. Never exceed the maximum time listed on your kit; this might damage your hair. These timing habits are central when you're getting the grasp of how to bleach hair without damage.
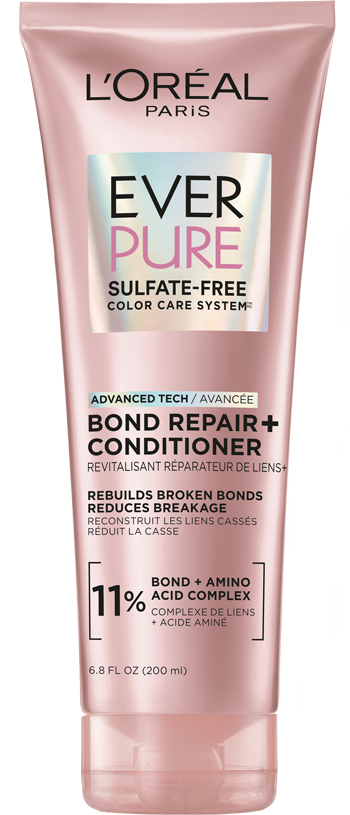
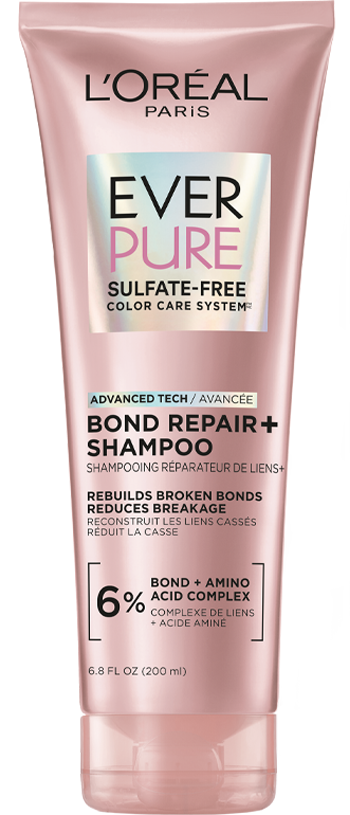
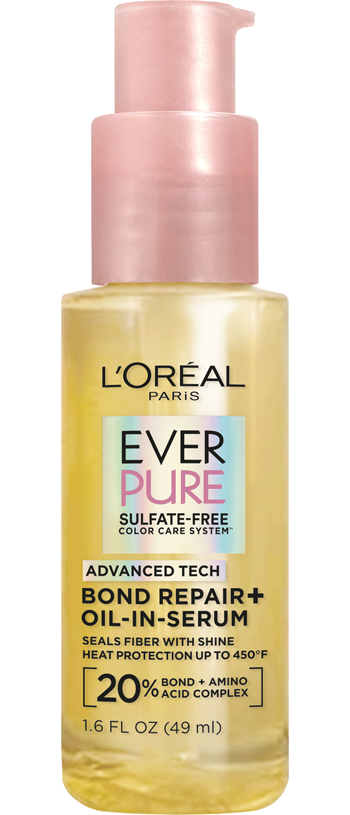
Slip on your protective gloves and thoroughly shampoo your hair with lukewarm water to remove every last trace of bleach. Most kits come with an extra nourishing conditioner, but you can also reach for a product like the L’Oréal Paris EverPure Sulfate‑Free Bond Repair Conditioner with Citric Acid. Pair it with theL’Oréal Paris EverPure Sulfate‑Free Bond Repair Shampoo with Citric Acid; together, the fortifying line can help strengthen hair from the inside out—perfect for repairing bleached locks. Finish withL’Oréal Paris EverPure Bond Repair Hair Oil‑in‑Serum to add softness and protect against future heat.

Bleaching lightens your hair, but it probably won’t give you the final look you’re after. This is where a hair gloss or color‑correcting toner comes in. These products neutralize unwanted brassy tones in your hair color for a more customized and dimensional look. One of our top ways to cool down warm‑toned, bleached hair is with the L’Oréal Paris Fèria Power Toner Long‑Lasting Anti‑Brass Toner in Pearl Blonde or Ice Blonde. If you prefer to maintain tone, add the L’Oréal Paris EverPure Sulfate Free Purple Shampoo to your hair washing routine.
If bleach is just a pit stop on your way to a more vibrant shade, now may be the time to apply your color.Temporary, semi‑, and demi‑permanent dyes are typically fine to use post‑bleaching. However, if you plan to applypermanent dyeto your bleached hair, it’s best to wait a few days or weeks to give your strands time to recover.


A few factors can influence how long to leave bleach in your hair, including your hair type, the color you want to achieve, and the formula used. In general, healthy virgin hair tends to lighten more quickly since it hasn’t undergone any chemical processing. First‑timers should be especially cautious about letting bleach sit for longer than necessary. The same goes for fine hair types, as fine strands lift faster than thick or coarse ones.
Other key factors to consider are your desired level of lightness and your base color. Subtle changes don’t require as much processing time as dramatic lightening transformations would. This is especially true if you’re starting with a dark brown to black base. If you’re using 20 vol, expect slower lift and plan for more conservative timing; 30 vol lifts faster; 40 vol carries the highest risk and should not exceed the maximum time on your kit.
Last but not least, the type of developer you use can influence how long bleach should remain on your hair. Developer is available in different volumes; lower volumes typically require a longer time to work, and vice versa for higher volumes. Be sure to read the instructions on the box for a more accurate look at how long to leave bleach on hair 20 vol/30 vol/40 vol—always per your kit.
Bleaching wet hair isn’t effective for major color changes. You’ll want to follow the instructions of a hair bleach kit as precisely as possible, and they generally advise applying bleach to dry hair. Water on your hair will dilute the bleach, too, resulting in a more subtle color change. This is beneficial for those who only want to lift their color a few levels, but that doesn’t necessarily mean it’s a good idea. Wet hair is more fragile than dry hair, meaning there is more room for damage. When in doubt, leave bleaching wet hair to the pros.
Once you’ve safely bleached your hair at home, preserve your new hair color by adapting your hair‑care routine to suit your boxed hue.
Color‑safe shampoos and conditioners are essential in extending the life of your bleached hair color. We’re partial to the L’Oréal Paris EverPure Sulfate‑Free Moisture Shampoo for Dry Hair and the L’Oréal Paris EverPure Sulfate‑Free Moisture Conditioner for Dry Hair. The duo deeply replenishes dry hair, is gentle on color‑treated strands, and keeps color looking fresh. You can also swap purple shampoo into your routine whenever you notice brassy tones emerging. Reach for theL’Oréal Paris EverPure Sulfate Free Purple Shampoo to help neutralize unwanted yellow or orange pigments and make your lightened color appear brighter.
Bleached hair is more fragile than non‑bleached hair, and heat can further weaken your strands. Try to cut down on hot tools and opt for heatless styles as much as possible. Even lowering the temperature of your shower water can help save your hair from damage and color fading.
When breaking out your blow dryer is unavoidable, always prep your hair with a good heat protectant. Your mane is in good hands with theL’Oréal Paris Elvive Dream Lengths Heat Slayer Leave‑In. This nourishing treatment protects hair against temperatures up to 450 degrees Fahrenheit and helps control frizz. Another great option is theL’Oréal Paris EverPure Sulfate‑Free Moisture 21‑in‑1 Leave‑In Conditioner, which not only protects hair from the heat, it also detangles and moisturizes.
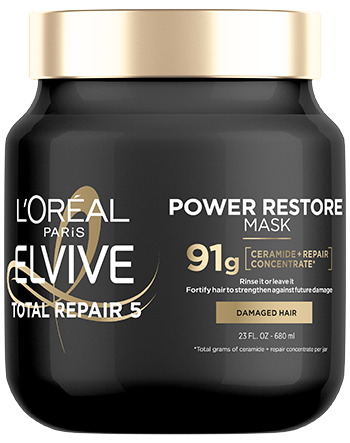
A deep conditioning mask can target common signs of bleach‑induced hair damage like dryness, split ends, and breakage. Plus, many of these treatments aim to strengthen hair and shield it from future damage. Try theL’Oréal Paris Elvive Total Repair 5 Power Restore Multi‑Use Treatment. The protein‑infused formula helps strengthen damaged hair, leaving it looking and feeling silky.


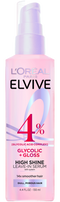
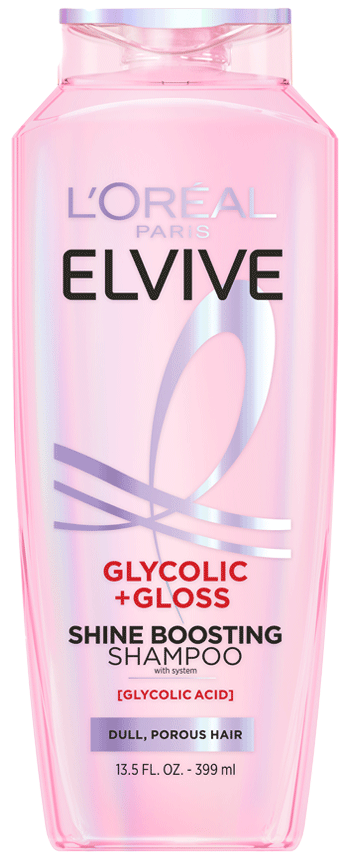
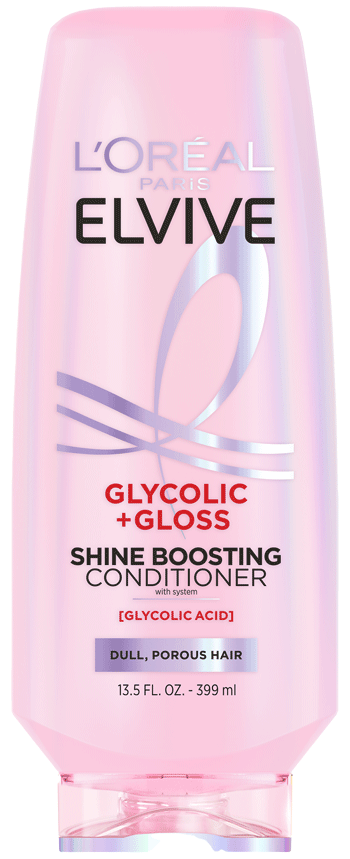
Restore any lost shine and vibrancy with aglossing treatment. UseL’Oréal Paris Elvive Glycolic + Gloss Shine Boosting Shampoo,L’Oréal Paris Elvive Glycolic + Gloss Shine Boosting Conditioner, andL’Oréal Paris Elvive Glycolic + Gloss High Shine Leave‑in Serum together for next‑level shine, and work in theL’Oréal Paris EverPure Sulfate‑Free Glossing 5‑Min Lamination Hair Mask once a week.


To help protect your hair, allow at least two to four weeks between bleaching sessions and assess your strands before you plan another lift. Look for signs like increased porosity, breakage, or a rough feel—those are cues to wait longer. If you’re wondering, "How long should I wait to bleach my hair again?", the safest approach is to pause until hair feels resilient and consistently passes a gentle stretch test. Spacing out sessions also helps minimize color banding and patchiness. In the meantime, lean on toners or a weekly gloss to refine tone without another full bleach.
Usually not. As we said before, bleaching puts your hair under stress, so you should wait until your hair feels recovered and resilient to start your next bleaching session.
Next Up: How To Remove Hair Dye? Everything You Need to Know
Photo courtesy of L’Oréal Paris
This site is intended for US consumers. Cookies and related technology are used for advertising. To learn more, or opt-out, visit AdChoices and our privacy policy.
Your Privacy Choices