Knotless Braids: A Beginner’s Tutorial for This Popular Protective Style
Tackle this protective style at home with this guide.
DISCOVER OUR NEW ARRIVALS. SHOP NOW

Whether out of need or in an effort to improve your skills, if you have natural hair you’ve probably learned to master many protective hairstyles throughout your life. Now, with social media, it’s easier than ever to visually learn even the most complex beauty routines and processes. But for many, knotless box braids still make the list of hairstyles that are not DIY-friendly — until today.
This low-tension version of the beloved box braids may look easy to do but it does take some level of skill and patience. If you haven’t quite perfected knotless box braiding but you’ve made it a goal to grasp this style (no pun intended), take notes from this easy-to-follow knotless braids guide. Grab your comb and your gel and get ready to enter hair braiding heaven.
Knotless box braids are similar to traditional three-strand box braids. Both can be done in various sizes and lengths while protecting natural hair from damage that everyday hair maintenance may bring. The biggest difference is that knotless braids do not include the small knot that’s used to attach braiding hair (at the start of the root) for traditional box braids.
With knotless braids, the hairstyle is created with a feed-in braid technique instead. This involves adding small clumps of braiding hair to your natural hair as you braid, making a single plait (a strand of hair) that sports a flatter, unified appearance. As a result, your braids won’t be as heavy on your scalp compared to box braids, which can help minimize the risk of hair breakage. So knotless box braids are essentially a type of box braid that many prefer over traditional box braids to keep tension off of their scalp.
Follow our step-by-step tutorial to create a knotless braids masterpiece just like a pro braider, but right from the comfort of your own home.
Before braiding your hair into any style, you should always kick things off with freshly washed and conditioned strands. The key is to provide your hair with long-lasting moisture since you’ll have your braids in for weeks. Use the L’Oréal Paris Dream Lengths Curls Moisture Push Shampoo and the L’Oréal Paris Dream Lengths Curls Moisture Seal Conditioner no more than a day before you journey into knotless box braids. The shampoo and conditioner are both formulated with hyaluronic acid and castor oil to lock in moisture.
Keep in mind that you’ll want your hair to be completely dry before braiding hair into any protective style. Use a blow dryer to speed up dry time and always use a heat protectant like the L’Oréal Paris EverPure Sulfate-Free Weightless Blow Dry Primer, Heat Protectant which protects your hair from heat damage up to 450 degrees while offering 48 hours of frizz control.
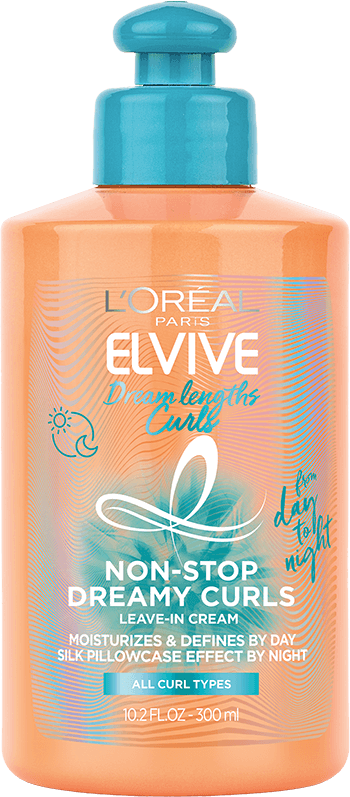
Next, as with any hairstyle, make sure your hair is free of any knots or tangles. Apply the L’Oréal Paris Elvive Dream Lengths Curls Non-Stop Dreamy Curls Leave-In Conditioner to your hair, to add slip and additional moisture to your strands, making detangling easy. Then, using a wide-tooth comb, detangle your hair starting from the ends and working up to the roots.
Breaking up the braiding process will make the overall task feel less overwhelming. To help you do that, divide your hair into four even sections (or more if you have very long or very thick hair). Use hair ties and claw clips to pin the other sections out of the way while you start on one.
Next, you’ll want to give your hair a bit more moisture to protect it for the duration of wearing your knotless braids. Apply a nourishing hair cream or a little more leave-in conditioner to your strands, and be sure to show your ends some love too.
Using a rat tail comb, create your parts. You can choose to go with box parts, triangle parts or something more unique — but decide the start. Creating precise parts will help you avoid borrowing hair from outside of each braid and it will give your knotless braids a more polished look in the end.
Your parts should be sized one to one for the size of braids you desire. In other words, don’t add two inches of braiding hair to a one-inch part. Too much extra hair will cause unnecessary tension on your scalp, even with a knotless braid.
Once you have your parts decided and the size of your braids confirmed, create your first part and apply some hair gel, like the L’Oréal Paris Studio Line Invisi Gel, on the roots of the section to help keep the braid in place. Split the section into three strands and start weaving your braid into a traditional three-strand braid. You’ll want to braid down with your natural hair until it feels secure enough to feed in some braiding hair. This is the foundation for a knotless braid since there is no knot at the root.
Continue braiding your hair down while feeding strands of braiding hair that are the same length as the strands of your natural hair. Throughout your braiding keep a gel, pomade or hair wax on hand (you can also keep a dollop of product on the back of your hand for easy access) to keep strands sleek and with maximum hold. Once you reach the ends, add a little gel for hold.
Be mindful of the specific type of braiding hair you buy as it will make all the difference in how well your ends stay in place. Choose a color, length, and material that works for your desired style and skill level for a fuss-free experience.
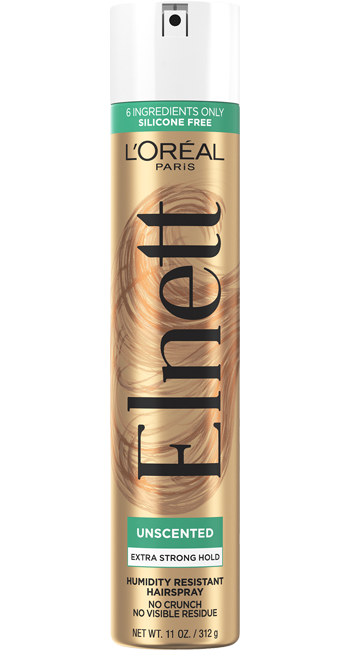
Once the braid is complete, mist holding spray onto each braid, from the root to the ends. This will help your hair bond to the synthetic hair and prevent your braids from unraveling while you continue to work. Try the L’Oréal Paris Elnett Satin Extra Strong Hold Hair Spray - Unscented for extra hold without leaving your hair feeling crunchy. This extra step does add some time and work to the process, but it can make all the difference in how long your knotless box braids stay intact.

Repeat the process on your remaining sections of hair until you have a head full of knotless box braids. Start braiding at the back of the head as this is the hardest section to complete (especially if you’re doing this solo). This is also helpful in case you need to take a break; you can easily put the front of your hair in a bun and rock a half-up, half-down look until you can complete your knotless braids.
Apply an egg-sized amount of hair mousse, like the L’Oréal Paris Advanced Hairstyle BOOST IT Volume Inject Mousse, to your braids from the root to the ends. This will provide your braids with extra hold for a long-lasting look.

Once your braids have fully absorbed the mousse, it’s time to finish things off. If you've ever had your hair professionally braided you may recall them dipping your braids in hot water to seal in the mousse. Unless you know exactly what to do you may want to skip this step at home. Instead, spritz your braids (again) with shine-boosting hairspray, like L’Oréal Paris Elnett Satin Extra Strong Hold, Light Hairspray Unscented, to give your braids some luster.
How long your knotless braids stay in comes down to how well you take care of them and the quality of the braiding hair you used to create them. However, most experts (including the ones from the American Academy of Dermatology) will tell you not to wear any protective style like this for more than four to six weeks to avoid damaging your actual hair.
If you’re hoping to make it closer to that six-week mark, follow the three tips below to help keep your braids looking flawless for longer while protecting your natural hair too.
While you should have already taken steps to provide your hair with moisture during the braiding process, you’re going to need to keep up with moisturizing your strands and scalp after as well. Use your favorite hair oil on your mane once a week to keep your scalp and hair properly moisturized as the weeks go by. We recommend the L’Oréal Paris EverPure Sulfate Free Simply Clean Sheer Oil because it has a lightweight feel and keeps braids from looking frizzy with a natural blend of sunflower, olive, coconut, jojoba seed and rosemary oils.
While you may feel like having a protective style means less maintenance, you still need to protect it at night so that it lasts. Covering your braids with a silk scarf or bonnet can help protect your hair from frizz and keep your braids intact. After all of your hard work, you wouldn’t want your knotless braids to only look good for a week or two.
As beautiful as knotless box braids look, it’s important to take your braids down around the six-week mark (as mentioned earlier) for the health of your natural mane. If you leave them in too long you run the risk of your hair matting at the roots, which can lead to breakage when you try to detangle it. So, play it safe and take out your braids at the appropriate time.
As with any protective style, the most important part is giving yourself grace and patience. Styling hair with knotless braids at home may be tricky at first, but it’ll get easier each time you try this protective style. Besides, you’ll have the joy and accomplishment of knowing that you did your hair yourself.
Next: Silk Press 101: How to Straighten Your Natural Hair at Home Like a Pro
Photo Credit: Tynece Juanita, IG/@necenita
This site is intended for US consumers. Cookies and related technology are used for advertising. To learn more, or opt-out, visit AdChoices and our privacy policy.
Your Privacy Choices


