From simple pigtail braids to intricate woven waterfall braids, there are countless braided hairstyles to choose from if you’re in the mood to rock a plait. But among all the options, box braids remain one of the most popular choices, particularly for women (and men) of color. One reason: Box braids offer protective benefits for coily hair, helping to minimize the damage that can result from frequent styling. When done properly, they can also last for weeks or more, making them ideal for those who prefer not to style their hair daily.
Whether you’ve been wearing box braids for years and want to brush up on your technique or you’ve finally decided you want to try the style at home, keep reading. Ahead, we’ll explain exactly what box braids are and share a simple box braid tutorial to help you nail the look at home—no salon visit required.
What Are Box Braids?
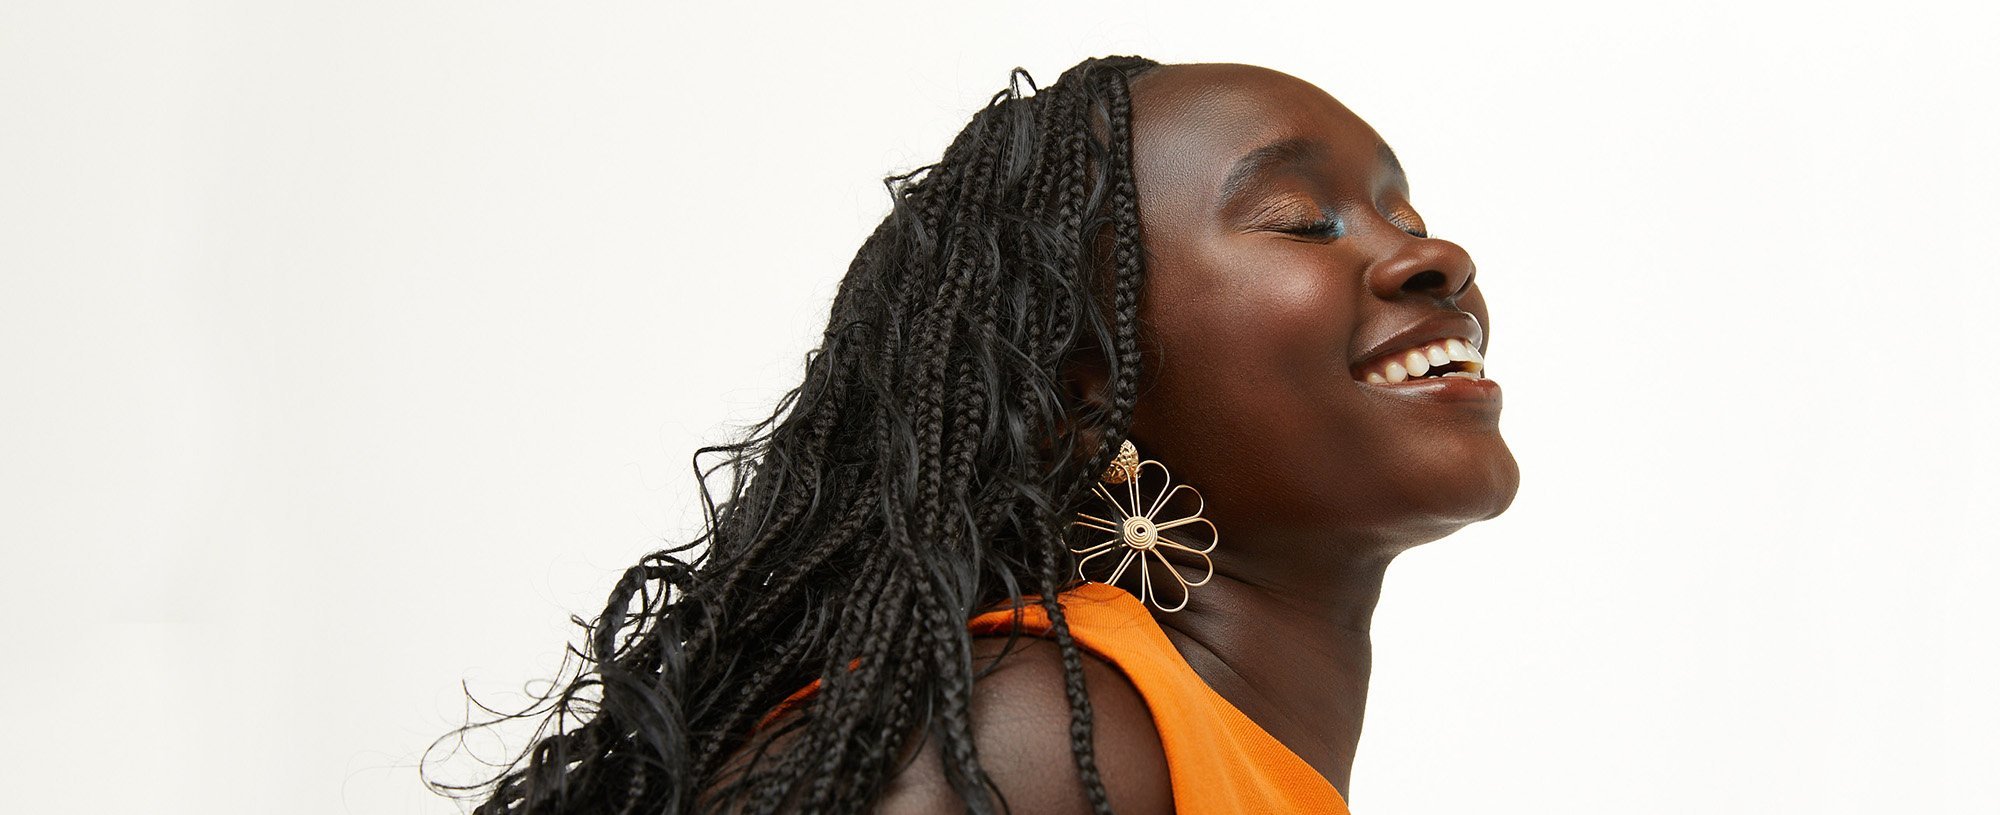
Box braids are a type of protective hairstyle created by dividing the hair into square-shaped sections and braiding each section from the root to the ends (often, with hair extensions added in). Box braids are considered a protective style because they help shield the natural hair from daily manipulation, heat, and environmental damage. By keeping the hair tucked away in braids, the style reduces breakage and retains moisture, two key factors in maintaining the health of curly and coily hair.
When installed and maintained properly, box braids can last for several weeks or more. Plus, there are countless ways to style the plaits, from boho box braids adorned with colorful beads to elegant plaited updos perfect for a special night out.
Box braid styles
There are several methods for creating box braids—the best approach for you may depend on your hair type, texture, length, and preferences. Here’s a look at some of the most common box braid variations to consider.
- Knotless box braids: Traditional box braids often require tying in hair extensions near the root to add length and volume to the hair. With knotless braids, the extensions are gradually woven into the natural hair, eliminating the need for knots. This creates a more seamless look and can help reduce tension on the scalp.
- Jumbo box braids: Jumbo box braids, unsurprisingly, are ultra-voluminous braids. They’re usually created by dividing the hair into fewer sections and braiding each section with extensions to create thick, chunky plaits.
- Micro box braids: Micro box braids are the opposite of jumbo box braids. To create these ultra-fine braids, you’ll need to spend time parting your hair into numerous small, box-shaped sections—the more sections you create, the finer your braids will be.
- Goddess box braids: Goddess braids are similar to traditional box braids, with one notable difference. With this style, curly strands are woven throughout the mid-lengths and ends of the hair to give your mane a slightly more relaxed, bohemian feel.
- Triangle box braids: Triangle braids involve parting the hair into small, triangle-shaped (rather than box-shaped) sections before braiding. The size of the sections can vary, from ultra-small to oversized.
What Products Do You Need for Box Braids?
Before you begin creating your box braids, take stock of your hair supplies to determine if there’s anything you need to pick up before getting started. Ahead, discover what we recommend having on hand to ensure a sleek, seamless style.
Moisturizing shampoo and conditioner
Before creating your box braids, you’ll want to shampoo and condition your hair to ensure you’re working with clean, nourished strands. If you need a recommendation, we suggest the L’Oréal Paris EverPure Sulfate-Free Moisture Shampoo and Conditioner. The duo, which is suitable for all hair types, cleanses and replenishes dry hair for soft, shiny-looking strands. Plus, it’s color-safe, so you don’t have to worry about it stripping your DIY or salon color. For added hydration, work a leave-in conditioner—such as the castor oil-infused L’Oréal Paris Elvive Dream Lengths Curls Leave-In Conditioner—throughout your mane after stepping out of the shower.

Hair extensions
If you have shorter hair or want to add length to your look, consider purchasing braiding hair designed for protective styles. You can find braiding hair at most beauty supply stores, available in a range of colors, textures, and lengths. Use extensions that match your natural hair for a seamless braided look, or experiment with different colors and textures to create unique, personalized braids.
A smoothing hair cream or serum
To help prevent frizz and flyaways from disrupting your sleek braided style, add a smoothing hair treatment to your prep routine. We love the L’Oréal Paris Elnett Anti-Frizz Slick Back Hair Styling Cream, which provides up to 24 hours of frizz control and flexible hold. To use it, dispense a small amount of the creamy formula into your hands and work it through damp or dry hair from root to tip. You can also keep it on hand to help smooth away any errant hairs after you’ve finished creating your braids.

Hair gel
Next, you’ll need hair gel. Applying gel to each section of hair provides grip, allowing for more control over your braids. The right gel can also help keep frizz and flyaways at bay. We suggest looking for a formula that provides long-lasting hold, such as the L’Oréal Paris Studio Line Above It All Invisa-Gel, which provides extreme hold without any build-up or stiffness.
Hair tools
In addition to haircare products, you’ll want to have a few hair tools on hand to help you create neat, defined box braids. Pick up a wide-tooth comb to detangle your hair, a rat tail comb to create crisp, even parts, hair clips to keep your hair sectioned as you work, and small rubber bands for securing your braids. If you plan to accessorize your plaits with beads or embellishments, you’ll want to have those handy before getting started, too.
Is It Better To Braid Wet or Dry Hair?
While it might seem easier to braid wet hair, it’s best to create box braids on dry hair. Hair is more fragile when wet, and manipulating damp strands into tight braids could result in tangling or breakage (which defeats the purpose of wearing box braids as a protective style). Wet hair is also heavy, and braiding sopping wet strands can put extra tension on the scalp. Starting with dry, detangled hair helps keep your braids neat and your strands protected from unnecessary damage.
How To Create Box Braids for Beginners
Once you’ve assembled all of your products and tools, you can begin installing your braids. Keep reading to learn how to box braid your own hair for a sleek, long-lasting style.
Step 1: Cleanse and condition
Start by washing your hair (and don’t skimp on the conditioner). Since your hair is meant to last in box braids longer than most hairstyles, you’ll want to keep your hair as hydrated as possible. If time is a concern, you can also lather up the day before you plan to braid your hair.
Step 2: Detangle and dry your hair
Next, apply the aforementioned L’Oréal Paris Elvive Dream Lengths Curls Leave-In Conditioner to your hair and use a wide-toothed comb to detangle your strands, starting from the ends and working your way up. Then, let your hair dry naturally or blow-dry your mane to speed up the process. If you opt for the latter approach, be sure to prep your strands well with a heat protectant (we love the L’Oréal Paris EverPure Sulfate Free Moisture 21-in-1 Leave-In Conditioner, which helps shield against temperatures up to 450 degrees Fahrenheit).
Step 3: Divide your hair into sections
Once your hair is dry, divide your hair into four sections using your combs. Breaking the process down this way will make braiding more manageable and less daunting. Create even sections by using the long, thin handle part of a rat-tail comb to divide the hair into four quadrants on the head. Work the L’Oréal Paris Elnett Anti-Frizz Slick Back Hair Styling Cream throughout each section, then clip three sections out of the way for the time being. Then, use the sharp end of your comb to divide the section you plan to braid first into smaller sections (or “boxes”). The smaller each box is, the tighter and finer your braids will be.
Step 4: Begin braiding
After sectioning out one quadrant of hair, you can begin braiding. Work a small amount of the L’Oréal Paris Studio Line Above It All Invisa-Gel, throughout the section of hair you’re braiding, then tightly braid the first inch or so of your mane. You’ll want to start the braid as close to the root as possible to create a clean, defined finish. Just take care not to pull on your hair too tightly as you braid to avoid putting unnecessary stress on your scalp.

Step 5: Tie in the braiding hair
If you’re using extensions and want to create knotless box braids, you’ll need to weave in your braiding hair. This can, admittedly, take some practice to perfect, so take your time with it.
After a few stitches (about one to two inches down your natural braid), begin feeding in small pieces of extension hair. Add each piece one at a time by placing it under the braid and braiding it in seamlessly, alternating sides to keep the braid balanced and smooth.
Continue braiding and feeding in hair gradually until you reach your desired thickness and length. The key is to start small and build up as you go, which gives knotless box braids their signature flat, natural-looking base and helps reduce scalp tension. Once you’ve reached the ends, secure the braid with a hair elastic or “close” the braid with a bit of hair gel for a seamless-looking finish. Then, repeat steps four and five until you’ve braided your entire head. Don’t rush the process—the slower you go, the better your end result is likely to be.
Step 6: Finish with a frizz-fighting leave-in
Complete your braided hairstyle by smoothing down your plaits with a small amount of the L’Oréal Paris Elnett Anti-Frizz Slick Back Hair Styling Cream to fight frizz and add glossy, healthy-looking shine.
How To Maintain and Care For Your Box Braids
Box braids can be kept in for up to two months, so you’ll likely need to adjust your haircare routine to keep your braids looking their best as the weeks go on. Here are four tips to keep in mind for healthy-looking (and -feeling) hair.
1. Wash your braids bimonthly
It’s a myth that wearing a protective style means you can forgo shampooing your hair. Any style you sport for weeks at a time will need to be cleaned from time to time to help keep buildup at bay. You can, however, extend the time between shampoos when rocking box braids—aim for once every two weeks or so to keep your scalp and strands fresh. When you do lather up, do so with a formula specifically designed to remove excess oil. We recommend using the L’Oréal Paris Hyaluron + Pure Purifying Shampoo, which helps remove up to 100% of scalp residue without stripping the hair of much-needed moisture. If you have lots of product buildup, pre-treat your scalp with the exfoliating L’Oréal Paris Elvive Hyaluron + Pure Oil-Erasing Serum.
2. Keep your strands hydrated
Box braids are a fairly low-maintenance hairstyle, but that doesn’t mean you should give up on your haircare routine entirely. To help keep your hair feeling hydrated, try spritzing your braids—especially the ends—with a nourishing leave-in once or twice per week. The L’Oréal Paris Hyaluron + Plump Moisture Plump Serum is a great pick, as it’s packed with hyaluronic acid for long-lasting hydration. If you prefer hair oils to serums, try the L’Oréal Paris EverPure Bond Repair Hair Oil-in-Serum—the nourishing formula helps boost shine and strengthens hair to minimize damage and breakage.
3. Sleep in a silk scarf
Before hitting the sheets each night, wrap your hair in a silk scarf or bonnet. The slippery fabric will help protect your hair from friction as you sleep, which can help keep your braids looking sleek for longer (plus, less friction means less breakage). If you don’t have a silk scarf on hand, you can also swap out your cotton pillowcase for a silk or satin version for similar benefits.
4. Take down your braids carefully
Leaving your box braids in for too long can lead to matting, tangling, and hair breakage. Once you hit the six or eight-week mark, it’s time to give your hair a break and remove your box braids. When you do, take your time to avoid putting too much strain on your scalp. Then, lather up with your favorite shampoo and conditioner and deep condition your hair to help nourish it ahead of your next style.
Next Up: How To Do a Silk Press at Home for Smooth, Shiny Strands
Photo courtesy of L’Oréal Paris


