
How To Master the Viral Underpainting Technique in 6 Simple Steps
This professional technique will give you flawless-looking makeup.
If you’ve noticed everybody’s makeup looking a bit more flawless on your feed lately, there’s a good chance underpainting is to thank. This viral technique involves flipping the order of your usual makeup routine, applying face makeup products like contour and highlighter before foundation. This layering approach softens harsh edges, diffuses pigment, and gives dimension without a heavy feel. The result: A sculpted, almost airbrushed-looking base that still looks like skin. Ahead, we’re breaking down everything you need to know about underpainting—why it works, how to do it, and which products to use in your underpainting makeup routine.
Underpainting is a makeup technique that involves applying your contour, blush, concealer, and highlighter to bare skin, then layering a sheer-to-light coverage foundation on top. With the underpainting makeup technique, your foundation acts almost like a soft-focus filter, lightly diffusing the products beneath so they look completely seamless. The light coverage provided by the foundation, meanwhile, helps camouflage imperfections while ensuring a lightweight, breathable finish.
The key to nailing underpainting lies in the products you use. Generally, cream and liquid products are best, since they’re easy to blend and tend to melt into the skin rather than sit on top of it. Sticking to all one texture—for example, liquid makeup—also minimizes the risk of your products pilling or becoming cakey.
Underpainting is pretty simple, but it does require putting everything you think you know about applying makeup on the back burner. Ahead, we’ll explain how to underpaint and share some of our favorite products for a natural-looking finish.
Every good makeup routine starts with a smooth, even base, and underpainting is no exception. Start by washing your face with a gentle cleanser to remove dirt and debris, then apply an SPF moisturizer like the L’Oréal Paris RevitaLift Triple Power Moisturizer with SPF 30 to hydrate and protect your skin. Once your moisturizer absorbs and you’re ready to begin your makeup routine, even out your base with a lightweight primer, such as the L’Oréal Paris Prime Lab Up to 24H Pore Minimizer.
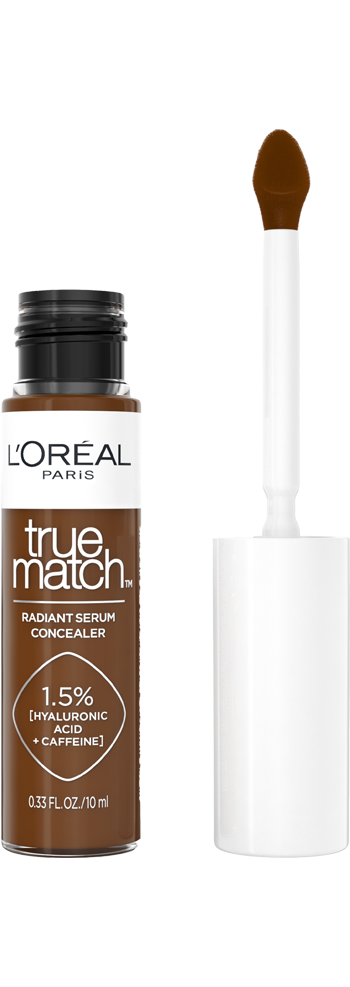
After prepping your skin, grab two blendable concealers—one slightly lighter than your skin for highlighting, the other deeper for sculpting and contouring. We’re fans of using the L’Oréal Paris True Match Radiant Serum Concealer for this step, since it’s lightweight and won’t settle into fine lines or creases.
Start by applying the darker shade to the areas you’d typically apply contour. Usually, this includes the temples, beneath both cheekbones, and underneath your jaw. You can also apply a small amount to either side of your nose bridge to create a sculpted, snatched look. Next, use the lighter concealer to brighten your under-eye area, the center of your chin, and the bridge of your nose. When you’re happy with the placement of both your contour and highlighter, lightly blend out the pigments with a damp makeup sponge. At this point, your contour and highlight will look very stark. That’s okay—you have to trust the process.

Next, grab a buildable liquid blush, like the L’Oréal Paris Lumi Le Liquid Blush. Apply two dots per cheek, then blend the pigment out with a damp makeup sponge to diffuse any harsh edges. You can tap any excess pigment onto your nose for a sun-kissed flush, if desired. If your blush appears too sheer after blending, apply more and blend again. It should be bright and vivid—the foundation you’ll layer on top in the next step will soften the color slightly, so you’ll want to apply a bit more than you normally would.


Choosing the right foundation is key when underpainting. Avoid full-coverage formulas, as they can completely mask the contour and highlight you’ve applied. Instead, go for a skin tint or light-coverage liquid foundation, like the L’Oréal Paris Lumi Le Glow Skin Tint. Because cream contour and highlighter already provide coverage, you only need enough foundation to even out your skin tone. Use a makeup sponge to gently dab and blend the foundation over your contour, highlighter, and blush, creating a seamless, your-skin-but-better finish.

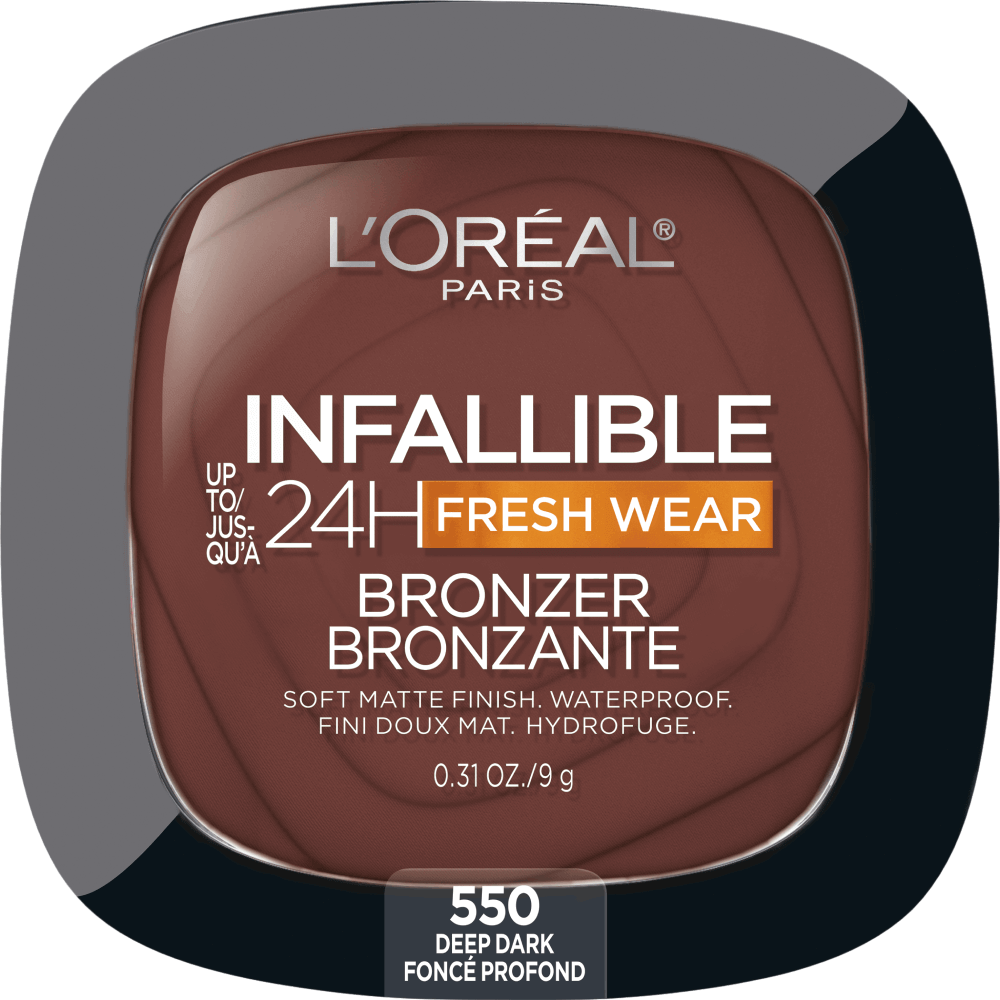
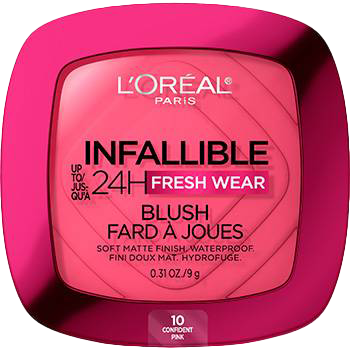
Once your foundation is in place, you can choose to apply powder contour, bronzer, or blush on top. This step is optional, but it can help set your underpainting makeup for longer wear. Lightly sweep the L’Oréal Paris Infallible Up to 24H Fresh Wear Soft Matte Bronzer onto the areas you applied contour to previously, then set your blush with the L’Oréal Paris Infallible Up to 24H Fresh Wear Soft Matte Blush. Here, use a less-is-more approach—your skin is already sculpted and flushed, this step is solely designed to help lock your products in place and keep everything looking vibrant. If you prefer a more dewy, fresh-faced look, you can skip the powders and move on to the final step.
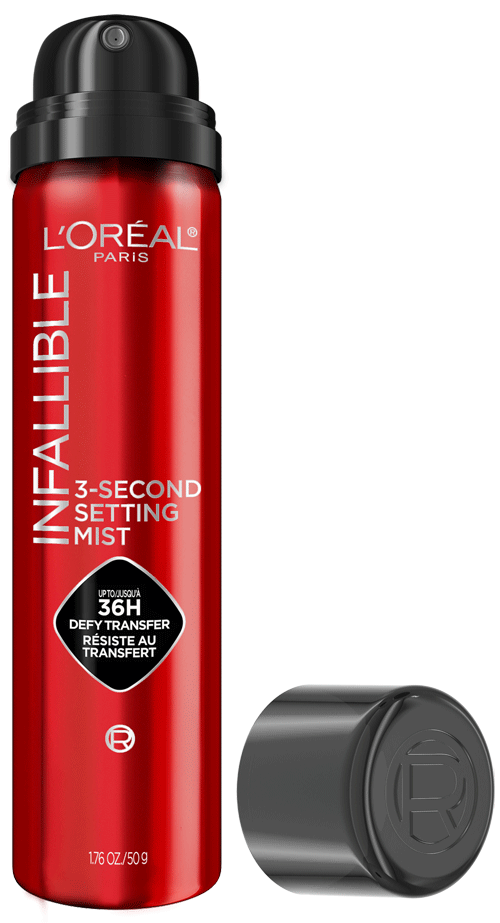
Tie together your look with a glossy lip or soft smoky eye, then set everything in place by misting your face with the L’Oréal Paris Infallible 3-Second Setting Mist, which helps lock in makeup for up to 36 hours with a glowy but natural-looking finish.


Underpainting offers a range of benefits that make it a game-changing technique for achieving a polished, natural-looking base. From seamless blending to longer wear, here’s why it’s worth incorporating into your routine:
Underpainting works for all skin types, though the technique can vary depending on your complexion. If you have oily skin, for example, setting cream products with powder can help control shine and keep your makeup in place. Those with dry skin, meanwhile, may want to skip the powders and stick with hydrating, blendable formulas that melt seamlessly into the skin.
Underpainting isn’t necessarily better than contouring—it’s a different technique with distinct results. While traditional contour sits on top of foundation and can create more dramatic lines, the underpainting technique involves blending contour beneath foundation for a softer, more natural-looking sculpted effect.
Underpainting can help makeup last longer. Layering cream contour and highlight beneath foundation gives products something to adhere to, helping your look stay fresh throughout the day. With that being said, the best way to ensure long-lasting wear is to prep your skin well and to set your look with a quality setting spray.
Powder products can be used to set liquid or cream formulas, but underpainting itself works best with creams or liquids. These textures blend seamlessly under foundation, creating depth and dimension without a flat or cakey finish.
Underpainting is a technique that involves applying contour, highlighter, and blush beneath foundation to sculpt and create dimension. Draping, on the other hand, uses blush—often in multiple shades—applied along the cheekbones and temples to shape and lift the face, creating dimension with color rather than shadows and highlights.
Next Up: Where To Put Concealer To Brighten, Lift, and Perfect Your Look
Photo courtesy of L’Oréal Paris
This site is intended for US consumers. Cookies and related technology are used for advertising. To learn more, or opt-out, visit AdChoices and our privacy policy.
Your Privacy Choices


