Hair tinsel is a fun and on-trend way to elevate your hairstyle for a special occasion or holiday event. You may think that scoring the sparkly streaks requires a trip to the salon, but that’s not the case. If you learn how to put in hair tinsel yourself—which is far easier than you might expect—you’ll have the power to transform your mane whenever (and however) you want.
If you’re ready to give hair tinsel a go, keep reading. Ahead, we’ll explain how to put hair tinsel in using two different techniques simple enough for beginners to nail. We’ll also share some tips on how to care for your newly sparkly strands, clue you in on what to avoid when rocking your metallic extensions, and more. Keep reading for all the intel.
What Is Hair Tinsel?
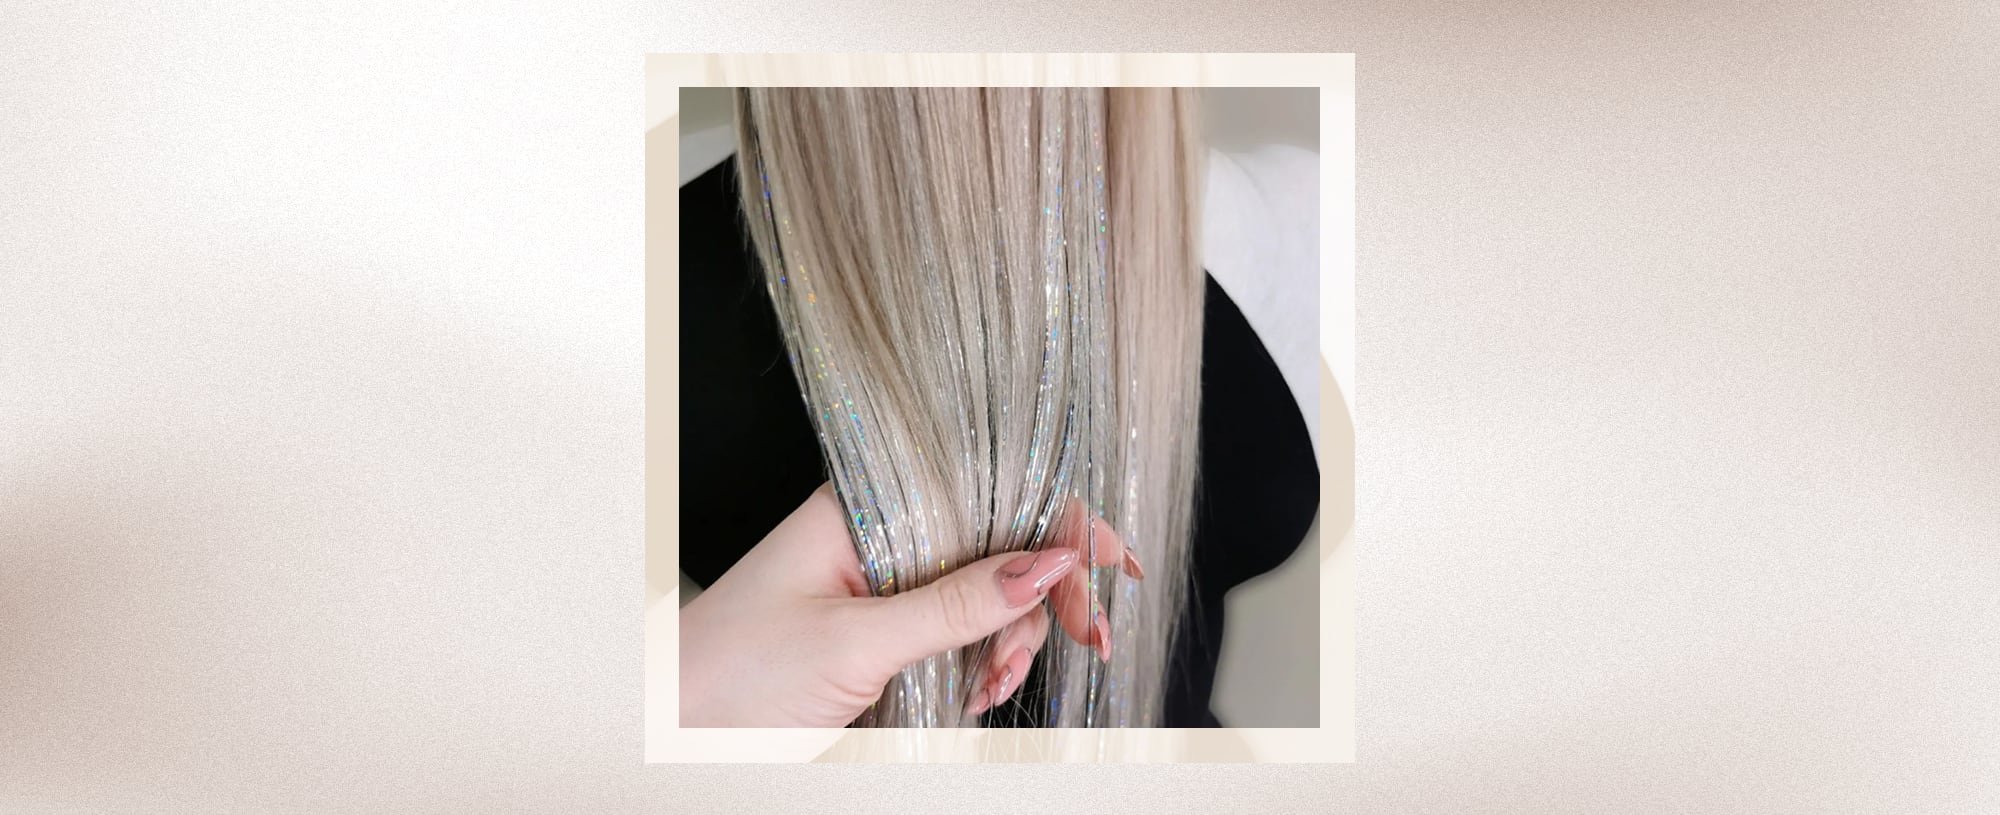
Hair tinsel falls under the category of “extensions,” though they’re not designed to make your hair look longer and thicker. Instead, these thin, metallic streaks are meant to add dimension and shine to your mane (almost like luminous babylights, but without the lasting commitment). You can opt for a natural-looking hue, such as gold or bronze, to subtly amplify your hair color, or embody TikTok’s “fairy hair” trend with shimmery pastel strands woven throughout your mane. No matter which approach you opt for, you’ll enjoy a temporary boost of color and shine without the commitment of a permanent hair color or professional extensions.
How To Install Hair Tinsel With a Slip Knot
If you’re looking to rock hair tinsel for a moment in time, the slipknot method is the perfect temporary fix. All you need is hair tinsel (and a little concentration) and the look can easily be yours. Check out our simple hair tinsel tutorial below.
1. Brush your hair and clip up the top section
Start by brushing your hair to remove any tangles. This will make installing the hair tinsel an easy process. Then, grab an inch-wide section of hair on each side of your part and clip each up. You’ll be installing your tinsel to the topmost section of hair, just beneath your part. Once your hair is down, the tinsel will be visible—but the area where you tied the strands in won’t be.
2. Create a slipknot with the hair tinsel
Next, take the strand of hair tinsel you plan to work with and fold it in half. At the top of the fold, pinch the two halves together to create a loop. Then, wrap the lengths of the tinsel around your finger and pull the lengths through the loop to create a loose slipknot.
3. Separate a small section of hair
Once your tinsel is prepped, section out a thin—think an eighth of an inch—of hair. This is the first strand you’ll secure your tinsel to. Try to avoid grabbing a larger section of hair—it seems like it’d be easier to work with, but the more hair per section, the more likely your tinsel is to fall out.
4. Secure your hair and the tinsel with a double knot
Pull the section of hair through the opening of the slip knot and tighten the loop as you reach the scalp. With the tinsel in one hand and the small section of hair in the other, double knot the two at the roots to secure the hair tinsel. Repeat the process until you reach your desired look and finish by carefully trimming the tinsel to match the length of your hair.
How To Install Hair Tinsel With Microbeads
Installing your hair tinsel with microbeads is another, much easier way to get the look that lasts much longer than the slip knot method. Similar to the way beaded extensions function, a microbead is placed near the roots to secure the tinsel to your hair. Most hair tinsel will come with a pack of microbeads, a hook, and pliers—all of which you’ll need for this method. Check our steps below.
1. Brush your hair and clip up the top section
Starting with clean, dry hair, brush your hair to remove any knots or tangles. Then, section off the topmost section of your hair and clip it up—this is necessary to hide the microbeads. If you install the hair tinsel on the top section of your hair, the microbeads are going to be very noticeable.
2. Clip the tinsel to your hair
After you have separated the top section of hair, take the hair tinsel and use a flat clip to secure it right below where you clipped your hair up.
3. Use the hook to pull the tinsel and hair through the microbead
Next, grab a thin section of hair, roughly an eighth of an inch thick, from beneath the tinsel. Then, use the hook that comes with your hair tinsel kit to push both the tinsel and the thin section of hair through the center of the microbead.
4. Clamp the micro bead
Once your hair and hair tinsel is fished through in the bead, pull the bead up to your scalp and use the pliers to clamp it and secure the hair tinsel. Repeat the process until you have enough tinsel for your liking and finish by carefully trimming the tinsel to match the length of your hair.
How To Care for Hair Tinsel
Figuring out how to put tinsel in your hair is the hardest part (and as you’ve seen from above, it’s really not that tricky). Once it’s in, maintaining the look is relatively straightforward.
If you’re wondering if you can wash your hair with tinsel in, the answer is yes, though we suggest being as gentle as possible when lathering up to avoid loosening the knot or microbeads. Similarly, you’ll want to be careful when brushing or combing your hair—an aggressive approach could tug on the tinsel and make it more likely to fall out.
When cared for properly, hair tinsel can last up to a month. The exact amount of time depends, of course, on how well it’s applied, how you care for your hair, and which method you use. As a general rule, microbeads last a bit longer than slipknots, which may loosen and slip out on their own after a few days or weeks.
How to make hair tinsel last longer
Limiting how often you wash your hair may help your hair tinsel last longer, as less washing means less manipulation. Try to extend the time you go between wash days if possible—if you normally wash your hair every day, try for every other day or every three days (dry shampoo can help stave off oily roots).
On wash days, use lukewarm water and gentle massaging to prevent unnecessary tugging on the knots securing the tinsel. For conditioner, apply it to your ends and avoid the roots where the tinsel is tied to your strands. For an extra-shiny finish, use the L’Oréal Paris EverPure Sulfate Free Glossing Shampoo for Intensifying Shine and the L’Oréal Paris EverPure Sulfate Free Glossing Conditioner for Intensifying Shine. Together, the pH-balanced duo gently cleanses and leaves hair looking healthy and intensely glossy—the perfect complement to your metallic streaks.
Can you use heat on hair tinsel?
Generally speaking, it's best to avoid using heat on hair tinsel, when possible. Though some types of hair tinsel are designed to withstand high temperatures, not all are—and unless you’re certain your tinsel is heat resistant, you should lay off the hot tools for the time being.
If you absolutely can’t part ways with your blow dryer or flat iron, be sure to prep your strands (tinsel included) with a heat protectant. We love the L’Oréal Paris EverPure Sulfate-Free Weightless Blow Dry Primer and the L’Oréal Paris Elvive Dream Lengths Heat Slayer Leave-In, both of which help protect against temperatures up to 450 degrees Fahrenheit. Another tip: Use your hot tools on the lowest temperature setting to achieve the results you want. This won’t only help protect your tinsel—it’ll help protect your hair from unnecessary damage, too.
How to brush hair with hair tinsel
With hair tinsel on, you can brush your hair as you’d normally do. But if you're a particularly aggressive brusher, we’d recommend brushing gently. Use a soft-bristle brush or a wide-tooth comb, and gently detangle from the ends up. And if your hair is particularly prone to knots, use a leave-in conditioner, like the L’Oréal Paris EverPure Sulfate Free Moisture 21-in-1 Leave-In Conditioner for Dry Hair, to help detangle your strands and reduce potential breakage.
Next Up: How To Master the Wet Hair Look in 5 Easy Steps
Photo credit: Naomi Bazadona, IG/@naomi_hair2112
