How To Balayage Your Hair At Home
Hand-painted highlights are easier to achieve than you might think.
DISCOVER OUR NEW ARRIVALS. SHOP NOW

Balayage highlights are sun-kissed, low-maintenance, and multidimensional, so they are an easy choice when you’re looking for a DIY hair color option. If you’ve ever gotten the free-handed highlighting technique, you likely know that achieving the DIY balayage look at home is a bit more complex than one-color boxed hair color because it involves strategically hand-painting color onto the hair for a more natural look. But, to let you in on an insider secret, balayage at home is totally attainable when you have the right products.
If you want gorgeous, natural-looking highlights without the hefty price tag, let this be your handbook to easy, salon-inspired color on your own terms. Keep reading as we share a step-by-step guide to DIY balayage with the L’Oréal Paris Superior Preference Balayage At-Home Highlighting Kit and everything you’ll need to achieve natural, sun-kissed highlights at home.
Balayage is a hair color technique that involves hand-painting highlights onto the hair to add dimensional ribbons of color that differ from the uniformity of foil highlights or the gradient color of ombré hair.
Due to the hand-painted technique, balayage highlights are going to look different on everyone—the free-handed application allows for completely custom color. Along with that, individual hair colors and hair textures will largely affect the end result.
Those with dark brown or black hair are going to need multiple rounds of bleaching to achieve icy blonde balayage. For this reason, caramel or auburn balayage is a good way to begin. If you’re starting with a blonde or lightened base, achieving champagne or icy balayage may be easy because your hair is already lightened.
While DIY balayage requires a different approach than highlights or allover color, you can balayage your hair at home provided you have the right tools, such as a balayage kit, sectioning clips, gloves, mirrors, and foil.
The L’Oréal Paris Superior Preference Balayage At-Home Highlighting Kit is your most significant tool for achieving DIY balayage. Available In three shades—Light to Dark Blonde, Medium Dark Blonde to Light Brown, and Light Brown to Brown—this balayage at-home kit is perfect for blondes and brunettes looking to upgrade their strands with salon-inspired color at home.
The kit includes a new Expert Touch Applicator with a comfortable grip for a seamless application, allowing precise, blended color that mimics a professional colorist’s hand-painted highlights. Along with that is the Pro Toning Mask that blurs the root line and tones your highlights for a natural-looking, lived-in dimension.

Once you select the right color balayage at-home kit for your hair, it’s time to start. Follow these simple tips (included in the at-home hair color kit) and step-by-step balayage your hair at home.
If you want to follow along on the balayage process, watch DIY balayage tutorial above.
Part your hair evenly down the middle with a wide-tooth comb and create two even sections like you’re creating pigtails. Pull your hair to the front, leaving one section on each side of your face. Clip each section.
Put on the gloves to protect your hands from the coloring agents and add the entire packet of bleaching powder to the developer cream. Shake the bottle so the powder can evenly mix. Then, add the entire tube of the lightening cream to the developer cream. Again, shake the bottle until all three products have absorbed together, creating one thick cream. Twist the cap off the developer cream and pour the product into a color-safe bowl.
With the gloves on, slide the Expert Touch Applicator onto your middle and ring fingers. Using your other hand, section off a quarter-inch piece of hair at the back of your head. Dip the applicator into the bowl of color to evenly saturate each bristle.
Use the applicator to apply the color to the quarter-inch section of hair from a few inches past the roots to the ends. Then, use your fingers to lightly massage the color into the hair so it’s evenly distributed. Repeat this process, moving from the back to the front of the hair, completing both sides.
Editor’s tip: Feel free to clip back the section of hair you’re not working on to keep it out of the way.
Once you’ve applied the color all over your hair, now it’s time for it to process. Let the color develop for 25-45 minutes, depending on your desired balayage results. We recommend setting a timer on your phone so you don’t forget.
After your processing time has passed, rinse and shampoo your hair with lukewarm water until the water runs clear. Towel dry your hair and apply the Pro Toning Mask to your roots to soften the color and blur your root line.
Massage the mask onto your scalp for 30 seconds to lather the product, then evenly distribute it through the rest of your hair. Leave the mask on for 10 minutes and rinse again.
Once you rinse your hair, style your new DIY balayage highlights as usual. If you plan on using heat, prime your freshly colored strands with a heat protectant like the L’Oréal Paris EverPure Sulfate-Free Weightless Blow Dry Primer Heat Protectant.
DIY balayage is lower maintenance than traditional highlights because it doesn’t go to the root. Still, you’ll want to ensure you take proper care of your hair to keep your highlights shiny and healthy. Here are a few tips to keep in mind.
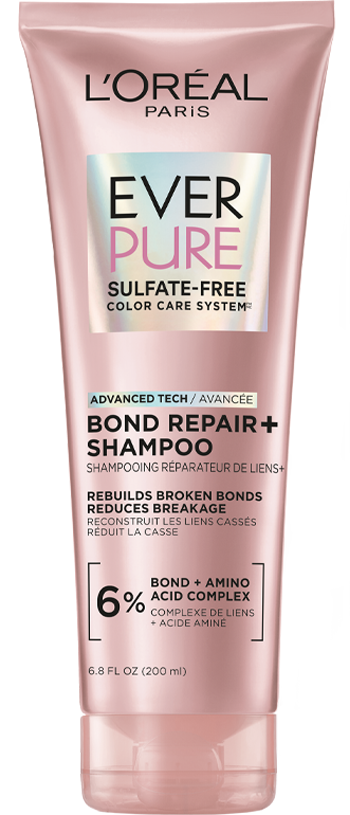
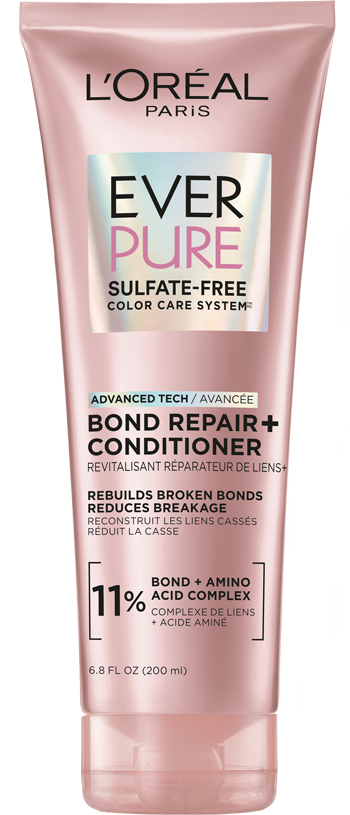
When you have color-treated hair, you’ll want to limit your hair washing to 2-3 times a week and try not to use harsh products. Stylists recommend using a sulfate-free shampoo and conditioner like the L’Oréal Paris EverPure Sulfate Free Bond Repair Shampoo with Citric Acid and the L’Oréal Paris EverPure Sulfate Free Bond Repair Conditioner with Citric Acid. This reparative duo helps to prevent fading color and works to strengthen weak hair bonds that often occur with constant bleaching and coloring.
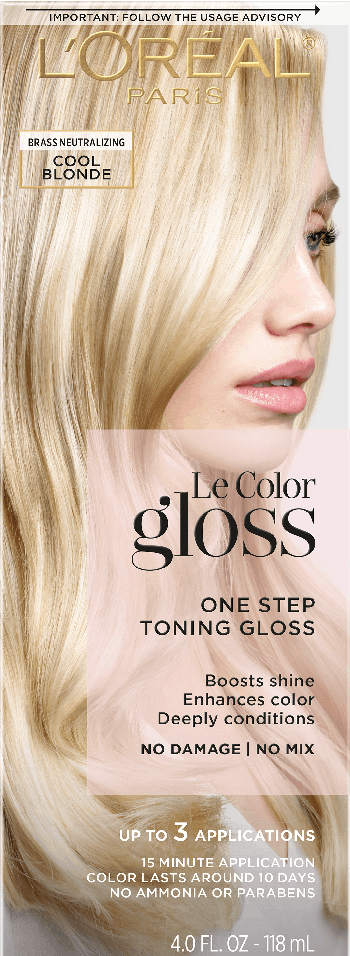
Once a week after shampooing and conditioning, apply the L’Oréal Paris Le Color One-Step Toning Gloss to keep the color vibrant and prevent a brassy look
Heat styling is sometimes hard to avoid, but doing it frequently can damage your strands and make your color fade more rapidly. If you do need to blow-dry, curl, or flat iron your hair, make sure you protect your strands with a high-quality heat protectant. Try the L’Oréal Paris EverPure Sulfate-Free Blow Dry Primer. The leave-in treatment helps to smooth the hair, boost shine, and protect against temperatures up to 450 degrees Fahrenheit. Remember to take breaks between heat styling when you can to help preserve your hair’s healthy look and feel.
Next Up: What is Balayage? Everything You Should Know About This Highlighting Technique
Photo Courtesy of L’Oréal Paris
This site is intended for US consumers. Cookies and related technology are used for advertising. To learn more, or opt-out, visit AdChoices and our privacy policy.
Your Privacy Choices


