
How To Self-Tan for a Golden Glow Year-Round
From choosing the right formula to maintaining your glow
From choosing the right formula to maintaining your glow
Skipping hours in the sun and reaching for self-tanner instead is a smart way to achieve a bronzed look while protecting your skin. Learning how to self-tan makes that glow easier to get year-round. A well-chosen formula can deliver a believable, sun-kissed tone while you minimize the visible effects of UV exposure. When you treat self-tanner as a regular part of your skin care routine, rather than a last-minute step, it becomes a simple ritual rather than something to stress over.
Applying self-tanner can feel intimidating at first because streaks, uneven color, and orange palms are common worries. With a little prep and a clear routine, you can smooth on your color with confidence and wake up to a believable glow. The tips below will walk you through how to fake a tan from prep to aftercare so self-tanner becomes a regular, low-stress step in your routine.
Start by choosing a self-tanner that fits your needs, skin type, and lifestyle. Self-tanners come in various forms, including sprays, towelettes, gels, foams, serums, and gradual lotions, so consider the textures you already enjoy in your skincare routine. If you are new and wondering how to do a fake tan, gradual or buildable formulas are often the easiest place to start, as they give you more control over the intensity.
If you want to test out a few self-tanners to see what works best for you, take your pick from these self-tanner favorites and match the format to your routine.
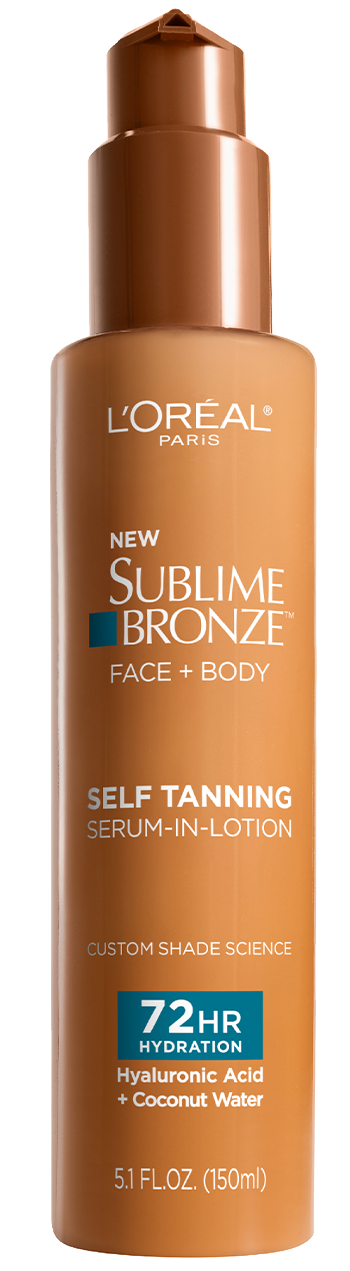
If you're wondering how to self-tan while caring for your skin, this self-tanner is for you. Quench your skin with 72-hour hydration and a sun-kissed glow in one step. This lightweight, fast-absorbing serum-in-lotion, featuring coconut water and hyaluronic acid, leaves the skin feeling soft as the color develops for a natural-looking, even finish. It is a good option if you enjoy a gradual, buildable result that fits easily into your daily body care routine.

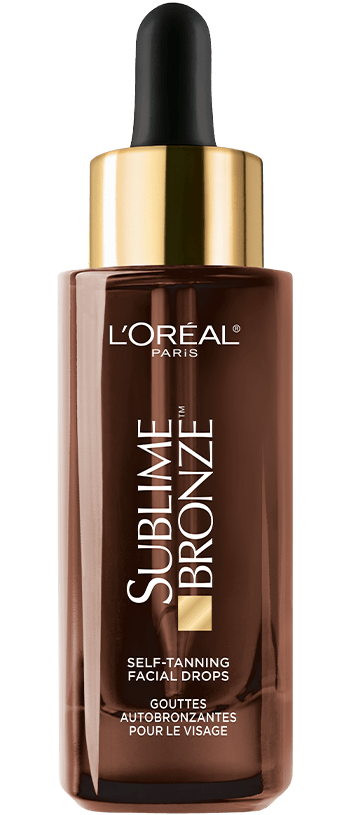
Now, if you are concerned about how to apply self-tanner on your face, these concentrated drops are designed to be mixed with your everyday moisturizer, allowing you to customize your self-tanner face routine. Add a few drops to your cream or serum for a low-maintenance, buildable facial tan that fits easily into your nightly routine. Apply daily until you love your glow.

This airy water-to-foam self-tanner is a good match for those who prefer a mousse-like texture on their body. It feels lightweight on the skin and develops into a long-lasting tan while vitamin E and coconut water help keep skin feeling hydrated and smooth. This is a great choice when you're learning how to do a fake tan on your body and want an easy-to-blend formula.


These individually wrapped towelettes are ideal for travel, gym bags, or quick touch-ups when you pack light. Each wipe holds enough formula for one full-body application, making it easy to maintain your glow on the go. They are especially helpful when you are practicing how to self-tan and want a format that is quick and low-fuss.


If you're wondering how to fake tan using spray, this mist features a wide-angle applicator nozzle, helping you achieve an even, streak-free result at home. The ultra-fine, continuous spray makes it easier to reach your back and other hard-to-get areas for a more seamless finish. The quick-drying formula delivers the professional airbrushed tan look you're aiming for.

This tinted body bronzer adds instant luminosity with light-reflecting micro-pearls while your tan develops. The quick-drying lotion combines an immediate bronze tint with self-tanning ingredients that continue to deepen your glow over the next several hours. It is a good choice when you want immediate radiance plus a gradual golden tone that you can build over several days, especially on areas like legs, arms, and décolletage. This fits easily into your routine when you are refining how to self-tan on the body.

If you want to get the most out of the self-tanning experience, follow these tips for a longer-lasting, more even-looking outcome.
Many people forget to exfoliate before applying self-tanner, which can result in patchy or uneven color. Gently buffing away dead surface cells creates a smoother canvas, allowing your self-tanner to glide on and develop more evenly. Pay extra attention to notoriously dry areas, such as the knees, elbows, ankles, and heels, as they tend to absorb more pigment.
Remember that shaving is a form of physical exfoliation, so timing matters for your tan. Shaving before you apply self-tanner can help keep hair from catching product and creating a speckled effect on the legs, underarms, or bikini area. Try to shave at least a few hours before tanning so any sensitivity has time to calm. Once your tan has developed, avoid shaving again for a day or two so you do not buff away fresh color too quickly.
If you've ever wondered, "Should I moisturize before self-tan?", here's your answer. After exfoliating your body, continue prepping by applying a light, even layer of moisturizer. Areas like the elbows, knees, ankles, hands, and feet tend to be drier, and applying self-tanner without hydration can cause it to cling and darken in these areas. A thin layer of lotion before self-tanner helps the product glide more evenly and softens transitions at wrists and ankles.
Another common concern is whether it is better to tan with wet or dry skin. The answer is that self-tanner always performs best on dry skin. So, after you shower, wait until your skin feels completely dry and comfortable.
If you want a believable-looking tan and an even application, work in sections instead of rushing through your entire body at once. Apply your self-tanner in long, smooth strokes or small circular motions, starting at your legs and moving upward so you do not crease fresh color while you bend. Using a self-tanning mitt, latex-free gloves, or a dense body brush can also help you blend while keeping your palms clean.
If you choose to use your hands, wash them well with soap and water after each section, including between fingers and around the wrists. Taking a moment to check your wrists, sides of the hands, and under the nails helps prevent telltale stains that can give away a fake tan.
When it comes to self-tanner, every visible spot matters. Skipping small areas such as the ears, the back of the neck, the sides of the feet, or the backs of the hands can make your tan look less natural. Use what is left on your mitt or hands at the end to gently sweep over these spots so the color looks continuous.
If you are nervous about certain detail areas, use a cotton pad or cotton swab to diffuse a sheer veil of product. This approach is especially helpful around the hairline, jawline, and ears when you apply self-tanner on your face, so your color fades seamlessly into your natural skin tone.
Typically, the trickiest places to apply self-tanner are joint areas like ankles, knees, and wrists because they are drier and more textured. These spots absorb more pigment, which can leave them looking deeper than the rest of your body if you use the same amount of product. For those areas, adding lotion before self-tanner is not enough. To balance this out, mix a small amount of your self-tanner with moisturizer when you apply it to these areas.
Blending a diluted layer over joints helps your tan look softer and more natural while still connecting your color from limb to limb. This technique is helpful whether you prefer lotion, mousse, spray, or serum formulas and is especially useful if you are still getting comfortable with how to self-tan at home.
After applying self-tanner, dusting a small amount of translucent powder over areas prone to creasing can help keep your color in place. Focus on underarms, the backs of knees, inner elbows, and anywhere skin may rub together under clothing. A light layer helps absorb excess moisture so your tan is less likely to transfer while it develops. Try the L'Oréal Paris Infallible Blur-Fection Longwear Loose Setting Powder for up to 24 hours of transfer protection.
Layering more product is not always the fastest way to get a deeper tan. Most self-tanners are designed to develop over several hours, so applying extra layers right away can increase the likelihood of streaks and uneven patches. Instead, apply a single thin layer, then let your tan develop according to the product directions.
If you want more depth after your first application has fully developed, add another thin coat the next day or as directed on the packaging. This gradual approach gives you more control over the final result, especially when you're learning how to do a fake tan in a low-stress way.
Time and patience are your friends when it comes to getting a flawless-looking fake tan. Putting clothes on before your self-tanner is fully dry can result in a splotchy finish and stained fabric. Once you have finished applying, give your skin a chance to dry completely and avoid tight waistbands or sleeves that could rub.
Wear loose, darker clothing while your tan develops, and avoid showering, sweating, or swimming for the time recommended on your product’s instructions. If you know you won't be able to wait around during the day, apply your self-tanner at night so your color can develop while you sleep.
Caring for your skin after you tan makes a big difference in how even and long-lasting your color looks. With the right aftercare, most self-tanners can wear beautifully for about five to seven days before you need to fully refresh.


Next Up: How To Remove Sun Spots for a Glowy, Even Complexion
Photo courtesy of L’Oréal Paris OR Photo credit: TKName, IG/@TKhandle
This site is intended for US consumers. Cookies and related technology are used for advertising. To learn more, or opt-out, visit AdChoices and our privacy policy.
Your Privacy Choices


