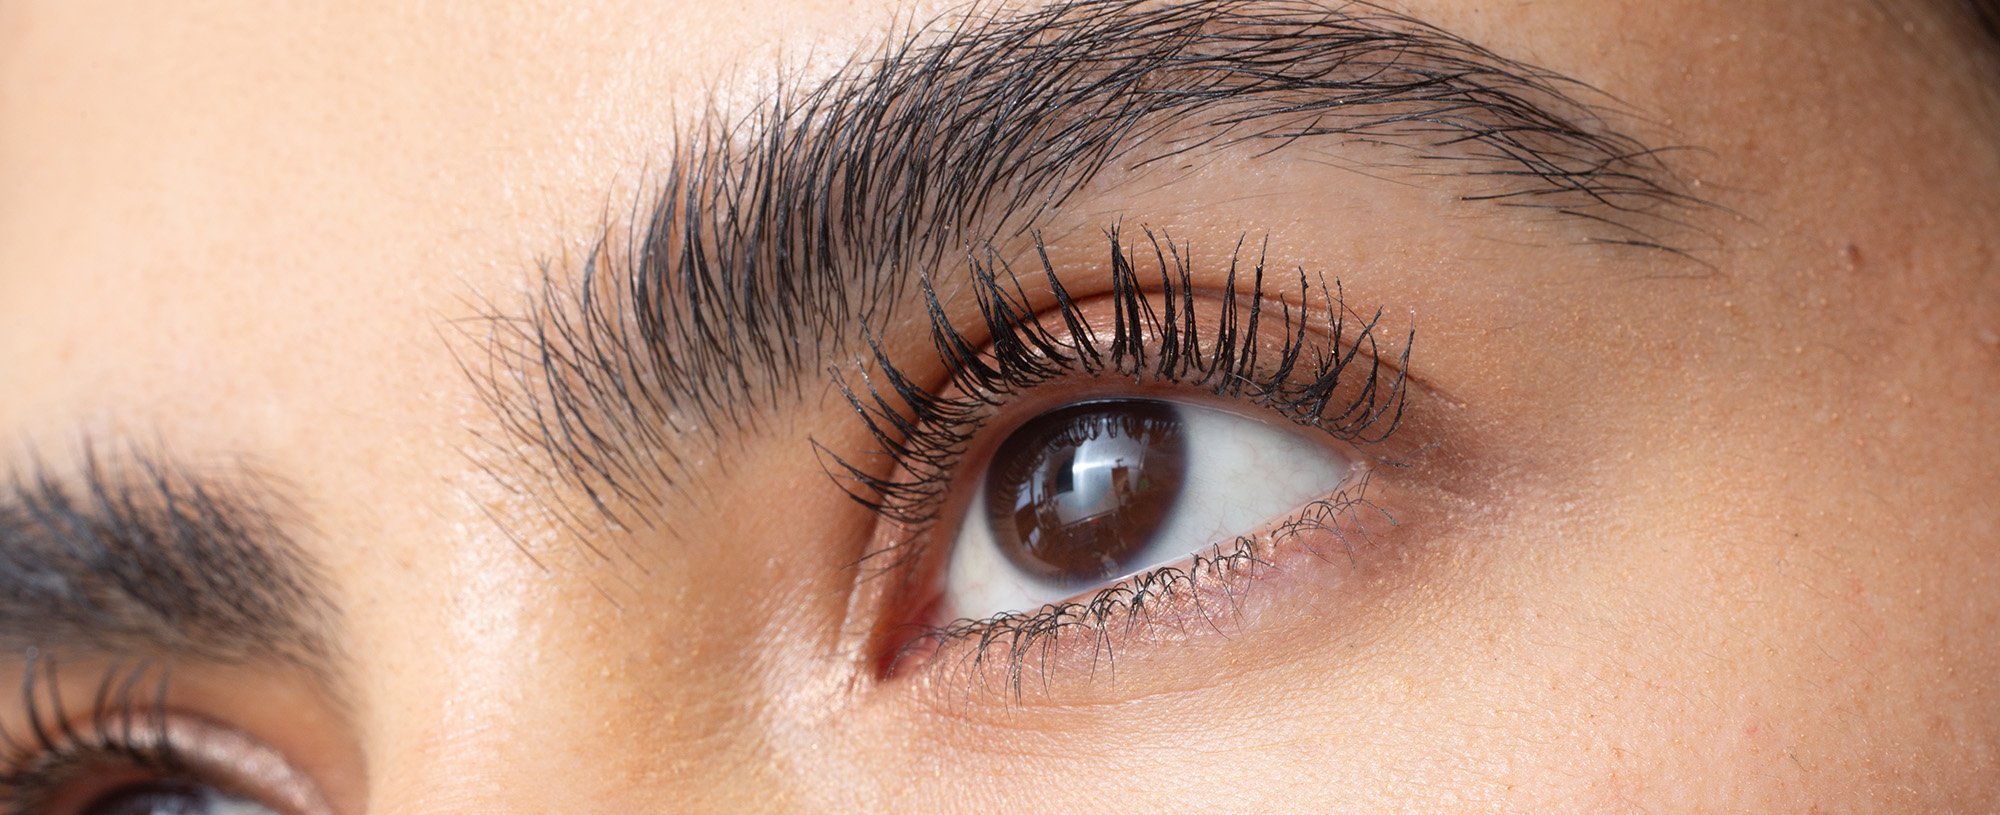
Even with the recent resurgence of skinny brows, bushy eyebrows will always have a place in our hearts. Full, thick eyebrows make a bold statement and easily draw attention to your eyes. But they don't come without a downside—as anyone blessed with bountiful brows knows, regular eyebrow grooming is a must to keep those thick arches looking neat.
If you’re looking to embrace your bushy brows but aren’t sure how to groom them, keep reading. We’ll explain everything you need to know about taming your arches ahead and introduce you to some of our favorite brow products to add to your routine.
Tools You’ll Need To Groom Bushy Eyebrows
Thick eyebrow shaping typically involves trimming stray hairs and trimming your brows into a neat (but full and defined) shape. Below, we’re detailing exactly what you need to get the job done.
Essential grooming tools
Before you get started, make sure that you have the following tools on hand:
- A clean spoolie brush
- Tweezers or wax
- Sharp eyebrow scissors
Optional styling products
Styling products can be used to fill in sparse areas, add definition, or hold your brow hairs in place. If you want a precise, well-defined brow look, consider adding the following to your toolkit:
- A brow pencil or pen
- Brow gel
How To Groom Bushy Eyebrows in 7 Easy Steps
When grooming bushy brows, there are a handful of steps you’ll want to follow for the best results. We break them all down below.
Step 1: Pick your eyebrow shape
Before you pick up the tweezers, you’ll want to figure out what shape you’d like your eyebrows to be. Generally speaking, you’ll want to choose an eyebrow shape that complements your face shape, as this will yield the most flattering results. If you need help determining yours, check out our guide to the best eyebrow shapes for different face shapes.
Keep in mind that if your brows are currently a different shape than your ideal, you may need to wait a few weeks for them to grow in before attempting to shape them again. Be patient—it’ll be worth it in the end.
Step 2: Sketch out your shape
When you’re ready to start grooming, use an eyebrow pencil to sketch out an outline of your ideal brow shape. Don’t worry about drawing it flawlessly—this outline is just there to guide you as you shape your brows. For a precise and defined outline, we recommend using the L’Oréal Paris Brow Stylist Definer Mechanical Waterproof Eyebrow Pencil. It boasts a spoolie brush on one end (you’ll need this later!) and a fine-tipped retractable pencil on the other for sketching out your brow shape.

Step 3: Remove stray hairs
If you have thick eyebrows, you may notice some stray hairs fall outside of the outline you drew in step two. If left to grow, these stray hairs can make your brows look unkempt (read: caterpillar eyebrows).
To shape your brows, use tweezers to pluck away those unwanted hairs. If you prefer waxing over tweezing, that’s fine—just be sure to take your time to avoid inadvertently removing too much. The goal here is to clean up your brows, not make them look thinner.
Step 4: Trim your brows
Next, use your spoolie to brush your eyebrow hairs upward. If your brows are on the longer, bushier side, you may notice that some of your brow hairs extend beyond the outline you drew earlier. Use a pair of angled eyebrow scissors to trim away any excess length until you achieve your desired brow shape. (For further guidance on the best approach, check out our article How To Trim Your Eyebrows at Home).
When trimming, remember that less is more. Trim just a little hair at a time—you can always go back in for touch-ups if needed.
Step 5: Wipe away your outline
Once you’re satisfied with the shape of your brows, you can remove the outline. Use a makeup remover wipe or dip a cotton swab into some micellar water and gently wipe away the pencil.
Step 6: Fill in as needed
If you spot any sparse or uneven areas that you’d like to touch up after removing your outline, use the same brow pencil you used earlier to fill in your brows. Use light pressure and draw short, fine strokes where you’d like added definition or color.
When you’re done filling in your brows, flip the pencil over and use the spoolie to blend the lines for a natural-looking bushy brow effect.
Step 7: Set your brows
Lastly, you’ll want to set your brows to keep them in place. We recommend doing this with an eyebrow mascara or gel, such as the L’Oréal Paris Volumizing 24H Wear Infallible Brow Mascara. Use the tinted mascara’s 3D micro-grip brush to coax your brows into your desired shape, then let it dry.
Shop the Products
How To Fake Full, Bushy Brows
It’s easy to fake the appearance of thick eyebrows—you just need the right tools (and products). When it comes to grooming, you’ll want to follow all the same steps as those with naturally bushy eyebrows. So, determine your preferred shape, trace your brows, and trim, tweeze, or wax your brows until you achieve your ideal brow shape. Styling is where a slight difference will come into play.
Step 1: Draw faux eyebrow hairs
The first thing you’ll want to do to fake the appearance of thicker eyebrows is draw faux brow hairs. We recommend using the L’Oréal Paris Faux Brow Hair-Like Brow Filling Pen for this step. It boasts an ultra-precise dual brush tip that creates fine, hair-like strokes in seconds. To use it, shake the pen, then uncap it and begin drawing small, upward strokes to add thickness and definition to the front of your brow. As you move toward the tail, adjust your grip slightly so the faux hairs angle toward your temples.
Editor’s tip: If you’re stuck between two shades, we suggest opting for the lighter one. Following this simple eyebrow tip will help ensure your bushy eyebrows look natural—not drawn-on.

Step 2: Brush up your brows
After you’ve filled in your brows, brush your brows upward with a clear brow gel, such as the L’Oréal Paris Infallible Up to 24HR Brow Lamination. The lightweight formula is designed to lift and hold each hair for a full, feathery look that stays put for up to 24 hours. As you apply the clear gel, brush your brow hairs upward, rather than outward, for added volume. Then, give yourself a pat on the back—you’ve just faked your way to thick eyebrows.

Step 3: Consider a professional service
If you’re looking for a longer-lasting brow solution, consider opting for professional brow lamination or microblading. The former shapes and “freezes” brow hairs into a brushed-up, fluffy, and groomed position, while the latter involves tattooing your arches to create a thicker or more defined shape. If you choose to go this route, make sure to visit a reputable salon and follow your technician’s aftercare instructions to ensure the best results.
Shop the Products
Next Up: How To Get Ombré Brows With Makeup
Photo courtesy of L’Oréal Paris
