How To Master a Classic Chignon Bun in 7 Easy Steps
Nailing this elegant look is simpler than you might expect.
DISCOVER OUR NEW ARRIVALS. SHOP NOW

Nailing this elegant look is simpler than you might expect.
Some hairstyles never go out of style, and the classic chignon is one of them. For decades, this elegant updo has remained a favorite for everything from special occasions to low-key date nights, thanks to its polished look and surprising versatility. Whether you prefer to wear it low and sleek or favor a more undone take on the timeless trend, the chignon bun can work for just about any occasion. And while it may look like the kind of style that requires a team of pros to execute, it’s actually incredibly simple to create at home (even if your hairstyling skills are less-than-stellar). Ahead, we’ll break down exactly how to do a chignon bun and share a few of our favorite variations on the classic look.
A chignon is a twisted updo that resembles a sleek, knotted bun. The name comes from the French term “chignon de cou,” which translates to “nape of the neck,” where the bun typically sits.
The classic chignon hairstyle is sleek, elegant, and refined, making it especially popular for special occasions, such as weddings. However, it doesn’t have to be reserved for fancy events—the chignon hairstyle is versatile and can easily be adapted to suit a variety of occasions.
The terms bun and chignon are sometimes used interchangeably, but they’re not exactly the same thing. A bun is a general term for any type of hairstyle where the hair is twisted or wrapped into a rounded shape and secured. They can range from messy and casual to tight and sleek, and they can be placed pretty much anywhere on the head.
A chignon hairstyle, on the other hand, is a specific type of bun that’s traditionally worn low at the nape of the neck. Creating it involves twisting the hair into a knotted shape and securing it at the base of the head with bobby pins. As mentioned, chignons are often associated with special events, though they can be adapted for more laid-back occasions, too.
Though the chignon may look intricate, it’s not difficult to create. A few products and a little patience are all you need to nail the look. Keep reading for a detailed step-by-step breakdown on mastering the style.
Like most updos, the chignon works best on second or third-day hair: if your hair is too clean, it might be slippery, which can make styling it a challenge. With that being said, you don’t want your hair to appear greasy. If you’re sporting oily roots (or if you’ve recently washed your hair and it’s too slippery to get a hold on), mist your mane with dry shampoo to absorb excess oil and provide grip for your style. Then, brush your hair to remove any knots or tangles.
Next, dispense a small amount of the L’Oréal Paris Elnett Anti-Frizz Slick Back Hair Styling Cream into your hands. Run your hands through your hair at the roots and crown to tame frizz, then use a boar-bristle brush to slick your hair back, as if you were creating a slicked-back bun or ponytail. If you’re wearing your chignon with a visible part (a popular variation on the classic look), part your hair in the middle, then slick each half of your hair back toward the nape of your neck. The styling cream will help to reduce frizz and give your style a sleek, polished finish, without any crunchy feel or visible residue.
After brushing your hair back, gather your lengths into a low ponytail at the nape of your neck. Secure the ponytail with a clear hair elastic. Don’t secure the pony too tightly—you’ll need a little extra room in your elastic for the next step.
Next, pull the length of your ponytail through the elastic once more, leaving out about two inches at the ends to form a looped bun. You’ll want to twist your hair as you pull it through so the ends stick up (toward your crown) rather than down. It’ll look a bit strange at this stage, but be patient—the magic has yet to come.
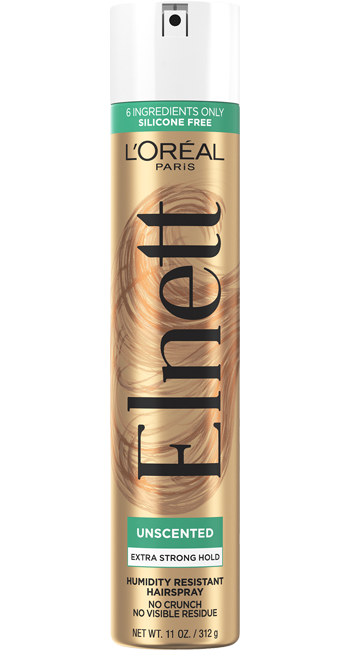
Secure the underside of the loop at the base of the neck with a few bobby pins (the ends should still be sticking out at this point). If you feel like your hair isn’t holding as securely as you’d like, go ahead and mist your mane with hairspray to help your style stay put. We love the L’Oréal Paris Elnett Extra Strong Hold Hairspray—Unscented.

Take the loose ends of hair and wrap them clockwise around the base of your bun to obscure the hair elastic. Tuck the ends in beneath the bun at the nape of your neck and secure them with more bobby pins to ensure a tight hold. You should have a sleek, looped chignon that appears to be held in place by a ribbon of hair.
At this point, your simple chignon is pretty much finished. The final step is to mist your finished style with another coat of hairspray to help ensure long-lasting hold. If you’re prone to frizz or flyaways (or simply prefer a super-sleek finish), you can also apply a bit of hair gel to a clean toothbrush and lightly brush back any baby hairs. The L’Oréal Paris Studio Line Head Lock Mega Gel works well for this, and it boasts a strong-hold finish for a stay-all-day style. If you prefer creams to gels, you could finish off your look with the L’Oréal Paris Elnett Anti-Frizz Slick Back Hair Styling Cream that you used to prep your mane.


As we mentioned earlier, there’s more than one way to wear a chignon. Keep scrolling for a look at some of our favorite variations on the classic look.
If you love the idea of a chignon but prefer a more laid-back look, try a tousled chignon. Start by prepping your mane with a volumizing mousse, like the L’Oréal Paris Advanced Hairstyle BOOST IT Volume Inject Mousse, then gather your hair into a low pony at the nape of your neck. Pull the ends through like you would for a classic chignon and wrap your bun with the ends before pulling out face-framing strands for a lived-in feel. You can also curl the loose hairs for a beachy, laid-back vibe.
You’ll create this boho hairstyle much in the same way you would a tousled chignon, but with one exception: before pulling your hair back into a low ponytail, create two (or more) three-strand braids on either side of your head. Pull the braids apart a little to give them a bit of volume, then twist your lengths into a loose, messy chignon at the nape of your neck.
To create this special-occasion worthy look, curl your hair with a wide barrel curling iron to create loose, bouncy waves. Then, twist your hair back into a low ponytail. Twist the length of the pony around itself to create a rope-like shape, then twist the rope into a bun at the nape of your neck. Secure the twisted bun with bobby pins to complete the romantic look.
Sometimes, the smallest details are what make a look. To take your classic chignon to the next level, try accessorizing your bun with bedazzled bobby pins, pearl hair clips, or even faux flowers.
Chignons don’t have to sit low on your neck—for a modern spin on the classic chignon, try creating your ponytail a bit further up, toward the crown of your head. This will result in a higher-sitting bun that feels both elegant and effortless.
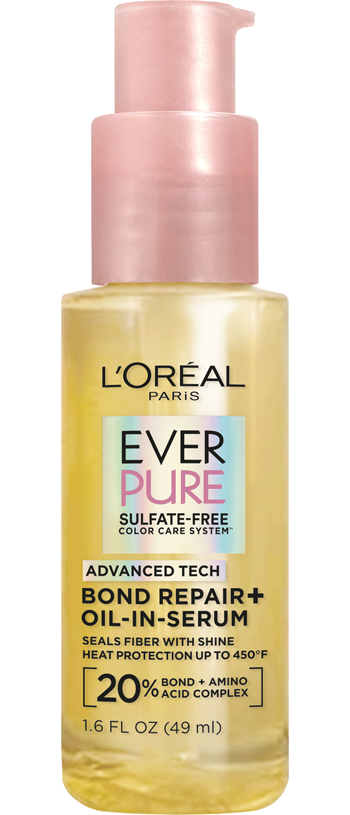
For an ultra-sleek style that’ll stay in place, start your routine by prepping your mane with the L’Oréal Paris EverPure Bond Repair Hair Oil-in-Serum, which helps tame flyaways and boosts shine. Then, proceed with the steps outlined above, taking care to slick down any frizz or flyaways as you go. After creating your ponytail, twist it around itself to create a tight, twisted knot, securing it in place at the base of your head with bobby pins. Be sure to tuck away any stray hairs for a sleek, polished end result.

With enough bobby pins, you shouldn’t have too much trouble keeping your chignon in place. But if you’re looking to ensure your look stays put all day (or night), try these tips:
Next Up: How To Rock a Classic French Twist
Photo courtesy of L’Oréal Paris
This site is intended for US consumers. Cookies and related technology are used for advertising. To learn more, or opt-out, visit AdChoices and our privacy policy.
Your Privacy Choices


