If you’re looking to save a buck on your nail care routine, press-on nails can be a great option. But if you’ve never used them before, you may find yourself wondering “How long do press-on nails last?” (Or, perhaps more to the point, whether they can last as long as your pricey salon manicure). While you may be under the impression that even the best press-on nails don’t last very long, that’s not necessarily true—with proper prep and care, press-ons can last as long as your go-to manicure (or even as long as acrylics). Here, we’ll explain how to apply press-on nails like a pro and reveal how to make press-on nails last until you’re ready to remove them. Keep reading for everything you need to know before sitting down for your next at-home mani.
What Are Press-On Nails?
Press-on nails are a type of artificial nail typically made from acrylic. They’re designed to be applied on top of your natural nails, usually with nail glue or another type of adhesive (like a nail sticker). These faux nails come in an array of lengths and shapes and can often be filed for a more custom look.
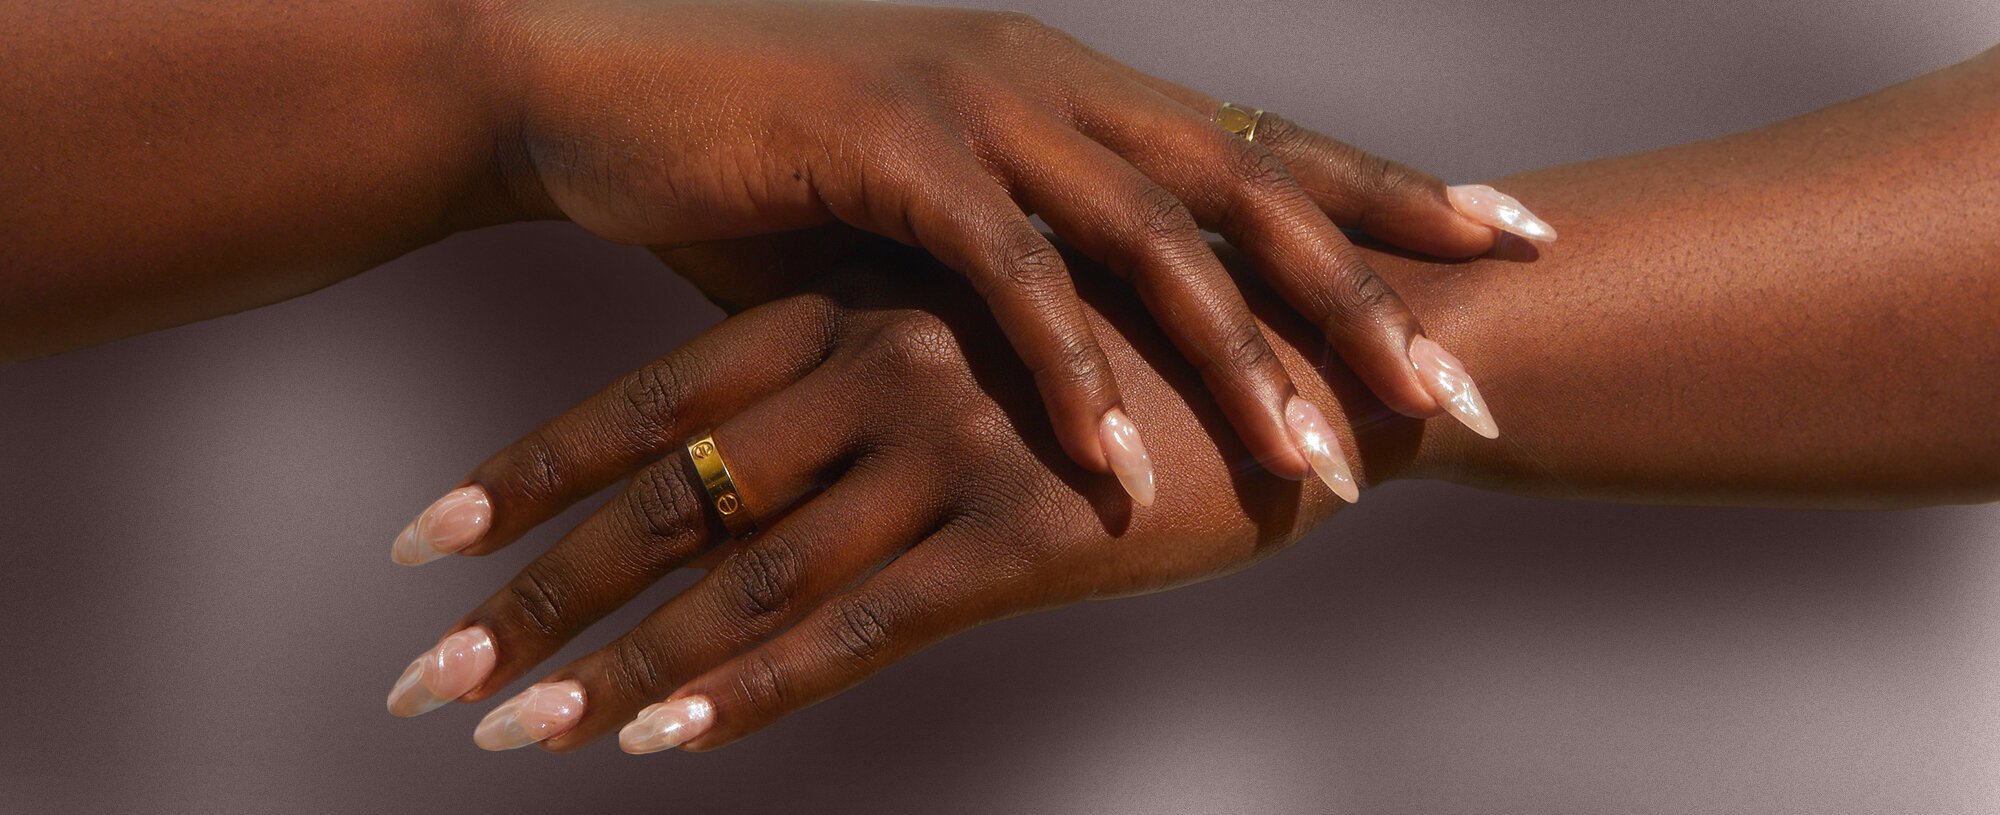
Unlike salon acrylics, which have to be painted after application, press-ons, often come with the designs pre-done—and the options are nearly endless. Whether you favor a classic French mani or prefer trendy looks like jelly nails, there are countless press-on options to suit your preferences. If you’re someone who enjoys doing your own nails, you can also opt for plain press-ons and customize them as you see fit.
And while applying press-on acrylic nails can take a bit of a learning curve, it’s typically pretty straightforward—and the process takes significantly less time than painting your nails with polish.
How Long Do Press On Nails Last?
In general, you can expect your press-on nails to last about a week or two, depending on the type of nail and adhesive used. Press-on nails secured to your nailbed with glue will typically last longer than those held in place with adhesive nail stickers. Depending on the nails, you may be able to use both a nail sticker and glue for added wear time.
How well you prep and care for your nails can also impact how long your press-on nail tips last. Carefully applying the fake nails so they fit the full nail bed, using the best nail glue for press-on nails, maintaining a thorough aftercare routine, and protecting your hands when completing chores can all help prolong the life of your DIY manicure.
If you want to remove press-on nails before they come off on their own, be sure to follow the proper steps like you would when removing gel or acrylic nails and follow up with hand care to keep your natural nails looking and feeling healthy.
How To Get Press-On Nails To Stay On Longer
The key to making press-ons last like gel nails or an acrylic manicure is in the application process. Of course the quality of your adhesive is important, but there are other things you can also do to extend the life of your press-on nails. Keep reading to learn how to make press-on nails stronger and more durable.
Clean your nail beds
It might seem obvious, but before applying press-ons, you’ll want to be sure your nails are completely bare. Remove any existing nail polish (or nail enhancements) with acetone to ensure you’re working with a clean, fresh nailbed. We recommend following this step even if you don’t have any nail polish on—the acetone can help remove excess oils that may interfere with the longevity of your manicure.
If you’re removing an old set of press-ons and want to reuse them, take care to remove any remnants of adhesive on the fake nail too. A smooth nail bed and clear false nail back will allow your next press-on manicure to sit flush, last longer and look professional. Just take care not to get acetone on the front of the nail, as doing so can disrupt the finish.
Buff your nails before application
After cleaning your nail beds, use a glass nail file or a sanding block to give your natural nails a light buffing. Be gentle—the goal isn’t to scrub your nails raw, but rather, to create a bit of texture for your nail adhesive or glue to stick to (this also helps to avoid air pockets that can cause press-on nails to pop off quickly).
We also recommend buffing the back of the fake press-on nail tips (if the adhesive is not already fixed) as this creates traction when securing the fake nail onto your nail bed, and prevents the nail from sliding off your fingertip.
Push back your cuticles
If your cuticles are on your nail bed, it could interfere with how flush your press-on nails sit on your natural nail (and therefore impact the longevity of your DIY mani). To help prolong the life of your manicure, use a cuticle pusher to gently push any excess skin back. Keep in mind that you don’t need to trim your cuticles—in fact, we’d advise against it, as the wrong approach could result in cuts or nicks.
Opt for a shorter nail
As much as we love the look of long nails, they’re more prone to catching on things than shorter tips. And if you catch your press-on nails on something—say, a piece of clothing or the corner of a table—they may pop off prematurely. Instead, opt for short, round or almond-shaped nails (the lack of any sharp edges on rounded nails can further help prevent your press-on acrylics from getting stuck on things).
Use the right nail size
Your press-on nail tips need to be the perfect fit to ensure your manicure lasts longer and looks professional. Take care to match every finger with a press-on nail that hugs the nail plate perfectly. If you have to force the false nail to fit flat to your natural nail, it’s too small. This step is essential, if your press-on nail is too large or too small it is likely to flick off quickly. If you can’t find an exact match, trim the edges of a larger press-on nail with nail scissors or clippers, file the edges smooth, and buff again, to remove any possible splintered ends that could cause the false nail to peel off quickly.
Double glue your nails
Sometimes, less is more—but that’s not the case where fake nails are concerned. To help ensure your press-on nails adhere, we suggest applying a thin layer of nail glue to both your natural nail and the fake nail. The glue in the press-on will naturally be drawn to the glue on your nail and they’ll “grab onto” each other, adding an extra layer of bonding.
Make sure you coat the nails well to avoid air bubbles, which can create pockets between your nail and the press-on. If air gets into the adhesive, your nails may end up popping off before the end of the day, which no one wants after all their hard work.
Apply pressure from cuticle to tip
Even if you use the very best nail glue for press-on nails, simply placing the press-on nail tips onto your nails isn’t enough to get them to stay. You have to apply pressure in the center of the nail for at least 20 seconds (on each nail) and simultaneously pinch the sides to get the best possible fit.
We recommend applying the press-on acrylic nails from the cuticle to the top of the nail at 45° instead of flat on the nail bed. Being precise with your nail application helps to evenly distribute the glue across the nail bed, control any excess adhesive from spilling out, and remove any air bubbles that could cause the press-on nail to lift off sooner than intended.
Apply finger by finger
Rather than applying all of the press-on nails on one hand and then moving on to the other, we recommend taking a staggered approach. Start with the thumb on your left hand, then fit the press-on nail to the right thumb, followed by your left index finger, then the right, and so on. This method makes application easier, as you won't be dealing with one full hand of fake nails and one hand of natural nails—and anything that makes the application process smoother can help ensure your manicure holds up.
Cure like a gel manicure
Some press-on sets come already painted and designed and need no extra work once you’ve applied them. If that’s the case, you’re all done. But if you’ve opted for un-painted press-ons, then we suggest seizing the opportunity to give your DIY manicure some additional staying power.
Instead of painting your false nails with traditional polish, opt for gel polish. Cure each nail under a UV lamp after applying your varnish, then add a gel top coat and cure the entire set. This will give your adhesive more hold, resulting in a press-on manicure that lasts just as long as your salon gel set. If you have a pack of pre-painted gel nails you may be able to cure those too—just check the packaging first.
When your press-ons are a week old, give them a light top coat to freshen up the color and keep them looking new.
Protect your manicure
While proper application is the best way to make press-ons last, there are also things you can do to extend the life of your nails post-mani. We recommend avoiding tapping your fingertips on hard surfaces, picking at your nails, submerging your hands in water, or doing any manual work until your nails are fully dry and set. Once they are, it’s a good idea to protect your nails with gloves while doing any chores that involve cleaning agents or chemicals (so go ahead and pick yourself up a pair of dish gloves).
You may also want to make moisturizing your hands and cuticles a priority. While proper hydration won’t necessarily prolong the life of your press-on mani, it can help keep your hands feeling soft, smooth, and pampered. And the more TLC you give your hands and nails, the better your manicure will look.
Next Up: How To Remove Gel-X Nails At Home


