


Skin Care FAQs
Why Is Skin Care Important?
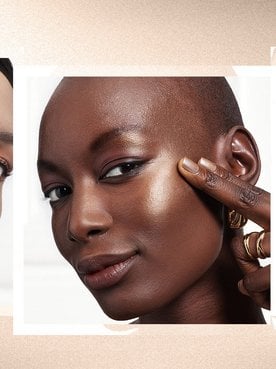
A consistent skincare routine offers numerous benefits for your skin’s health. Skincare encompasses a range of practices that support skin integrity, enhance its appearance, and relieve skin conditions. It involves a daily regimen of products and habits designed to cleanse, treat, and protect your skin. The importance of skincare lies in its ability to maintain the health and vitality of your largest organ.
• Firstly, it provides essential hydration, ensuring your skin remains supple, smooth, and resilient. Well-hydrated skin is less prone to dryness, flakiness, and the visible signs of aging.
• Secondly, skincare acts as a crucial protection barrier. Products containing antioxidants and SPF help shield your skin from environmental aggressors such as pollution, UV radiation, and free radicals, which can lead to premature aging and damage.
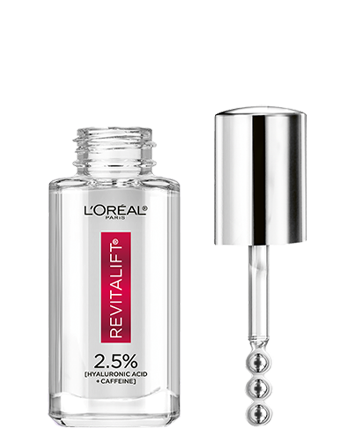
• Lastly, a dedicated routine is key for anti-aging. By using products with active ingredients like retinoids, peptides, and hyaluronic acid, skincare can help minimize the appearance of fine lines and wrinkles, improve skin elasticity, and promote a more youthful complexion.
How Do You Know What Your Skin Type Is?
Understanding your skin type is key to effective skincare. Generally, skin falls into three main types: oily, dry, or combination. You might also have sensitive skin, which is a condition rather than a type.
• Oily Skin: If your face often looks shiny or greasy, especially a few hours after washing, you likely have oily skin. You might notice enlarged pores and be prone to breakouts. A simple test: after cleansing, wait an hour, then press a clean tissue on your face. If it shows significant oil from all areas, your skin is oily.
• Dry Skin: Dry skin often feels tight, rough, or flaky, particularly after washing. It can look dull, and fine lines might be more noticeable. Pores are typically small. If your skin feels taut and uncomfortable after cleansing, or if a tissue test shows no oil, your skin is likely dry.
• Combination Skin: This is the most common type, where you have both oily and dry/normal areas. Typically, your T-zone (forehead, nose, chin) is oily, while your cheeks are dry or normal. The tissue test would show oil only from your T-zone.
• Sensitive Skin: This isn't a type but a condition. Sensitive skin reacts easily to products or environmental factors, often leading to redness, itching, burning, or stinging. If your skin frequently gets irritated by new products or external elements, you may have sensitive skin. Always patch-test new products if you suspect sensitivity.
By observing your skin's behavior and performing simple tests, you can accurately identify your skin type and tailor your routine accordingly.
How Do You Choose the Right Skin Care Products for Your Skin Type?
Choosing the right skincare products for your skin type involves looking at product ingredients and product purpose to find the right skin care to suit your specific needs:
Oily Skin:• Unique Needs: Oily skin is prone to excess sebum, enlarged pores, and breakouts.
• Look for: Lightweight, oil-free, and non-comedogenic formulas. Ingredients like salicylic acid or niacinamide can help regulate oil and minimize pores. Gels and light lotions are ideal.
◦ Check out our skincare products for oily skin.
Dry Skin:• Unique Needs: Dry skin lacks natural oils, leading to tightness, flakiness, and a compromised barrier.
• Look for: Rich, hydrating creams and gentle, non-foaming cleansers. Key ingredients include hyaluronic acid, ceramides, glycerin, and emollients to replenish moisture and strengthen the skin barrier.
◦ Check out our skincare products for dry skin.
Combination Skin:• Unique Needs: Combination skin tends to be oily in the T-zone (forehead, nose, chin) and dry or normal elsewhere.
• Look for: Balancing products. You might use a lighter cleanser and moisturizer overall, or target specific areas with different products – a lightweight serum for the T-zone and a richer cream for dry cheeks. Gentle formulas are best to avoid irritating either area.
◦ Explore skincare products for combination skin.
Sensitive Skin:• Unique Needs: Sensitive skin tends to be easily irritated, prone to redness, stinging, or itching. This is a condition, not a type, and can affect any skin type.
• Look for: Fragrance-free, alcohol-free, and minimal-ingredient formulas. Soothing ingredients can be helpful for sensitive skin. Always patch-test new products.
◦ Discover our skincare products suitable for sensitive skin.
Normal Skin:• Unique Needs: Normal skin is well-balanced, neither too oily nor too dry, with few concerns.
• Look for: Gentle maintenance products. A balanced cleanser, a light moisturizer, and consistent SPF are usually sufficient to maintain its healthy state and protect against environmental damage.
Always listen to your skin and adjust your routine as needed based on external factors and aging.
What Are the Essential Skincare Products Everyone Should Use?
At a minimum, an everyday skincare routine should incorporate three essential steps: cleansing, moisturizing, and sun protection.
• Cleanser: A daily facial cleanser is essential to remove dirt, oil, makeup, and impurities that accumulate on the skin throughout the day and night. Cleansing prevents clogged pores, breakouts, and dullness, allowing subsequent products to penetrate more effectively. It creates a clean canvas for healthy skin.
• Moisturizer: Face moisturizer is designed to hydrate the skin and lock in moisture, strengthening the skin's natural barrier. Moisturizers keep skin supple, smooth, and comfortable, reducing dryness, flakiness, and the appearance of fine lines. A strong skin barrier protects against environmental damage and irritation.
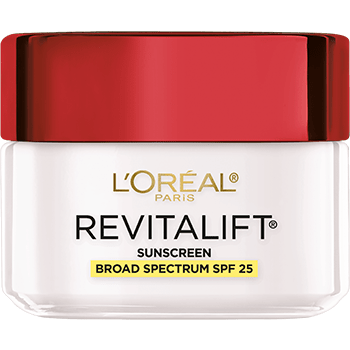
• Sunscreen (SPF): Daily application of sunscreen shields your skin from harmful ultraviolet (UV) radiation from the sun. Sunscreen is arguably the most crucial step for long-term skin health. It prevents premature aging like wrinkles and sunspots, prevents sunburn, and significantly reduces the risk of skin cancer. Use an SPF of 30 or higher daily.
These three products form the foundation of a healthy skincare routine, providing basic hygiene, hydration, and vital protection for your skin. Once you get comfortable with a basic skin care routine, you might consider adding eye care products and facial serums into your routine.
What Ingredients Should You Avoid in Your Skin Care?
What skincare ingredients you should avoid often depends on your individual skin type and sensitivities, but these ingredients are generally advisable to avoid or use with caution:
• Comedogenic Ingredients: These are substances known to clog pores, which can lead to blackheads, whiteheads, and acne breakouts. If you have oily or acne-prone skin, it's wise to check product labels for ingredients like certain heavy oils (e.g., coconut oil, flaxseed oil), some waxes, or synthetic dyes, which can be comedogenic for some individuals. Learn more from our Ingredient Library.
• Drying Alcohols: While not all alcohols are bad, certain types, often found high up in ingredient lists, can be drying and irritating, especially for dry or sensitive skin. Look out for ingredients like ethanol, isopropyl alcohol, alcohol denat., SD alcohol 40, or benzyl alcohol. These can strip the skin's natural oils, leading to dryness, irritation, and a compromised skin barrier. It's important to distinguish these from "fatty alcohols" like cetyl alcohol, stearyl alcohol, or cetearyl alcohol. These “fatty alcohols” are emollients, meaning they are moisturizing and can actually be beneficial for the skin by providing hydration and trapping moisture.
• Certain Fragrances (Synthetic and Natural): While pleasant, both synthetic and natural fragrances can be common irritants and allergens, particularly for sensitive skin. If you experience redness, itching, or breakouts, opting for fragrance-free skincare products might alleviate these issues.
Remember, skincare is personal. Always patch test new products on a small area of skin before applying them all over your face, and pay close attention to how your skin reacts to different formulations.
What Is the Correct Order to Apply Facial Products?
When applying skincare products, the general rule of thumb is to apply products from thinnest consistency to thickest, and water-based products before oil-based ones. This allows lighter, active ingredients to absorb first without being blocked by heavier creams. Always begin any facial routine with thorough cleansing before continuing to the steps below.
Here's a step-by-step guide for optimal skincare layering:
1./span> Wash Your Face: Before starting your skincare routine, you should always start by cleansing your skin with a gentle cleanser.
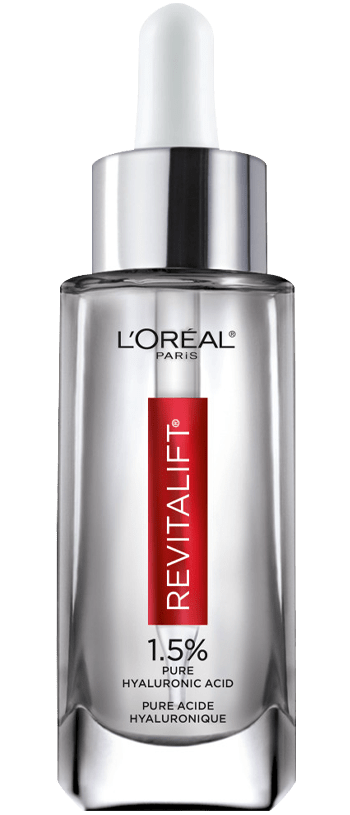
2. Serum(s): Apply any targeted serums for concerns like hydration (hyaluronic acid), antioxidants (Vitamin C), or anti-aging. These are potent and should go on clean skin.
3. Eye Cream: A dedicated eye cream should be gently dabbed around the delicate eye area.
4. Moisturizer: Lock in all the previous layers with your daily moisturizer. This hydrates and creates a protective barrier.
5. Sunscreen: This is the final and most important step in your morning routine. Apply a broad-spectrum SPF 30 or higher as the last layer to protect against UV damage. It should always be applied after moisturizer and before makeup.
Nighttime Skin Care Routine:1. Remove All Makeup: Before washing your face, make sure you remove your makeup. If you would like to remove your makeup and wash your face in one go, the Revitalift Skin Smoothing Cream Cleanser is a great option.
2. Toner: To remove any remaining traces of makeup or oils, consider using a toner before moving onto the next step of your routine. The Revitalift Derm Intensives 5% Glycolic Acid Peeling Toner also helps smooth skin texture and helps unlock brighter, more even skin over time.
3. Treatment(s) / Serum(s): This is the time for potent active ingredients like retinoids, alpha hydroxy acids (AHAs), or specific treatment serums. Apply these after cleansing so they can work undisturbed overnight.
4. Eye Cream: As in the morning, gently apply eye cream.
5. Night Cream / Heavier Moisturizer: Use a richer, more nourishing night cream or a heavier moisturizer to support skin repair and regeneration while you sleep. Night creams often contain ingredients that are less suitable for daytime use (e.g., higher concentrations of retinoids) or are simply too rich for daytime wear.
Always allow each product time to absorb before applying the next layer. Consistency is key, and adapting your routine to your skin's changing needs will yield the best results.
What Skin Care Products Does L’Oréal Paris Offer?
L'Oréal Paris has an extensive range of skincare products, catering to a diverse array of skin needs, concerns, and ages. Whether you're looking to establish a basic routine or target specific issues, L'Oréal Paris offers a comprehensive selection designed to help you achieve healthy, radiant skin.
These offerings span across essential skincare categories:
• Facial Cleansers: From gentle washes to toners, L'Oréal Paris facial cleansers provide options to effectively remove impurities and makeup, leaving skin feeling fresh and clean.
• Exfoliants: These products help to gently slough away dead skin cells, promoting a smoother texture and brighter complexion.
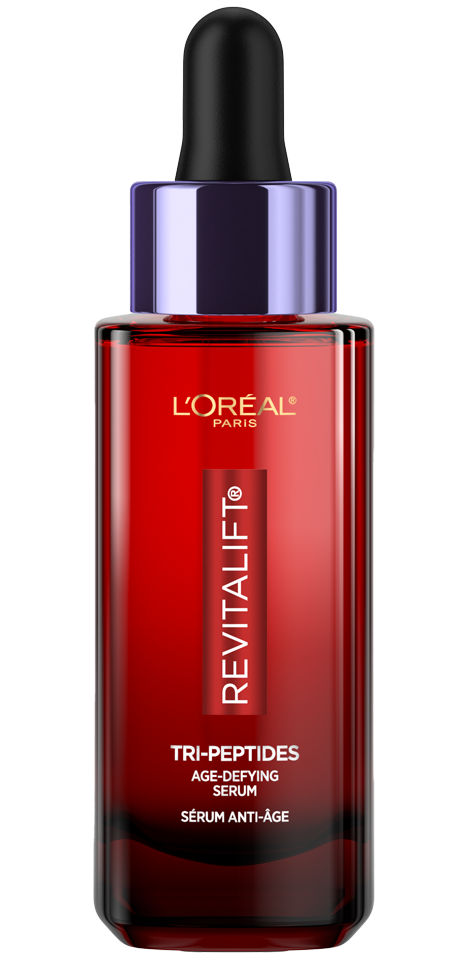
• Face Serums: Highly concentrated formulas target specific concerns like fine lines, hydration, dullness, or uneven tone, delivering potent ingredients deep into the skin.
• Face Moisturizers: A wide selection of day creams, lotions, and gels provide essential hydration and protection, suited for various skin types from oily to very dry.
• Night Creams: Richer and more restorative, these products work overnight to support the skin's natural repair processes, often packed with anti-aging treatments or nourishing ingredients.
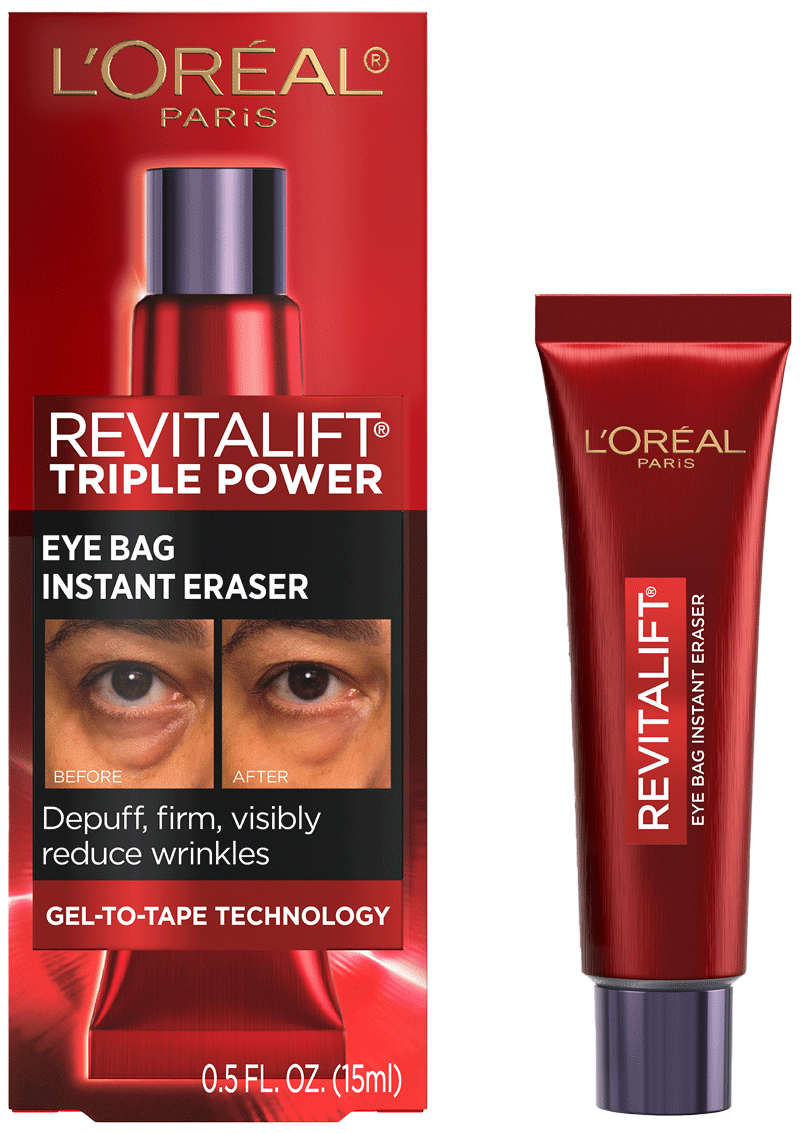
• Eye Care: Dedicated eye creams and serums address the delicate skin around the eyes, targeting concerns like dark circles, puffiness, and fine lines.
• Sunscreen: L'Oréal Paris facial sunscreen is specifically designed for the delicate skin of the face to protect from the sun’s rays.
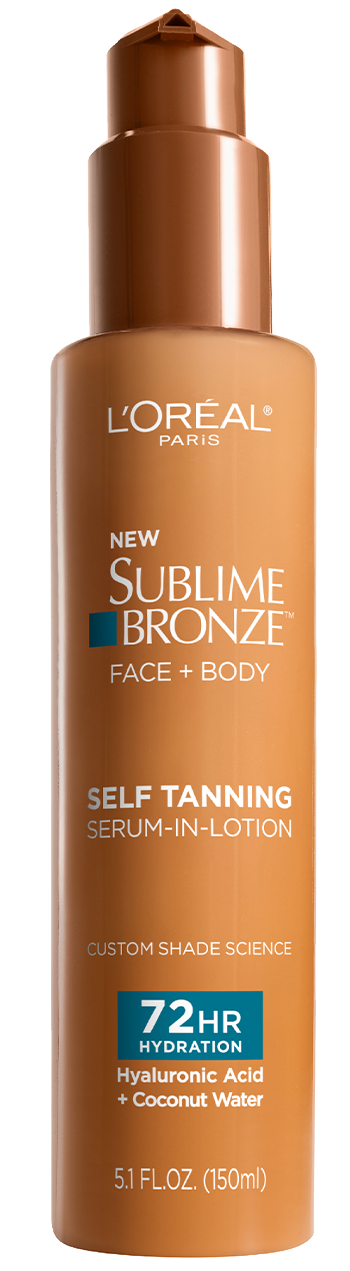
• Self-Tanner: Our array of self-tanning products provide a sunkissed glow without the sun damage.
With our wide range of products, you can easily find options that are perfect for your unique skin type and age-related needs, making it simple for you to create an effective and comprehensive skincare routine that suits your lifestyle.
Are L'Oréal Paris Skin Care Products Tested by Dermatologists?
Oréal Paris skin care products and ingredients undergo rigorous testing and safety evaluations under the care of our scientific teams, including dermatologists, toxicologists, pharmacists, chemists, and doctors. Prior to launch, every L’Oréal Paris skincare product is tested for safety on volunteers under the supervision of dermatologists, and formulas are only considered for release if they pass these rigorous evaluation processes. Learn more about our commitment to your safety.
Can Skin Care Products Expire?
Yes, skincare products can and do expire. Just like food, they have a shelf life, after which their efficacy can diminish. To check for expiration, look for the "Period After Opening" (PAO) symbol on the packaging, which looks like an open jar with a number followed by an "M" (e.g., "12M" means 12 months after opening). If a PAO symbol isn't present, check for a manufacturing date or an explicit expiration date. Beyond symbols, trust your senses: changes in color, smell, texture, or separation of ingredients are clear signs a product has gone bad.
Using expired products is not recommended for several reasons. First, active ingredients can degrade, making the product less effective or even completely useless. Second, preservatives break down over time, increasing the risk of bacterial or fungal growth. Applying contaminated products can lead to skin irritation, rashes, infections, or breakouts. Always discard expired skincare for your skin's health and safety.
Where Can You Buy L’Oréal Paris Skin Care Products?
You can purchase L’Oréal Paris skin care products in-person at your local drugstore, at grocery chains, or online through retailers like Amazon, Target, and Ulta Beauty. Click the “Buy Online” button on the skin care products' individual product pages to see where to purchase your face care products online, or use our Store Locator to find an in-store option to shop for skin care products near you.
Beauty Magazine
-
30 of the Most Flattering Hairstyles and Cuts for Round Faces
-
How To Transition To a Gray Hair Color
-
Embrace Your Silvers: The Art of Gray Blending for Dark Hair
-
Why Is My Hair So Staticky? 11 Easy Fixes for Smooth Strands
-
How to Find Your Skin Undertone and Use It to Your Advantage
-
20 of the Best Low-Maintenance Haircuts for Women
-
Foundation Shade Finder: Your Exact Match, Step by Step
-
Should You Wash Your Hair Before Dyeing It?