You are $75 away from free shipping
$
$0
This Is Why Our Lash Serum Is a Must
AGE PERFECT MAKEUP Radiant Serum Foundation with SPF 50
UNBELIEVA-BROW Longwear Waterproof Brow Gel
Your Daily, Weekly, and Monthly Skin Care Routine Schedule
AGE PERFECT® Rosy Tone Fragrance Free Face Moisturizer
REVITALIFT DERM INTENSIVES 1.5% Pure Hyaluronic Acid Serum
Should You Wash Your Hair Before You Color It?
COLORISTA Semi-Permanent Hair Color
MAGIC ROOT Precision Pen
Our 21 Best Hair Care Tips For Every Hair Type
EVERPURE Brass Toning Purple Sulfate Free Shampoo
ELVIVE Color Vibrancy Rapid Reviver Deep Conditioner
The Best Bangs for Every Face Shape and Hair Type
ADVANCED HAIRSTYLE AIR DRY IT Wave Swept Spray
ELNETT SATIN HAIRSPRAY Extra Strong Hold
Virtual Try-On
Find your next look
Haircolor Meets Makeup
Match your Brow and Hair Color Shade
WOMEN OF WORTH
Honoring extraordinary women who selflessly volunteer
Discover
Learn about the science behind skin care
Checkout our weekly live broadcast with tips from our experts
Find the perfect gift from our carefully curated selection of top beauty favorites
Browse your saved items
Sorry, you must log in to save an item.
Nail art first started taking over our social media feeds well over five years ago, and it’s still going strong. While the trends have changed over time—as they always do—one thing has remained the same: Good nail art looks seriously hard to do. But we have good news, not all nail designs are a monumental struggle to create. So, no, you don’t need to book a manicure appointment every time you want your nails to look fab. Much like mastering winged eyeliner or learning how to blow dry your hair, all you really need to do is grab the necessary supplies and put in a bit of practice. Here, we’re sharing 19 trending nail art designs that we’re confident you can learn how to do in 2020. Click through and get ready for everyone to ask whether you’re wearing nail decals!
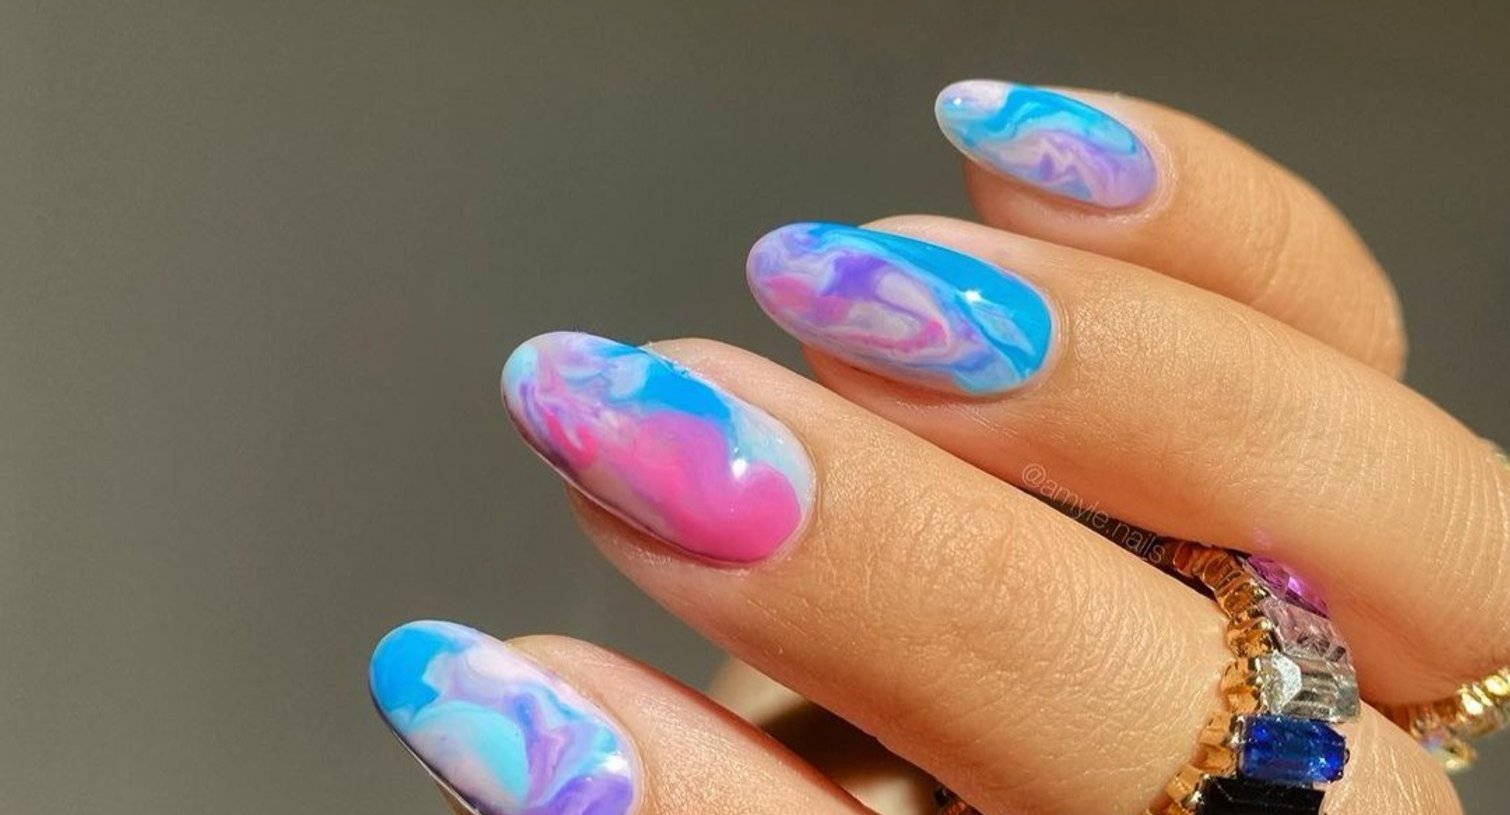
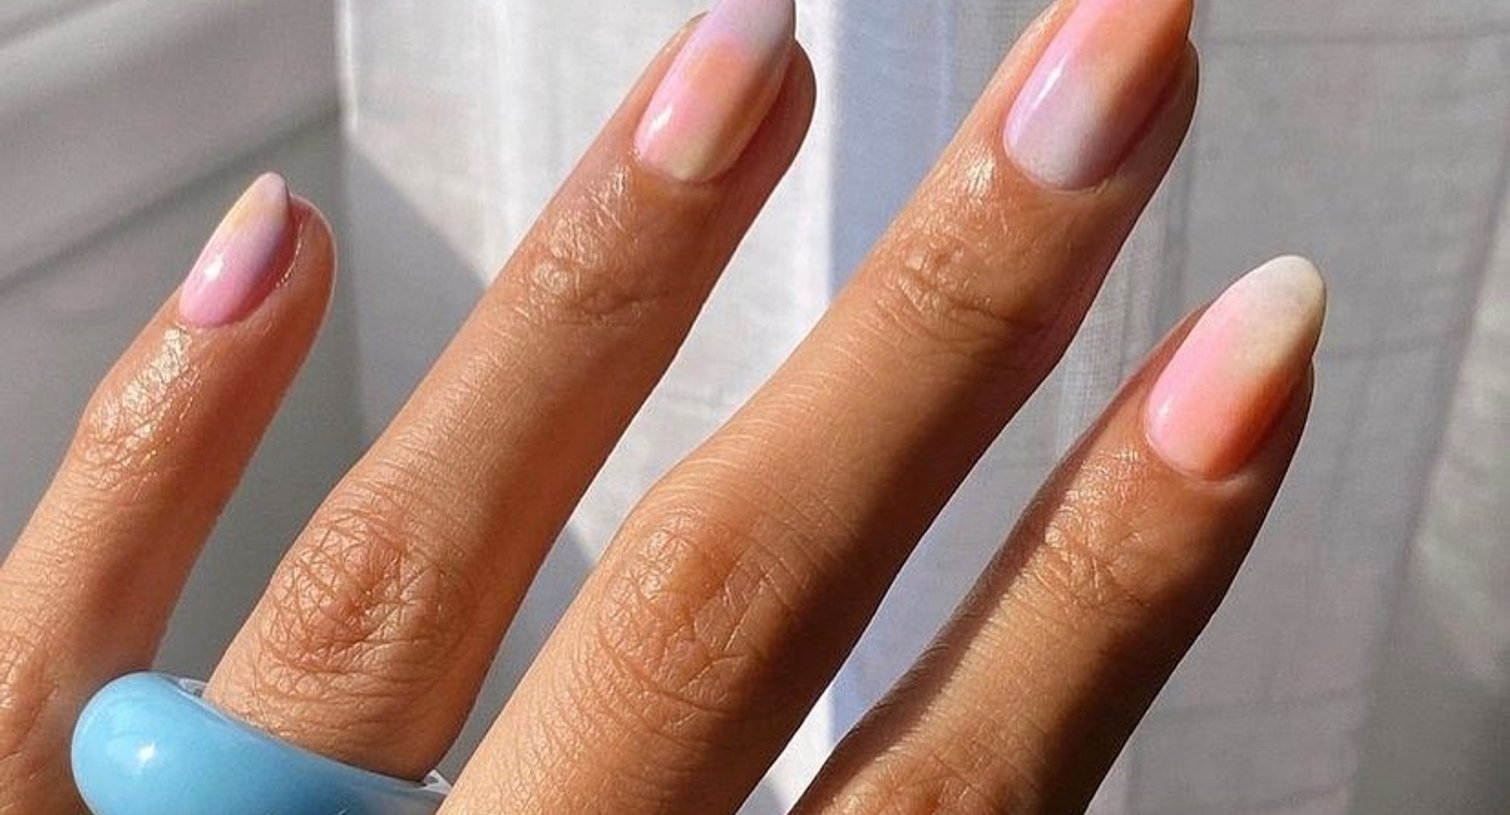
Gradients are one of the most popular nail art ideas out there, and it makes sense. You're a fan of ombré lips and ombré hair, so it’s only fitting that you'd love this trend on your nails, too. But doesn’t a gradient seem pretty hard to create with nail polish? Well, the good news is, it’s probably easier than you’d think. All you need is a makeup sponge—the disposable kind that looks like a little wedge—and three to five polishes in the colors of your choosing. The longer your nails are, the more shades you’ll be able to fit! Here’s how to do ombré nails:
Step 1. Paint your nails with the lightest color. Start things off by polishing your nails with the lightest color that’s in your gradient. Use two to three coats to get the color to be opaque, then give your nails a bit of time to start drying. You don’t want the polish to be totally wet or it will shift around when you start creating your gradient.
Step 2. Cut up your sponge and prep a palette. With a pair of scissors, cut your sponge into smaller pieces. You’ll want at least one piece per color in your gradient. Now is also the time to create a makeshift palette. A piece of plastic or a paper plate will do the trick! Deposit a small amount of your darkest polish onto the palette. Don’t pour out too much since nail polish dries relatively quickly, it’s better to add more as you go.
Step 3. Sponge on your darkest color. Now you can start working on your fade! Dip a piece of your sponge into the polish on your palette, picking up just a tiny bit. Then, sponge the color onto the tip of your nail. If you’re using three polishes, this color should cover about one-third of your nail. If you’re using more colors, you’ll want this shade to take up a little less real estate. Add a bit more polish to your sponge, going over the very tip of your nail again. Can you see your gradient starting to take shape?
Step 4. Use an in-between color to blend. It’s time for your next polish. This shade should be a little lighter than the one you just applied. Use the same tactic as you did before, sponging this color onto the middle of your nail. If you’re using more than three polishes, you can adjust this step accordingly and work the other shades in.
Editor’s note: Is your ombré looking a little harsh? Try this trick: On your palette, mix a small amount of the two colors you’re trying to blend together. Sponge the mixture on over the harsh line of demarcation and you’ll notice your fade becoming more seamless.
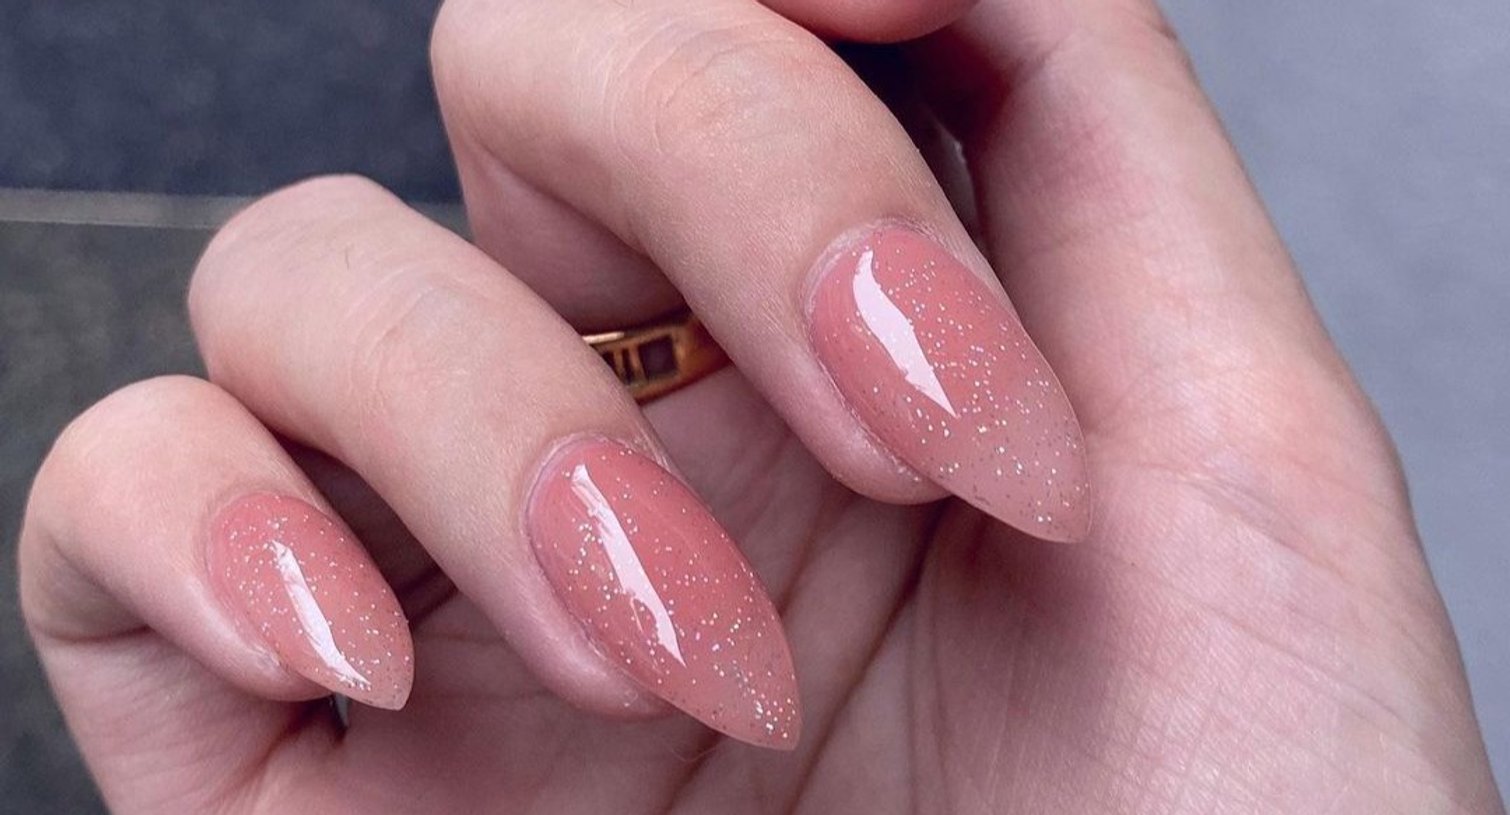
Step 5. Add a top coat. If your gradient still doesn’t look perfect, don’t lose hope. You can turn things around with a thick top coat or a layer of sheer glitter polish. That’s right, a little glitter can masterfully hide imperfections!
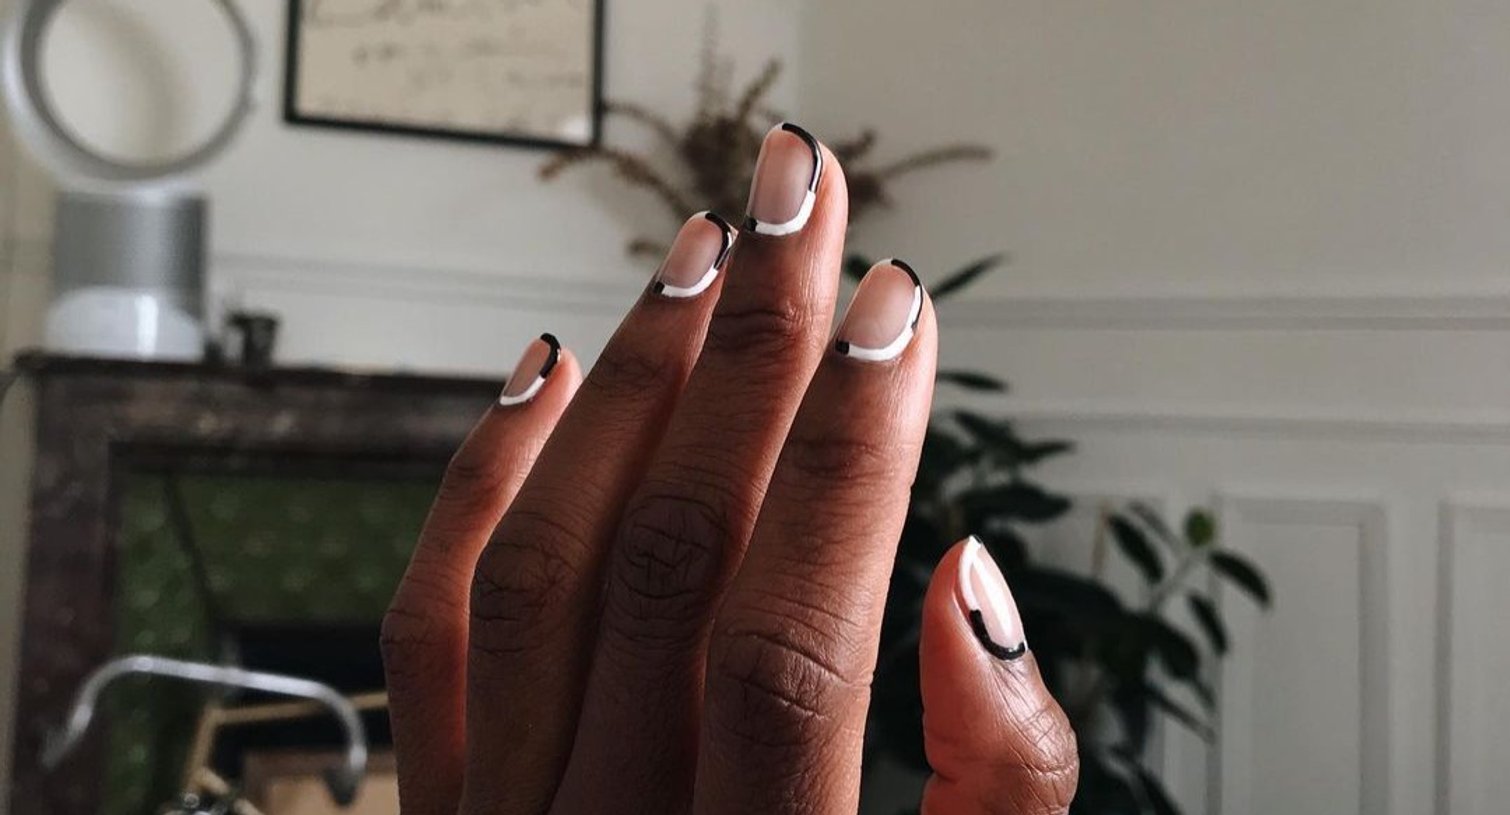
A classic French manicure is…well, classic, but it doesn’t exactly qualify as trendy. If you want to upgrade your go-to simple nail art into something extra chic, try putting a vampy spin on your manicure. Paint your nails a soft nude shade, then use a black or deep purple polish to create your French tips. Of course, that’s easier said than done. If you don’t have super steady hands, we recommend buying French manicure stickers. These handy stickers are little curved strips that go across your nails and act as stencils for your manicure. Stick one onto each of your nails and polish over them, then pull the stickers off, and you should be good to go.
Another option for perfecting a French manicure when you’re prone to mistakes is to skip applying your base color—at least for now. Instead, paint the tips of your nails, not worrying if your lines aren’t perfect. Then, dip a brush into pure acetone and clean up the tips. This technique is similar to using a cotton swab dipped in micellar water to fix your cat eye! Once you’ve cleaned up, brush a sheer polish overtop your entire nail to tie everything together.
Editor’s note: Wondering about the little curve at the base of the nail in this particular design? That’s called a half moon—and it’s another popular nail art idea! We’ll spill the deets on that one a little later.
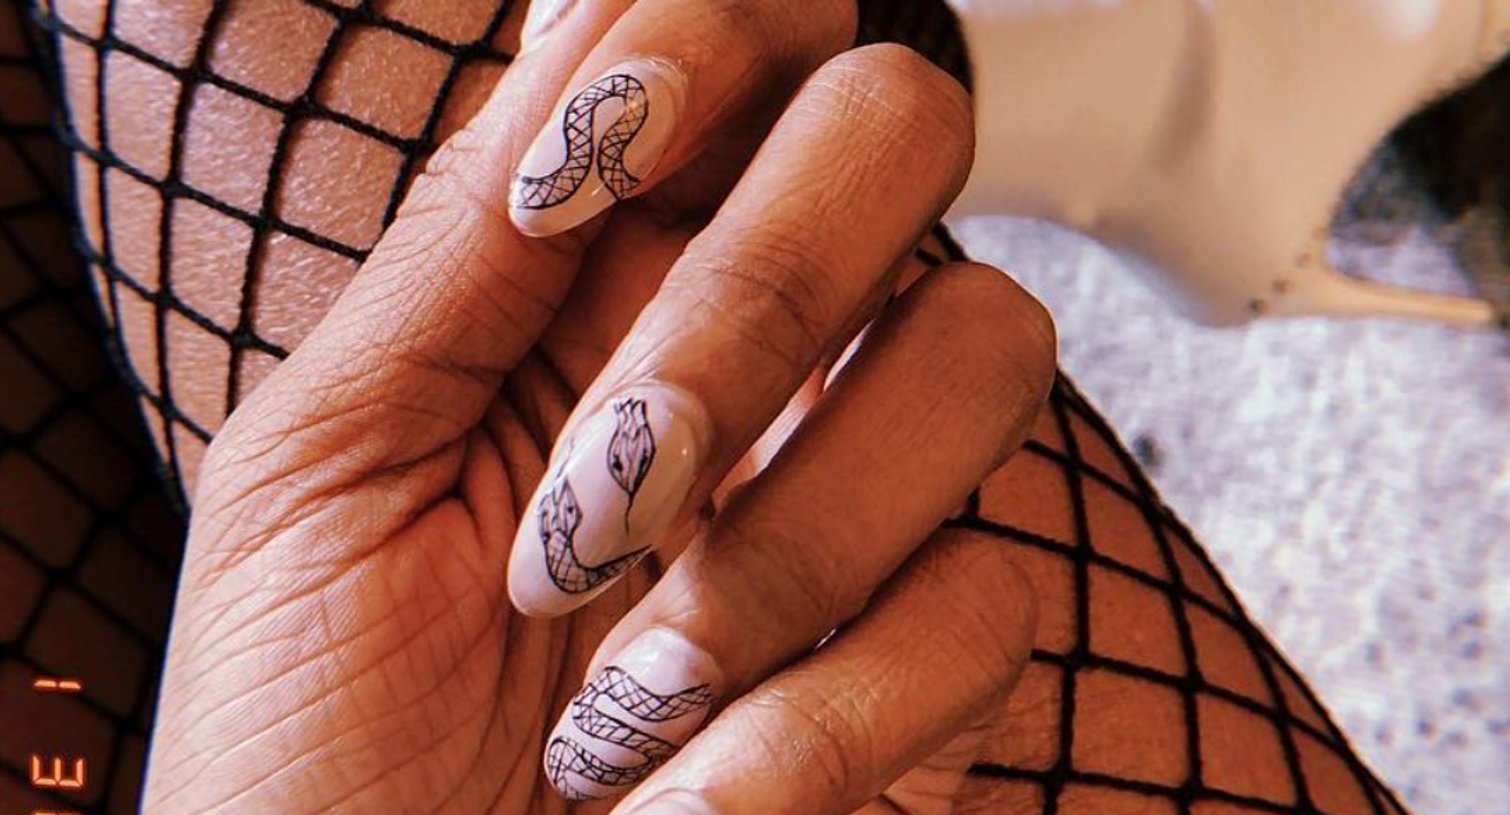
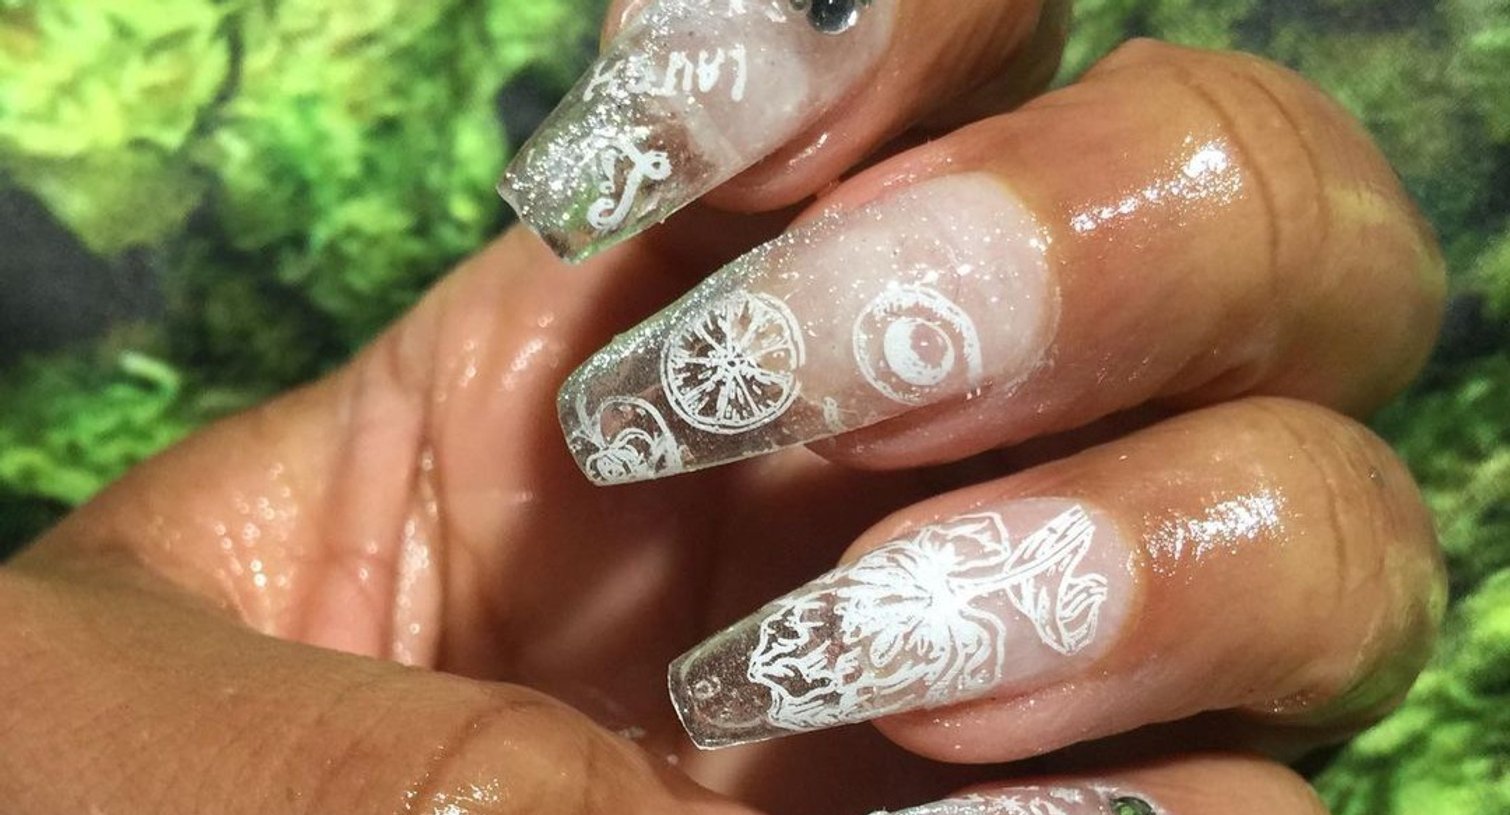
There are certain designs that no matter how amazing and artistic you are, you probably won’t be able to do. They’re just too detailed! And there’s no shame in that. But we do know a way you can achieve the impossible—all you need are nail art stamps. Stamps are small metal plates with designs etched into them that can be used to transfer intricate designs onto your nails. You put polish on the plate, swipe it with a scraper (an old credit card works, too), and pick up the design using a rubber stamper. Then, you roll the stamper over your dry nails to place the design. It may take a bit of practice, but it’s a million times easier than almost any other nail art technique, and there are plates available for stamping just about any design you can think of. Paisley? Of course. Plaid? You got it. Chevron? Absolutely!
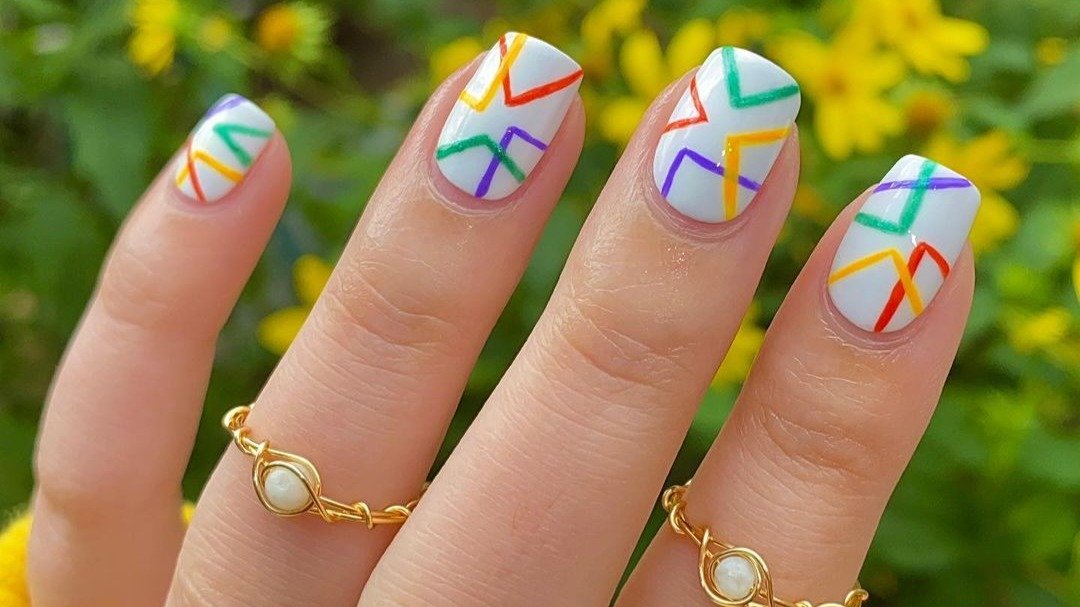
Nail art can be very reminiscent of arts and crafts. Just think about it, there's glitter and stickers and even stamps involved—and now tape. That’s right, you can use tape to create crisp lines on your nails. If you’re interested in a design that incorporates perfect stripes, don’t bother working on holding your hand super still and mastering a striping brush, just break out the tape. You can cut regular old adhesive tape into perfectly sized pieces or—and this is our preferred method—use striping tape. Striping tape is super skinny nail art tape that comes in all sorts of colors, usually with a metallic finish. The tape can be placed on your nails to create a striped pattern, then you paint over it, and remove the tape to reveal your design.
Speaking of striping tape, you can also leave it on your nails for a super chic look. Pick whichever color(s) you like, lay down small pieces of tape on your nails to create a fun nail art look, then swipe on a layer of clear coat to lock it all in. You can do this on all of your nails, or pick one accent nail to be the real star!
Think even easy nail art is too hard for you? Wait until you learn about the jelly manicure trend. All it takes is a jelly nail polish and the ability to paint your nails. The end result? A brightly colored, sheer manicure. Read all about this nail idea in our article, Jelly Nails Are Our New Favorite Nail Trend.
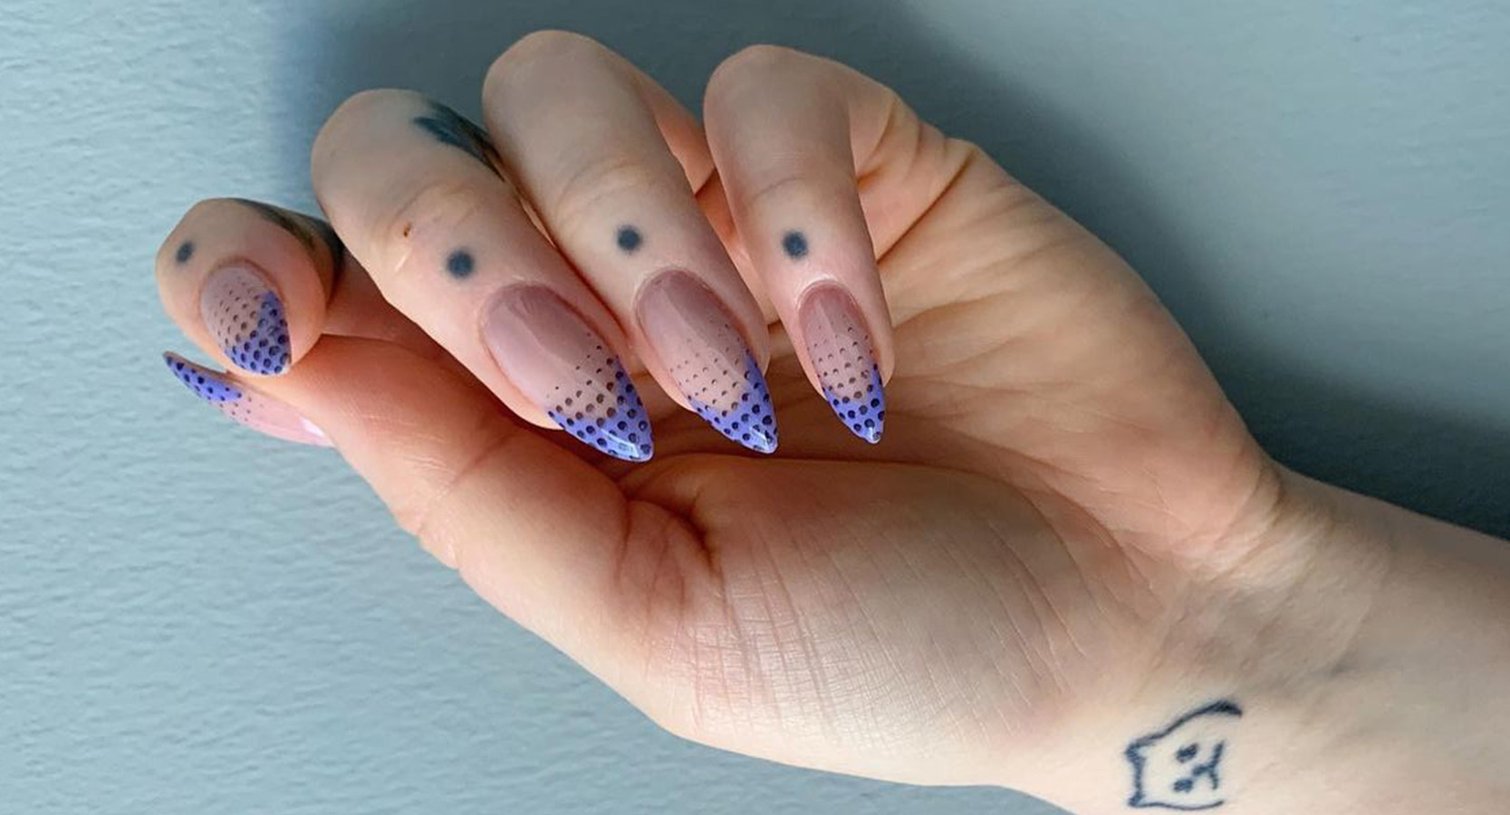
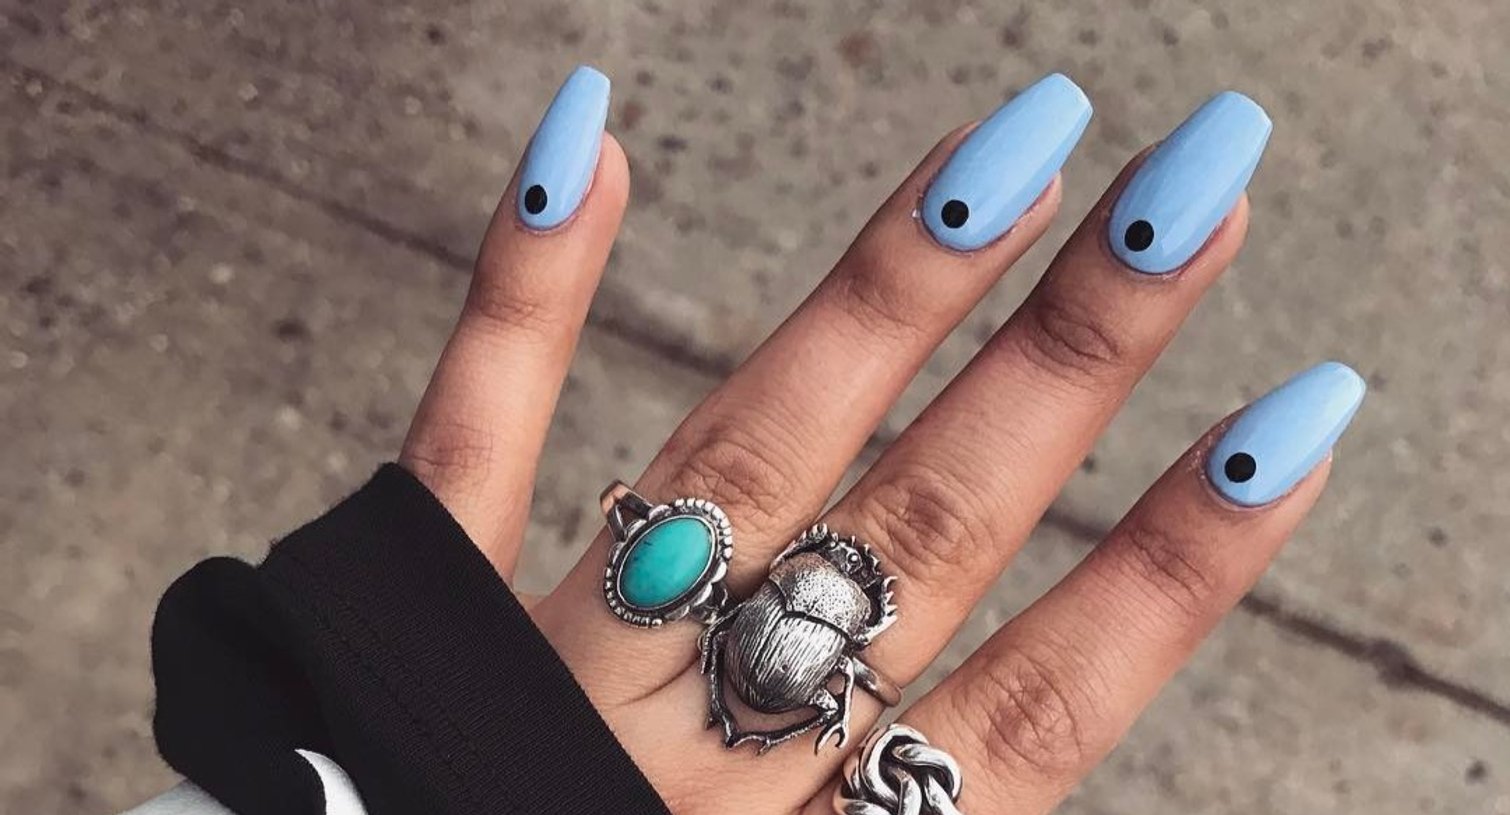
You’ve painted your nails a solid color, but you’re looking to spruce things up a little—without fussing over your nails for hours. Enter polka dots. Dots are a versatile, easy nail art design, you can play with the size, color, and layout to create endless looks, and best of all, they’re really easy to do. You can purchase nail art dotting tools to create perfect dots, or you can create your own. A few DIY dotting tool options include the end of a bobby pin, a sewing pin (stick the sharp end into an eraser to avoid any injuries), a toothpick, and a paper clip. Simply dip your dotting tool into a bit of polish, then place your dots wherever you want them!
We promised we’d share how to create a half moon manicure, and we’re delivering. For this look, besides two shades of polish, you’ll need reinforcements. Remember those little stickers that were always on your school supplies list? You place them on pieces of paper when the holes tear in order to reinforce them and keep the papers safely inside your binder or notebook. Well, they surprisingly work wonders for nail art, too! To see what we mean, start with your nails painted a solid color. Once your nails are completely dry, place a reinforcement at the base of your nail. About half of the reinforcement should be on your nail and about half should be on your skin. Then, fill in the space above the reinforcement (from the tip of your nail down) with a different shade of polish. While the polish is still wet, pull off the reinforcement, and you will have a perfect half moon mani!
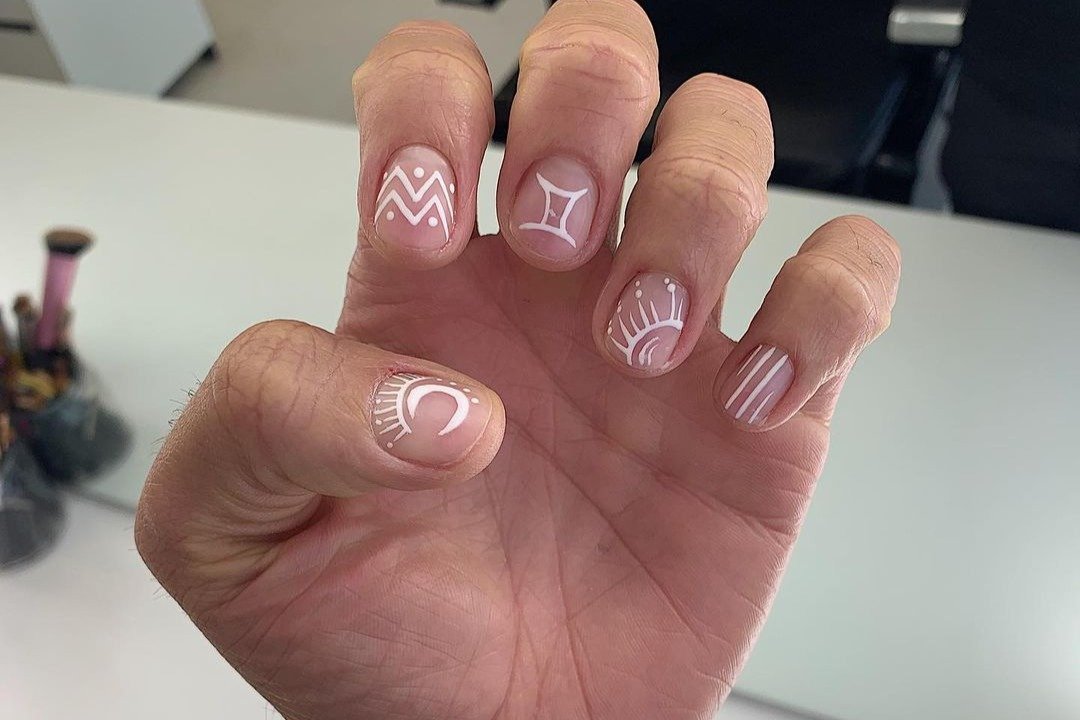
Have you considered letting some of your bare nail show? Nail art and makeup trends are often aligned, so after seeing the negative space cut crease rise in popularity, it makes perfect sense that negative space nail designs are en vogue, too. There are just about a million and one ways to get the look, but they all start with bare nails. You can use tape to leave some spots without polish or take a freehand approach and use a small brush to line around only the perimeter of your nails.
Dotting tools aren’t only useful when it comes to making dots. You can also use them to create other designs, including leopard print. That’s right, why not translate one of this season’s most popular fashion prints to your nails? Grab three polishes you like, making sure one is a black polish. Paint your nails with one of the other shades, then use the remaining non-black color to create blotches on your nails. Finally, grab your dotting tool and dip it into the black polish. Use the tool to create small “C” shapes around the border of your blotches. This may not look quite right at first, but as you go, you’ll see your leopard print come together.
Cloud nail designs make for the perfect dreamy manicure, and once again, this is an easier nail art option than you’d think. In fact, if you’ve mastered dots and gradients already, you’ll be ahead of the game. For a complete tutorial on this design, read our article, Cloud Nail Art Is Trending and It's 100% Doable at Home.
If you can manage to paint your nails, you can create multichrome rainbow nails, too. The trick here is that you’ll need a multichrome rainbow nail powder. Chrome powders, or mirror powders, have become increasingly popular because you can make your nails look like something of an optical illusion without any heavy lifting. Start by painting your nails any dark color—black polish is perfect for this! Follow up with a layer of top coat and wait until your nails are dry to the touch, but not completely dry. This means that if you were to press down, you could still dent and ruin your manicure. Next, dip an eye shadow applicator sponge (the kind that comes with most eye shadow palettes) into your chrome powder. Gently rub the sponge over your nails and you should see them transform before your eyes. Wipe off any excess powder, add another layer of top coat, and you’re ready to wow with your nails.
Who says gradients have to fade from the tip of your nails down to your cuticles? While horizontal gradients are a nail art go-to, vertical gradients (sometimes known as sideways gradients) are another trendy way to embrace ombré nails. You’ll follow the exact same steps you did for the rainbow gradient we walked you through earlier, except you’ll create your fade going sideways.
Think of sea glass nails as the summertime sister of jelly nails. The look is still sheer, but now it resembles pieces of sea glass, featuring soft shades of blue polish and a matte top coat. For an ultra-trendy take on this trend, try pairing it with a stiletto-square nail shape. To DIY your own beachy nail design, check out our article on How to Do Sea Glass Nails.
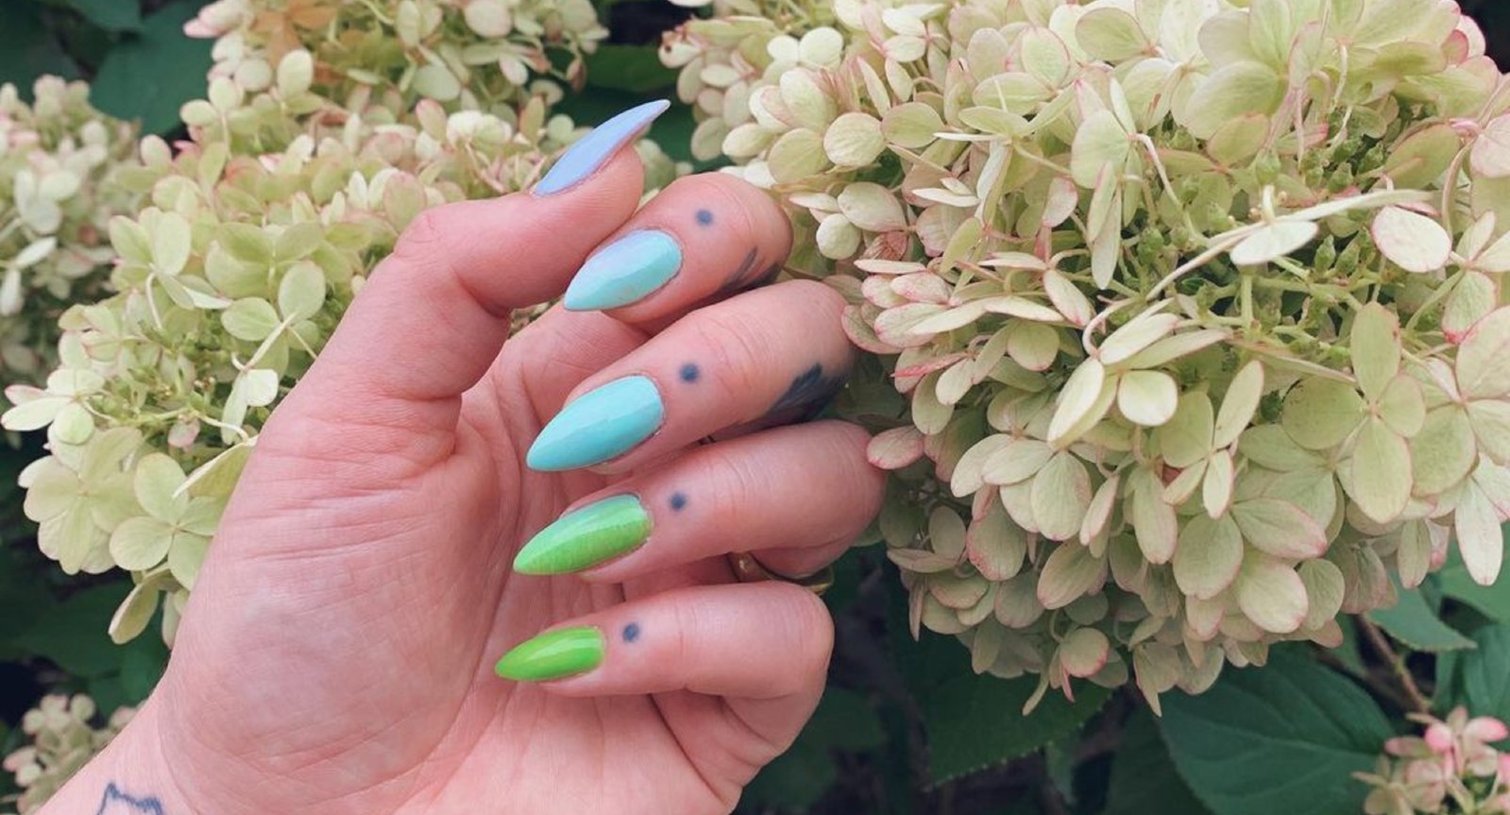
Think your hands aren’t steady enough for even the easiest of nail art? Think again! A skittle mani is perfect for you. Skittle manicures involve painting a different color on each nail—and that’s it. It doesn’t get much easier than that! It’s up to you whether you paint each nail in a shade from the same color family or pick polishes seemingly at random. Really, you can have fun with it. And if the issue is that you have trouble with coloring inside the lines, don’t worry about it. Place tape (regular old adhesive tape will do) around the edges of your nails before painting. When you’ve finished with your skittle manicure, pull off the tape, and you should be left with clean edges. Any other minor mistakes can be touched-up with a cotton swab dipped in acetone!
Tape isn’t just for stripes. If you like geometric nail art, try using pieces of tape to create a sharp triangle design. Polish each of your nails one color, then let them dry completely. And no, a little bit tacky isn’t okay! Once dry, cut small triangle shapes out of tape and place them at the base of your nails. Paint a second color over the tape, then peel it off to reveal your easy nail art.
You can also play around with it and strategically place pieces of tape to leave a triangle-shaped spot uncovered at the base of your nails, then fill that in with polish instead. Both methods will work!
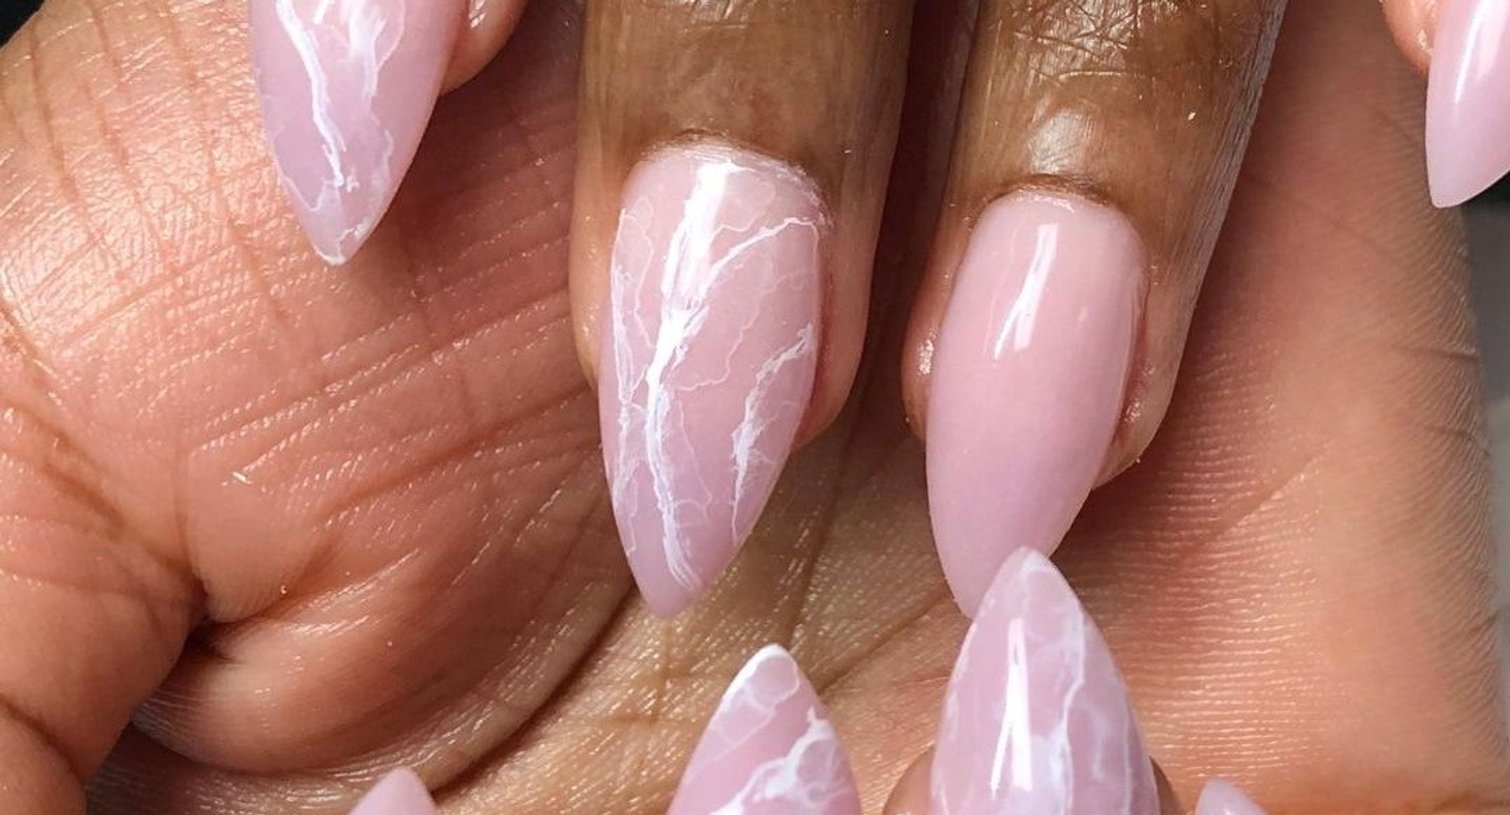
Marble is pretty much the embodiment of chicness and sophistication, which means it makes for an amazing manicure. If you want to get the look, you have a few options…
1. Water spotting. You may already know about water marbling, a nail art technique that provides tie dye-like designs. Well, water spotting is its easier cousin. You’ll paint all of your nails white and let them dry. Then take a (disposable) cup with room temperature water and add a few drops of grey nail polish. The polish should automatically spread over the top of the water. Before it dries—which happens quickly—take a perfume, body spray, or a spray bottle with rubbing alcohol and spray it onto the water. A spotted, marbled pattern should appear. Dip your nails directly into the water to pick up the pattern. Seal it in with top coat, then clean up the edges.
2. Detail brush. Marble isn’t so hard to freehand. Paint your nails white, then use a small brush to paint on random grey lines. Use a few shades of grey to get a natural look. You can also pull up pictures of real marble for inspiration to make sure you get the veining right!
3. Plastic wrap. Do you have a roll of plastic wrap for saving leftovers? Go grab a small piece. Paint your nails white, then let them dry. Now, back to your plastic wrap. Crumple it up and dip it in gray polish before pressing it onto your nails. Finish with top coat, and you’re done!
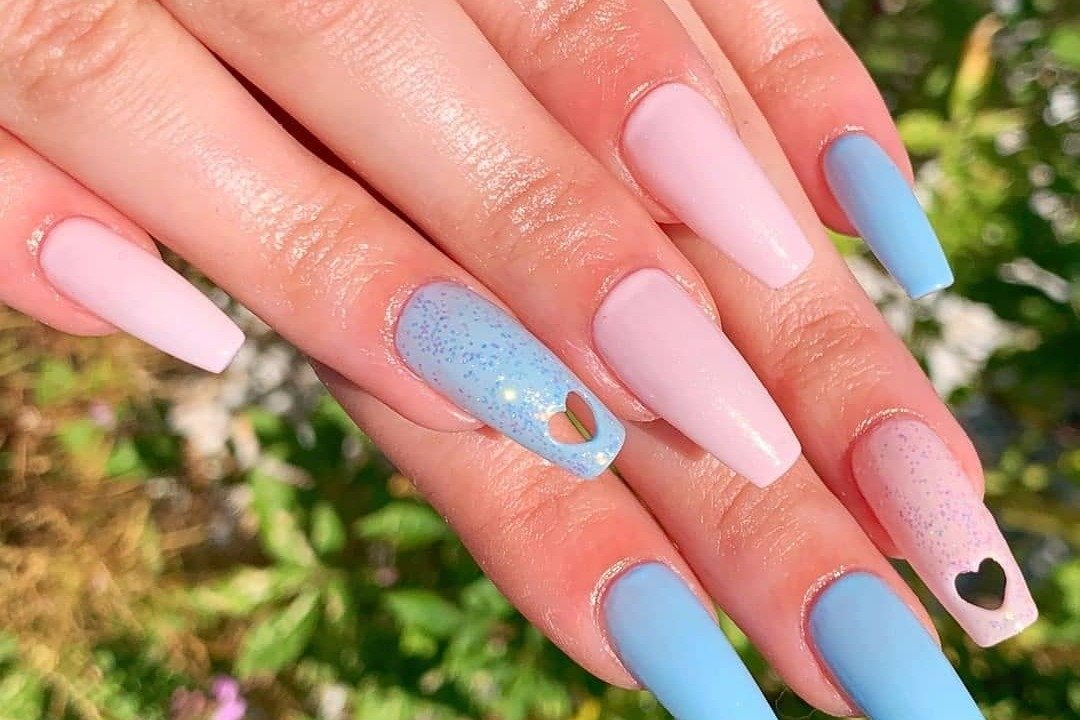
Remember how nail art and arts and crafts often seem related? Well, if you have any cute hole punchers saved from your scrapbooking days, now’s your chance to put them to use. This fun nail art idea features acrylic nails that have designs punched right through them. The trickiest part is placing the holes where you want them, but once you master that, you can create all sorts of designs. Give it a try with help from our step-by-step tutorial: How to Do Hole Punch Nail Art at Home.
The beauty world is all about pearls right now. Pearl hair clips, pearl eyeliner, etc. etc. For nails, you can pick up tiny pearls that have flat backs and glue them down just like rhinestones. Place one at the base of each nail as a simple accent or cover entire nails in pearls for an ultra-glam manicure.
Next up: Don’t ruin beautiful nail art with unsightly cuticles or dry hands. Here are 16 Ways to Show Your Hands and Nails Some Major TLC.
Sign up for the latest beauty news, product samples and coupons
This sign up is for U.S. consumers. By signing up, I agree to receive emails from L'Oreal Paris and other L'Oreal brands and programs. Click to read our Privacy Policy & Terms and Conditions. Non-US consumers should visit the country website serving their region.*Required information
Thank You
Now you’ll be the first to hear about our latest beauty news, product samples and coupons and so much more. You’ll hear from us soon.